2. Hardware Installation
1. Unpack the HPS1P’s packaging and check all the items
listed in section 1.2.
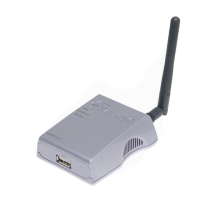
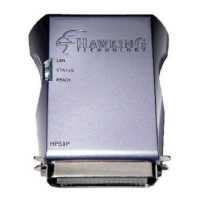
2. Connect the HPS1P to the printer you want to share on your
network.
3. Connect the power adapter to the print server.
4. The print server will perform the Power-On-Self-Test
(POST) after it is powered on. The Status LED will flash for up
to one minute to indicate that the print server is ready.
NOTE1 : You MUST use the power adapter shipped with the HPS1P print
server, do NOT use any other power adapter from any other
sources.
NOTE2: To prevent any compatibility problems between the HPS1P and
other printers, it is recommend that you power on the print server
before the printer.
Please note that your HPS1P hardware is automatically set to a factory
default IP address of 192.168.1.250
 Loading...