USE ONLY HAYWARD GENUINE REPLACEMENT PARTS 5
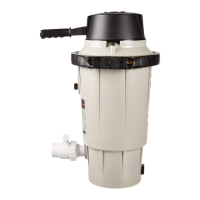
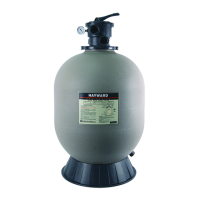
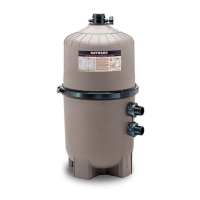
INITIAL SET-UP (WITH METAL-TYPE CLAMP)
1. Always turn off pump and relieve tank pressure by opening Air Relief
Valve before loosening Center Clamp or servicing filter.
WARNING – Separation Hazard Failure to fully
tighten clamp nut per instructions below could result in serious
personal injury or death. To prevent, tighten the sleeve nut until
spring coils touch each other plus 2 full turns.
2. To re-assemble Clamp on filter, make sure Clamp is located and centered properly
over the filter flange. If Clamp is tight, tap Clamp with rubber mallet or block of wood
to help seat it.
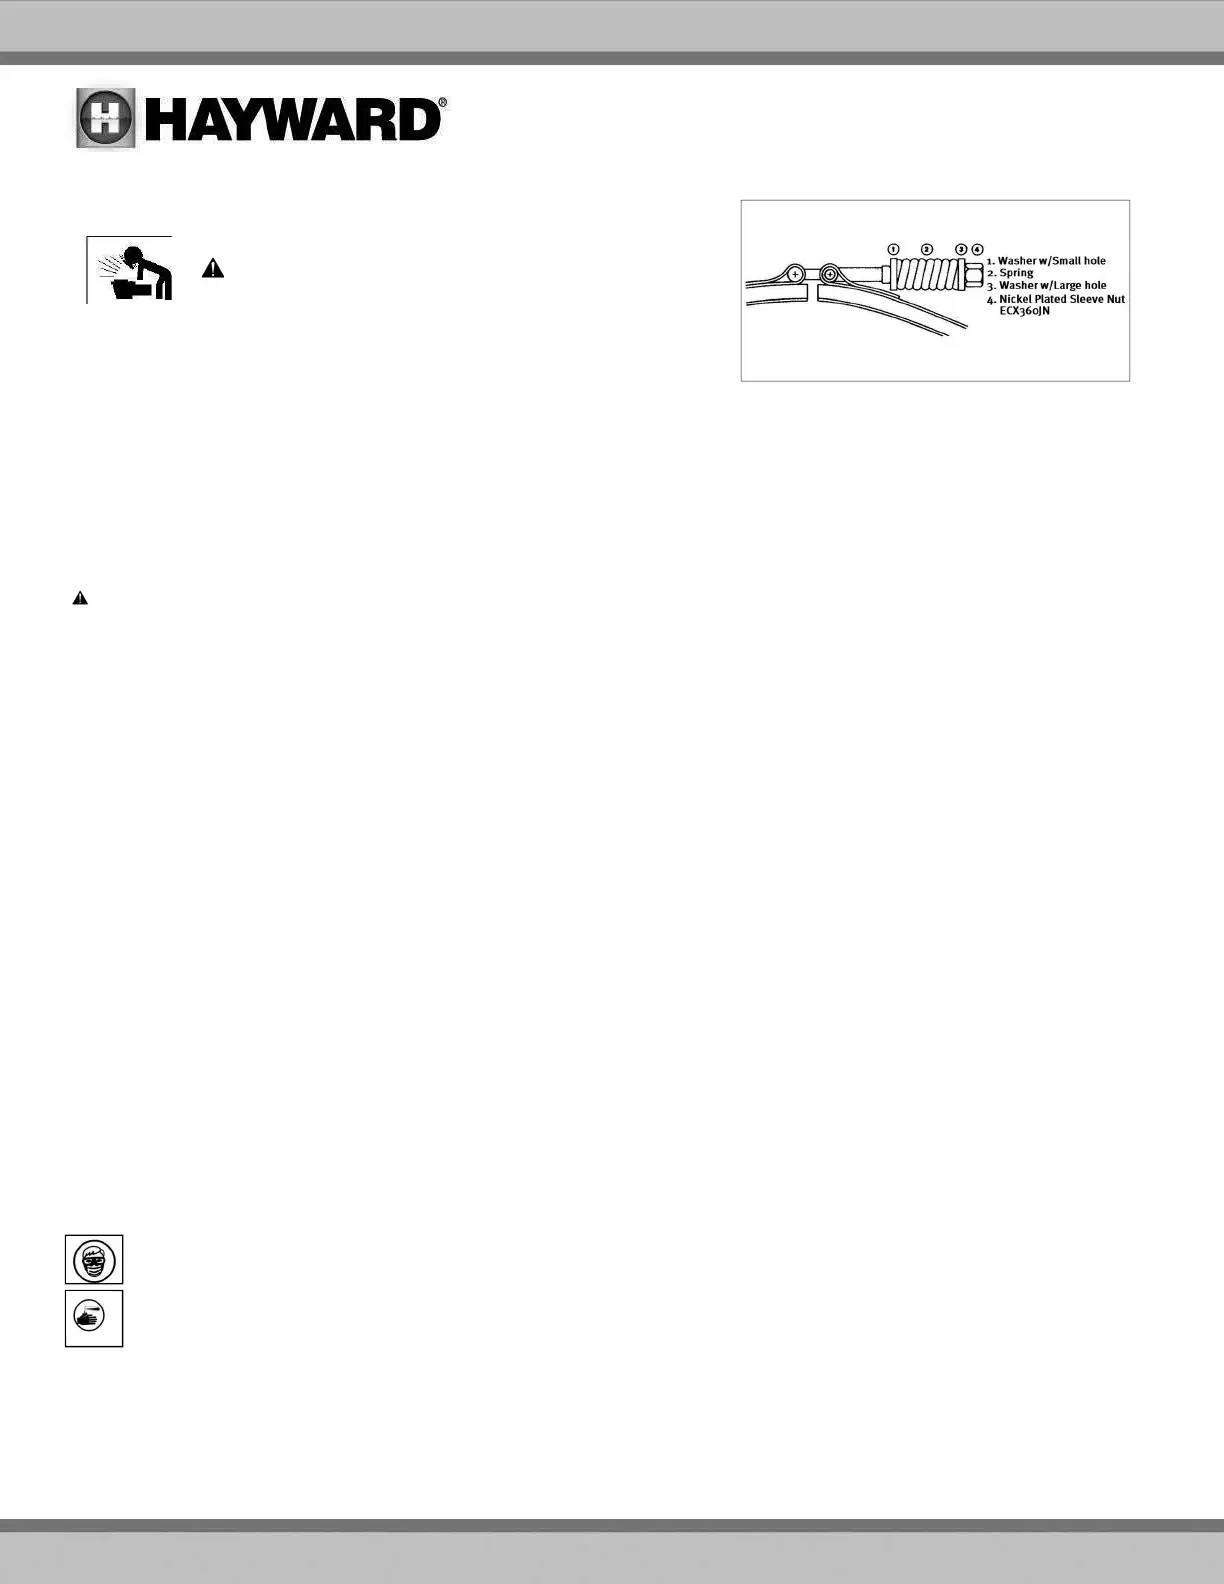
The end of the T-bolt must extend through the trunnion, slide the washer (with small hole) over the end of the T-bolt. Follow with the spring
and then the washer with the large hole. Thread the sleeve nut onto the end of the T-bolt.
Tighten the sleeve nut using a wrench and a 9/16” socket until the spring coils all touch. Finally, tighten 2 additional turns
3. To re-start system, open all in-line valves. Open Air Relief Valve before starting pump. Stand clear of filter and prime and start the pump per
the manufacturer's instructions. When a steady stream of water emerges from the Air relief Valve, close Air Relief Valve.
STARTING THE FILTER
Close the filter drain and the vent valve.
CAUTION: Separation Hazard. Failure to open all suction and discharge valves when starting the pump could cause severe personal
injury and/or property damage. To avoid open all suction and discharge valves.
Prime and start the pump following the manufacturer's instructions. Air trapped in the system will automatically vent to the pool. When there is a
steady flow of water returning to the pool, the filter is ready for precoating. DO NOT operate the filter for more than one minute without the
precoat charge.
PRECOATING
Scoop 5 lbs. (2.3 kgs.) of diatomite into the system through the skimmer as fast as the plumbing will take it. Note and record the pressure gauge
reading after the diatomite has been added. This is the "precoat pressure."
FILTERING
Filtration starts as soon as the filter has been precoated. As the filter removes dirt from the pool water, the accumulated dirt causes a resistance
to flow. As a result, the gauge pressure will rise and the flow will decrease. When the pressure rises 7-10 psi (.49-.70 Bar) above the precoat
pressure, regenerate the filter.
REGENERATION (Extending the Cycle)
Stop the pump. Move the bump handle down slowly, then up briskly. Repeat 3 times. Restart the pump and filtration will resume at near the
original flow and pressure.
After each regeneration, and until the filter is cleaned, there may be a slight increase in the starting pressure. This is the result of dirt accumulating
within the filter and is completely normal.
CLEANING
Cleaning is recommended when the gauge pressure rises more than 10 psi (.70 Bar) in less than a 24 hour period or when cloudy water returns
to the pool for more than 30 seconds after regeneration. To clean, first stop the pump; then move the bump handle down slowly, then up
briskly. Repeat 8 times. Open the vent valve (under bump cover), open the filter drain (Note: if the filter is installed below the pool water line,
close the suction and return valves) and allow water and-dirt-to-empty completely.
After the filter has drained, and with the drain still open, run the pump for a few seconds to flush out any dirt remaining in the bottom of the
filter. (Note: If the filter is installed below the pool water line, opening the suction valve for a few seconds with the pump off will adequately
flush the unit.)
Close the filter drain and the vent valve. Open the suction and return valves (when used). Start the pump and let the filter fill with water and
repeat the CLEANING procedure. This completes the cleaning phase. The filter is now ready for recharging. Proceed as in STARTING THE FILTER
and PRECOATING.
VACUUMING
Vacuuming can be performed directly into the filter whenever needed. For fastest results, regenerate the filter before and after each
vacuuming operation.
TO CHANGE BUMP HANDLE POSITION
1. Remove the bump handle grip. Push in tab at base of handle. Carefully pry the bump cover from the retaining groove and slide the cover off
the handle.
2. Using a drift (or 10 penny nail), tap the pivot pin out of the filter head anchor point, freeing the end of the handle.
Rotate the bump handle to the alternate position and align the handle and the head anchor holes. Tap the pivot pin in place.
3. Reinstall the bump cover and grip.
 Loading...