CHECKING THE FLAME SCANNER
1. Make sure that the BURNER switch (Fig. 4) is
set to
OFF.
2. Turn on power to the control panel while the
front panel is open.
3. With no flame present, check for approxi-
mately 560 Vac between terminals S1 and
S2 using an ac voltmeter.
4. Remove the flame scanner (Fig. 6).
5. Create a flame using a cigarette lighter, a
torch or a match. Hold the flame in front of
the scanner eye. The voltage should drop to
about 340 Vac and the Fireye burner display
should show the message FALSE FLAME and
should indicate a signal number. Otherwise,
either the flame scanner or its amplifier is
defective.
CHECKING PILOT GAS PRESSURE
REGULATOR
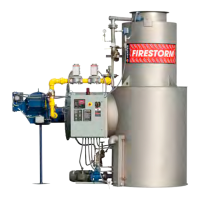
Figure 8. Manometer connected to tee at pilot gas line.
1. Connect a manometer to the tee of the pilot
gas line where it enters the burner.
2. Open the control panel and gain access to
the Fireye burner control (C, Fig. 5).
3. Turn on power to the control panel (F, Fig.
5) while the front panel is open.
4. Set BURNER switch (Fig. 4) to ON and let the
heater start through its purge cycle.
5. Wait for the burner display (Fig. 4) to show
the words IGNITION TIMING. Quickly place
the switch marked CHECK/RUN on bottom
of Fireye burner control (C, Fig. 5) to the
position marked
CHECK. This will hold the
timing sequence while you check/adjust the
regulator.
6. Check that the manometer indicates ap-
proximately 3 inches of W.C. or as specified
for your burner in the burner manual. If not,
adjust screw on the regulator to attain the
recommended setting.
7. Place switch marked CHECK/RUN on bottom
of Fireye burner control back to RUN. The
timing sequence should continue and opera-
tion should be normal.
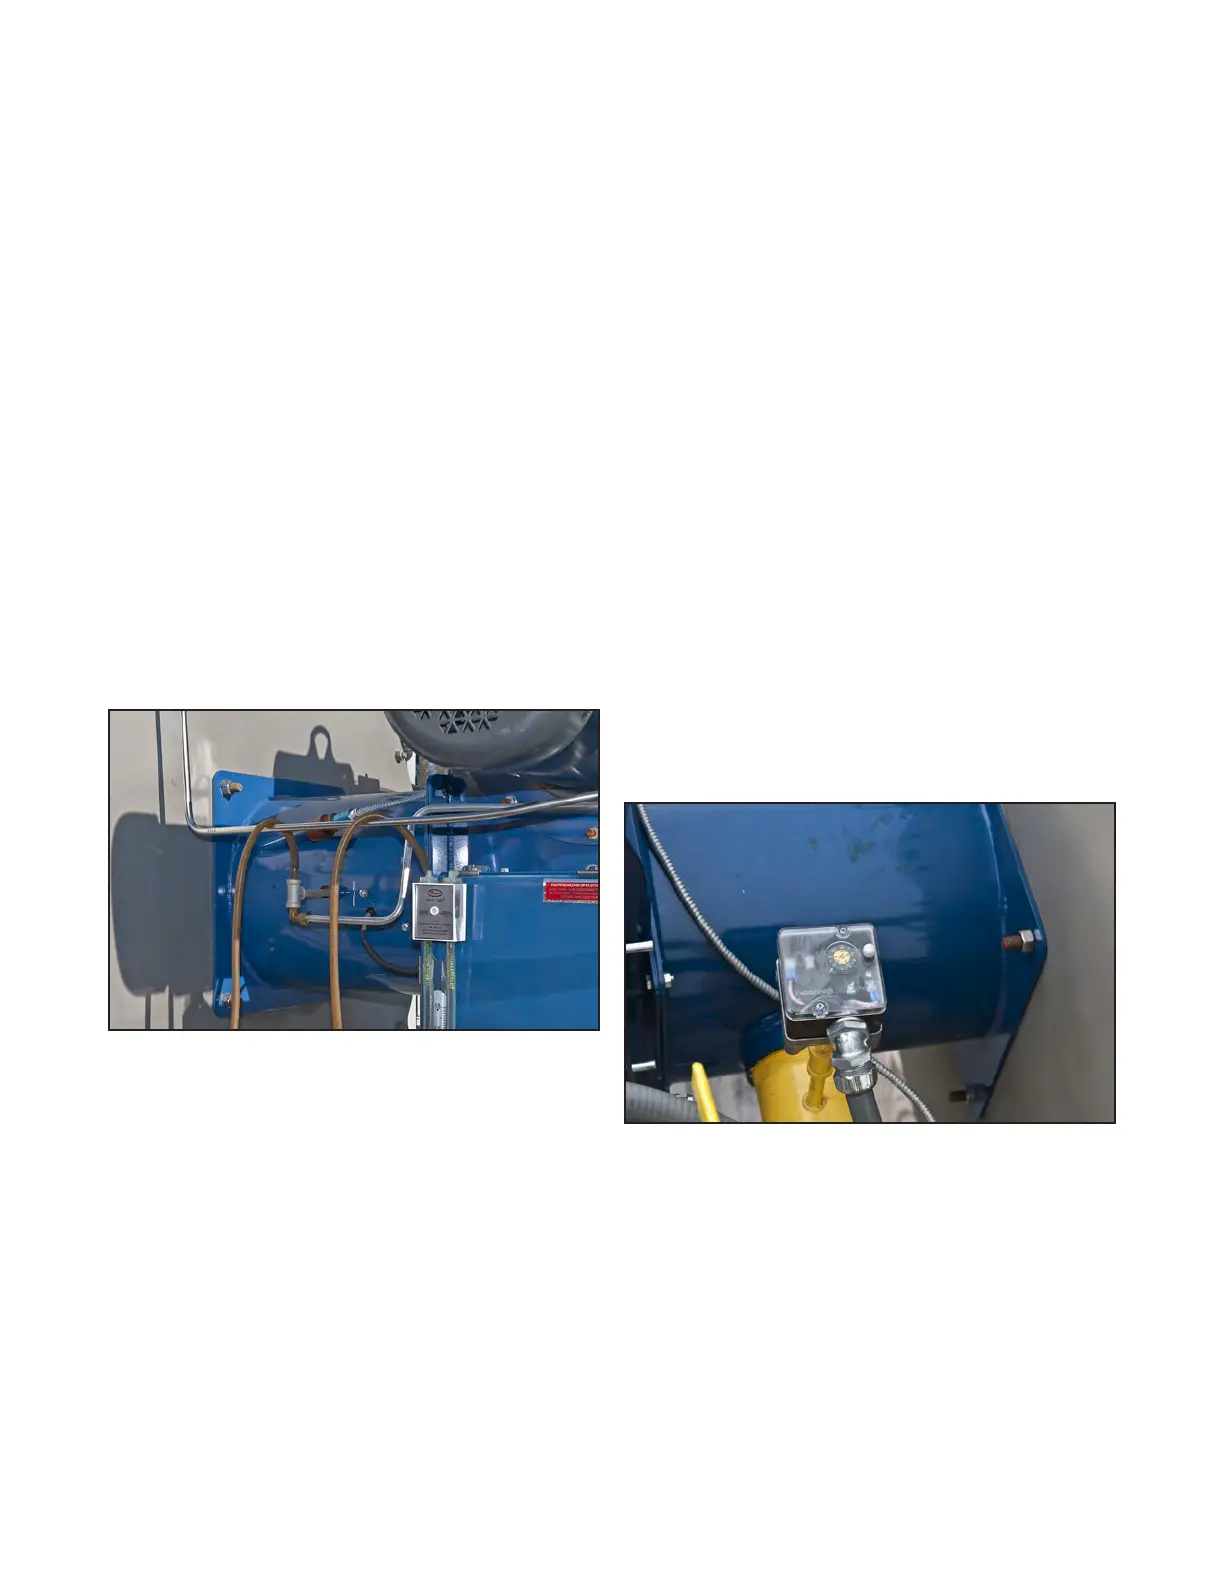
CHECKING HIGH FUEL GAS PRESSURE
SWITCH
With the burner operating, remover the cover from
the high fuel gas pressure switch (Fig. 9). Be care-
ful not to touch the live terminals. Adjust the
switch to a lower setting that causes the switch to
open.
Figure 9. High fuel gas pressure switch.
The following reactions should occur, indicating
that the pressure switch is operating properly:
• The burner should shut down.
• The HIGH FUEL GAS PRESSURE light (Fig. 4) on
the control panel should go out. (All other
indicator lights on the panel will also go
out.)
Publication 1-10-218
Page 7