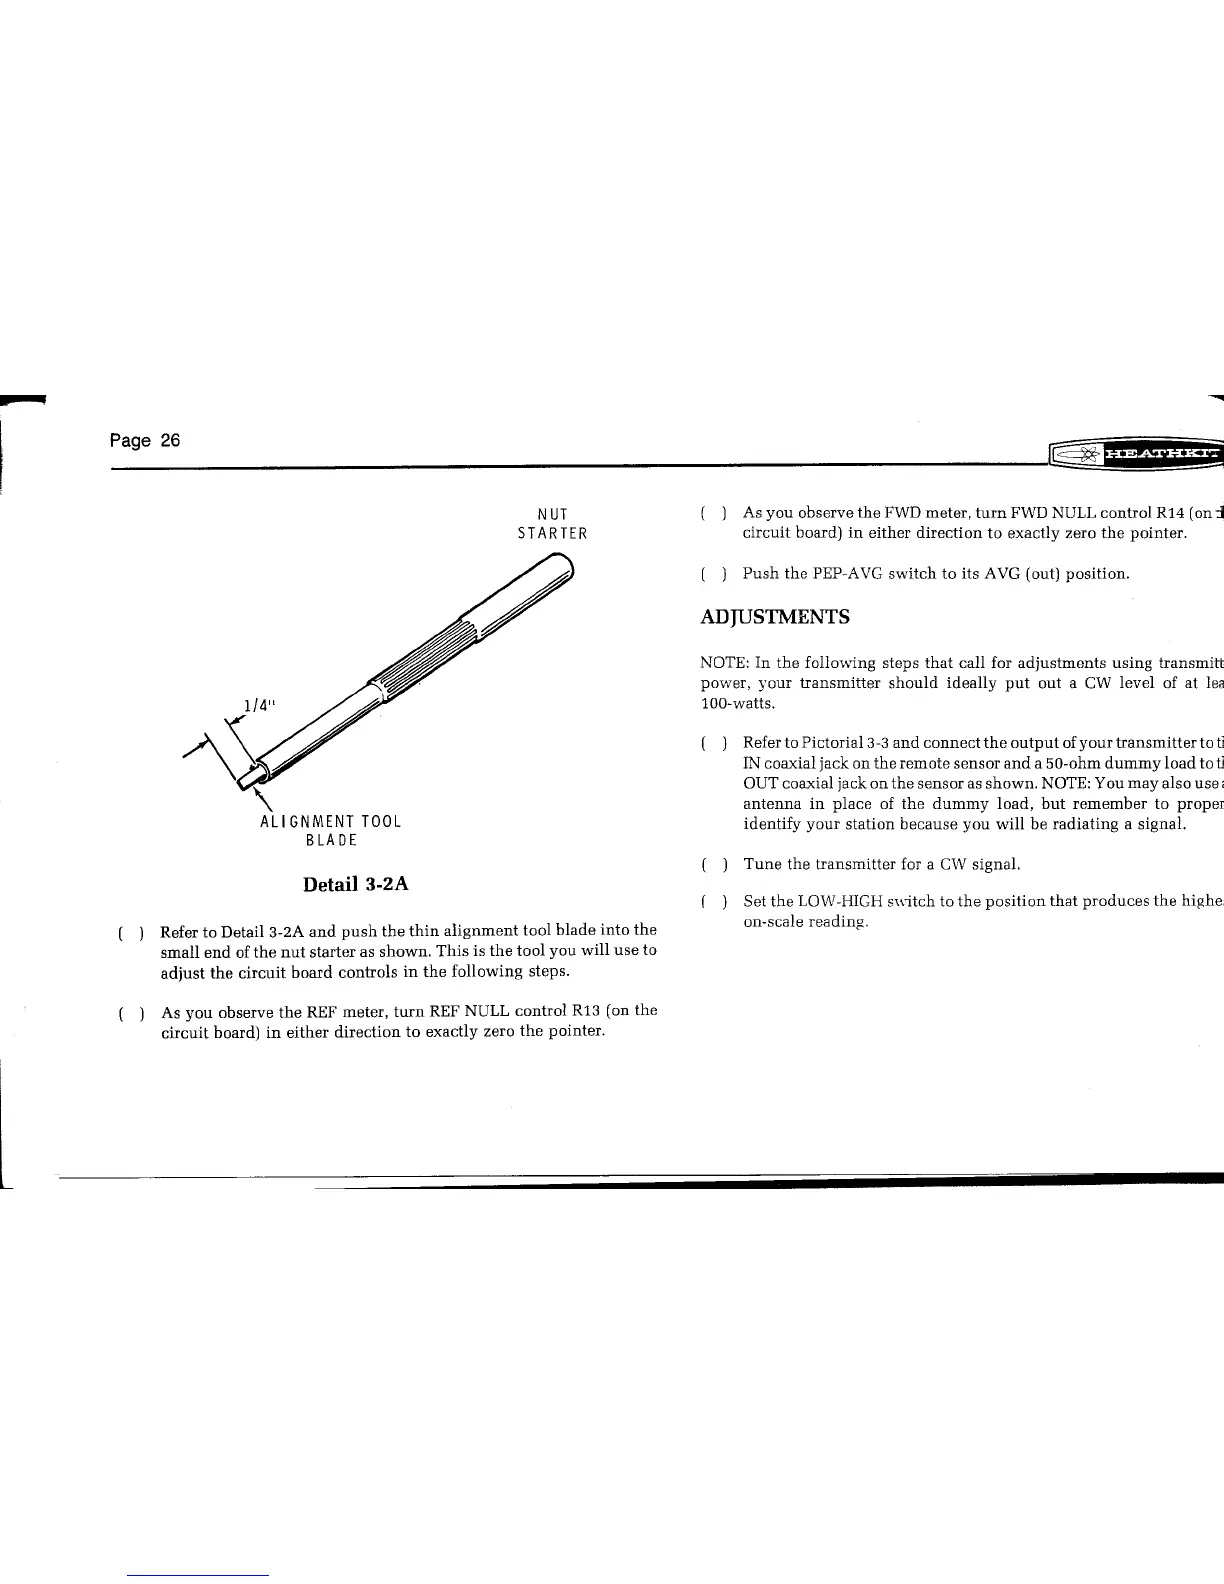
NUT
STARTER
( ) Refer to Detail 3-2A and push the thin alignment tool blade into the
small end ofthe nut starter as shown. This is the tool you will use to
adjust the circuit board controls in the following steps.
( ) As you observe the REF meter, turn REF NULL control R13 (on the
circuit board) in either direction to exactly zero the pointer.
( ) As you observe the FWDmeter, turn FWDNULLcontrol R14 (on
circuit board) in either direction to exactly zero the pointer.
NOTE: In the following steps that call for adjustments using transmittJ
power, your transmitter should ideally put out a CW level of at lea
loo-watts.
( ) Referto Pictorial 3-3and connectthe output ofyour transmitter to ti
IN coaxial jack on the remote sensor and a 50-ohm dummy load totl
OUT coaxial jack on the sensor as shown. NOTE:You may also use,
antenna in place of the dummy load, but remember to proper
identify your station because you will be radiating a signal.
Set the LOW-HIGHs\\itch to the position that produces the highei
on-scale reading.