24
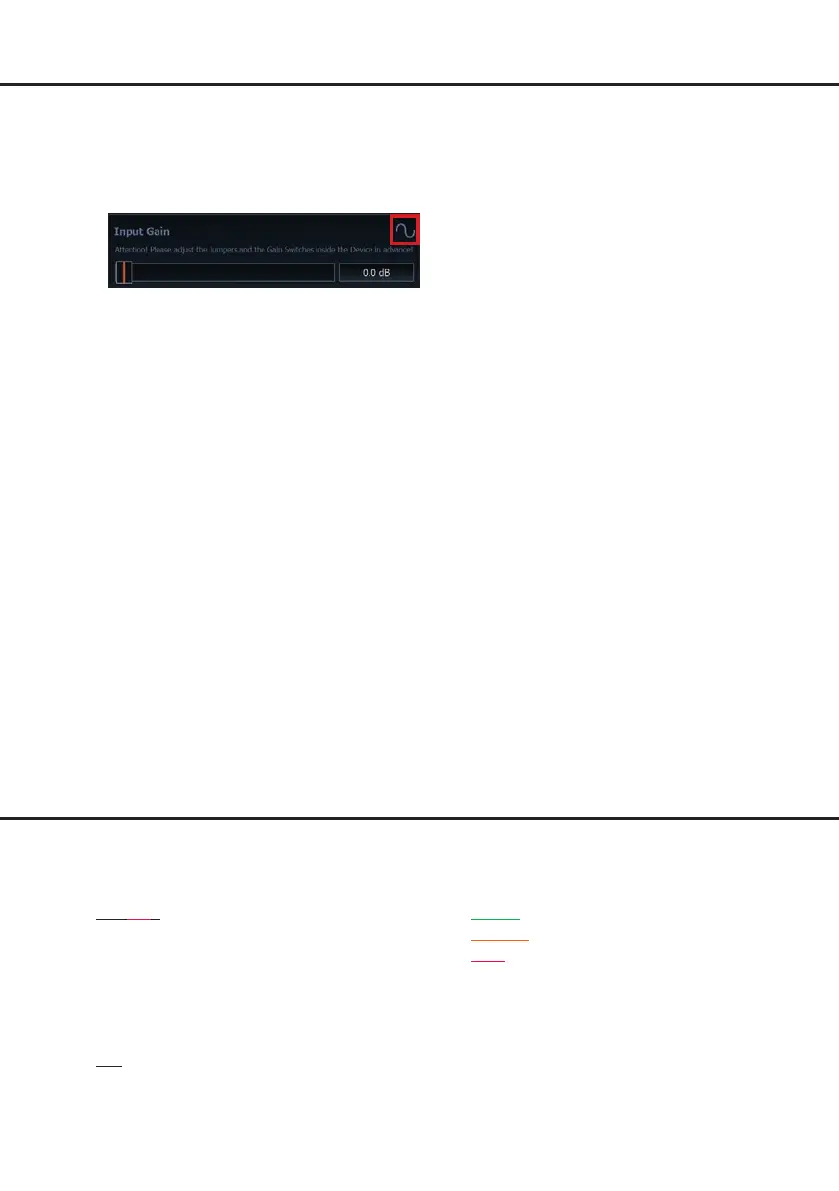
6. Increase the input sensitivity using the gain
control of the DSP PC-Tool Software until
the Clipping LED / Clipping Indicator lights
up. Now turn the control back until the Clip-
ping LED / indicator turns o again.
10. Conguration of the DSP
The general DSP settings should be con-
ducted with the DSP PC-Tool software be-
fore using the signal processor for the rst
time.
Now you are able to congure your
DSP PRO MK3 with our intuitive DSP PC-
Tool software. Useful hints for the correct set-
ting can be found in our knowledge base at
www.audiotec-scher.com.
Caution: We highly recommend to set the
volume of your car radio to minimum position
during rst start-up. Additionally no devices
should be connected to the signal processor.
Especially if the DSP PRO MK3 will be used
in fully active applications, a wrong setup can
destroy your speakers right away.
11. Analyzing the input signal
Check the input signal for factory-set equal-
izing and all-pass lters using the Input
Signal Analyzer (ISA) of the DSP PC-Tool
software. Information about the ISA can be
found in the extensive Knowledge Base on
our website www.audiotec-scher.com.
Caution: We highly recommend to set the
volume of your car radio to minimum position
during rst start-up. Additionally no devices
should be connected to the signal proces-
sor until general settings in the DSP PC-Tool
software have been made. Especially if the
DSP PRO MK3 will be used in fully active
applications, a wrong setup can destroy your
speakers right away.
12. Connecting the Line Outputs
The ten pre-amplier outputs (Line Output)
can now be connected to the pre-amplier /
lowlevel / RCA inputs of the external ampli-
ers using appropriate cables (RCA / Cinch
cables).
13. Sound tuning
Now you can create your sound setup.
Information about sound tuning can be
found in our extensive knowledge base at
audiotec-scher.com or contact your local
HELIX dealer.
Additional functions
1. Clipping LED
The Clipping LED indicates if one of the Line
or Highlevel Inputs is overdriven.
On (red): One of the analog signal inputs is
overdriven. Reduce the input sen-
sitivity using the four internal slide
switches until the LED goes out.
How to reduce the input sensitiv-
ity is described on page 23 under
point 9.
O: The input sensitivity is optimally
adapted to the signal source.
Note: The LED has no function when using
one of the digital inputs.
2. Status LED
The Status LED indicates the operating mode
of the signal processor and of its memory.
Green: DSP is ready for operation.
Orange: Power Save Mode is activated.
Red: Protection Mode is active. This may
have dierent root causes. The HELIX
DSP PRO MK3 is equipped with protection
circuits against over- and undervoltage as
well as overheating. Please check for con-
necting failures such as short-circuits or other
wrong connections. If the DSP is overheated
the internal temperature protection switches
o the remote and signal output until it reach-
es a safe temperature level again.
Hardware conguration