23
Packaging
• After unpacking the appliance, check the same for transport damage and the contents for
completeness! In the event of damage or an incomplete delivery, contact your authorised
retailer!
• Do not discard the original box! It can be used for storage and dispatch to avoid transport
damage.
• Dispose of the packing material in a proper manner. Plastic bags should be kept away
from children!
Wall-mounting and safety distances
• Before starting wall mounting, make sure that the device is switched off (main switch to pos. 0) and
the mains plug is not in the socket.
The device may only be fastened to the wall with the mains plug unplugged when switched
off.
• The heater may only be operated when mounted vertically on a wall. The heater may not be
mounted on ceilings.
• If you attach the heater on the wall you must keep the minimum distance of 1,20m from the
lower heater housing up to the floor and a minimum distance of 30cm from upper heater
housing to the top, to the sides. The minimum distance between ceiling and upper heater housing
should be minimum 30cm. Observe in any case the minimum distances (as shown in figure 1,
2, 3).
• This heater is water-resistant to IP24 and may be used in damp rooms and bath rooms but not
within the perimeter to bathtub, shower, water connections, washbasins or swimming pools.
This means it cannot be installed in the areas marked in Fig. 3 as “ZONE 0, ZONE 1, ZONE
2”.
• This heater must be installed so that switches or other control elements cannot be touched by
persons who are in the bath or shower, or any other water-filled receptacle.
• For installation of the heater, care must be taken not to damage concealed cables. Please be
careful while drilling the holes. Never drilling holes under, above, besides etc. from the wall-socket.
• Therefore, no holes under or above wall sockets get going and mount the device not or directly
near a socket as well as directly near combustible objects or pieces of furniture etc.
•
The device may not be fastened to walls from synthetic material, or other flammable materials as
for example wood, panels, cardboard or similar. By disregard it can come to the fire risk!
• The heater should be placed with a minimum distances at front of 100 cm from all flammable
objects, curtains, wall. structure etc. The appliance openings must not be obstructed in any way.
• For wall mounting care must be made above or below wall power sockets. Never place the heater
below a wall socket
•
This heater must be correctly installed in compliance with the legislation in force in the country of
installation.
•
The wall-mounting accessory is included.
•
If you have found a suitable place for this device, mount now by means of provided screws and
dowels the heater on the wall. Consider the instruction steps shown in
Picture 4, FIG. 1- FIG.6.
The diameter of the holes should just tightly contain the wall plug. When the wall plugs are
securely in the wall, screw the provided screws into the wall plugs.
Please note to the fact that an accordance distance must exist between dowels and screws to be
able to mount the heater in even position on the wall. Double check the heater is firmly hanged on
the wall.
•
Please pay attention, that the heater is mounted in even and firmly horizontal position. Do not use
the heater if the device not fix mounted on the wall or in uneven position.
24
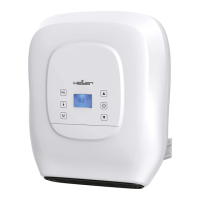
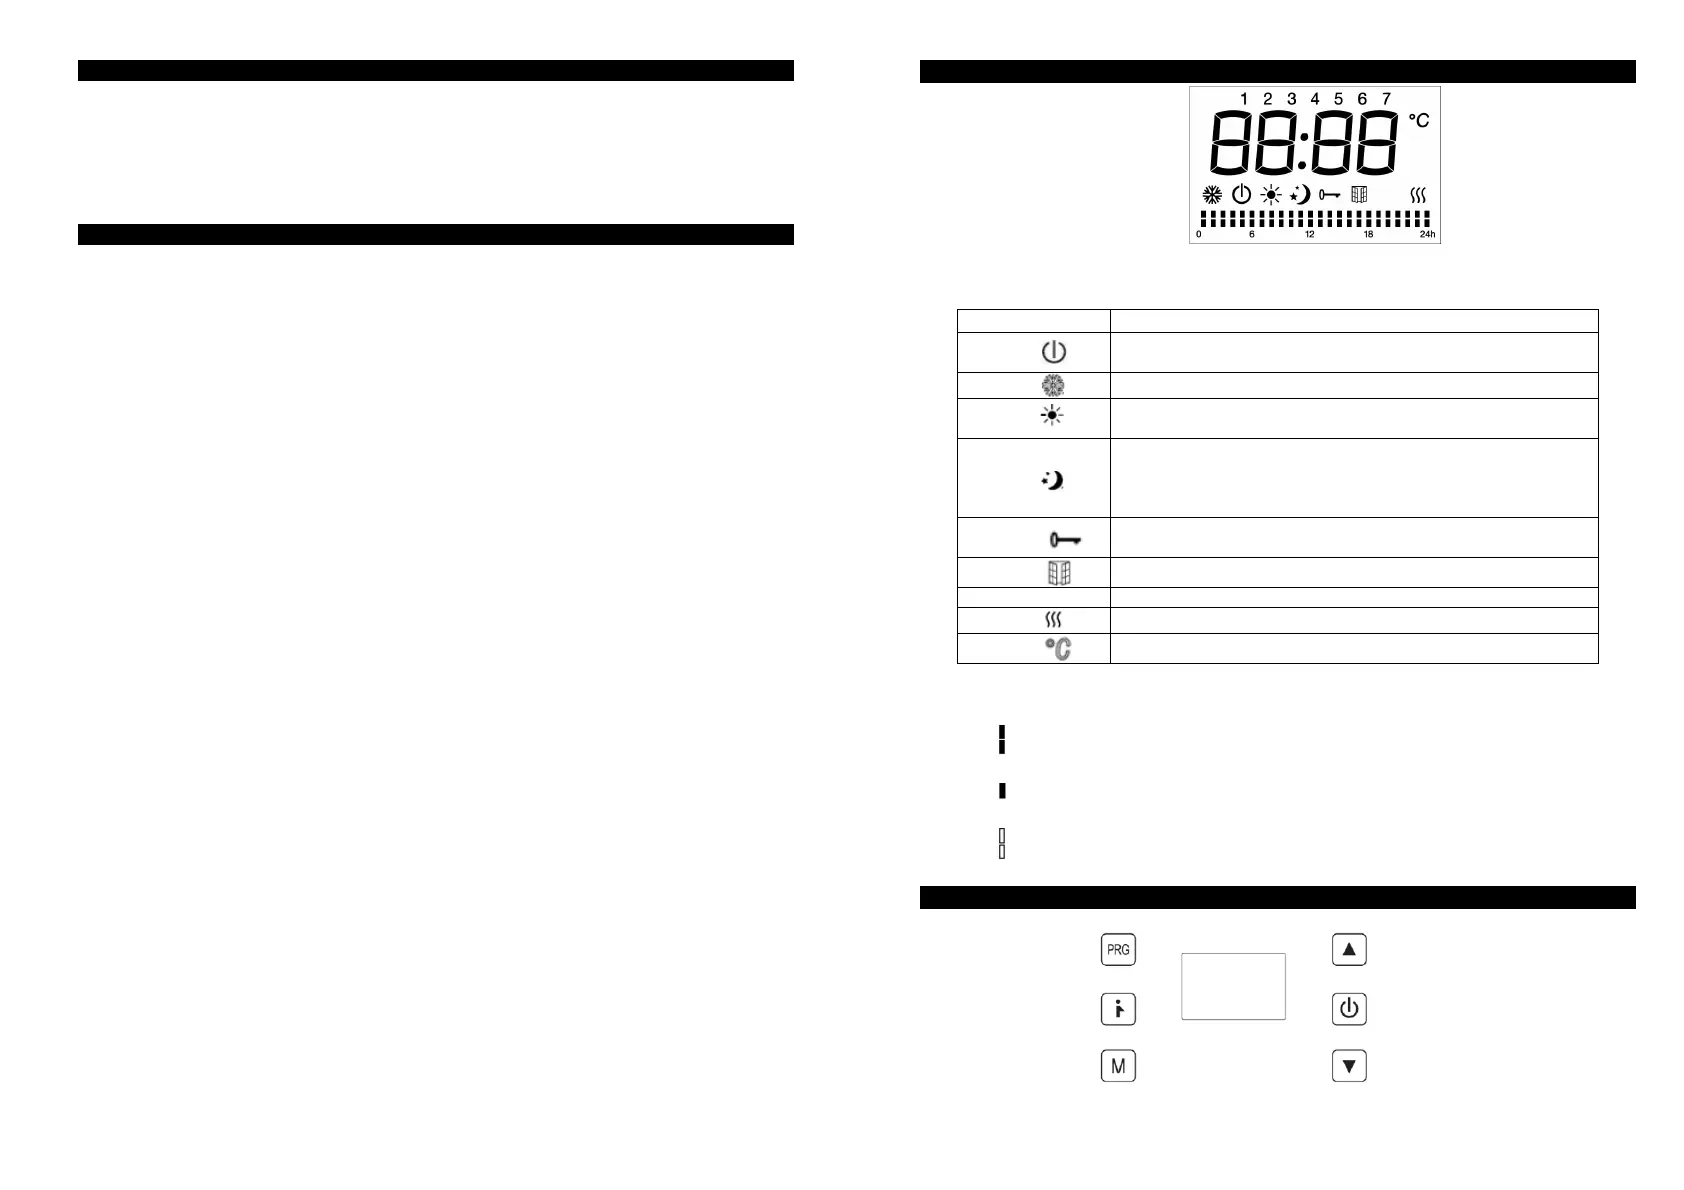
LCD display
Functions of the icons on the LCD:
Symbol
Function
Mode standby (the appliance doesn’t work but with power
on)
Mode fan
,
Mode comfort (set the desired temperature, fan will also
work under this mode)
Mode eco (fan will also work under this mode, ECO
maintains the temperature that is 3.5 ° C lower to comfort
temperature. This mode reduces the temperature without
disturbing the desired temperature in comfort mode)
Keyboard lock
Window detector mode
ASC Reservation function (ASC mode)
Heating Up indicator
Temperature (centigrades)
Weekly personalized modes:
Mode Comfort active
Mode ECO active
Standby
CONTROL PANEL
 Loading...