PRIMAAX
®
EX / PRIMAAX
®
for Volvo Vehicles
Component Replacement 40 17730-254
FIGURE 8-14 FIGURE 8-15
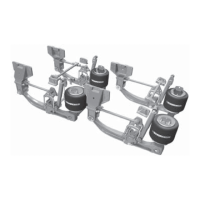
12. Push directly on the D-pin Removal Tool until the D-Pin bushing is pressed out of the sup-
port beam bore.
13. Clean the support beam bore with a wire wheel. Inspect the inner diameter of the D-Pin
bore on the support beam, check for any damage to the support beam bore, replace as
necessary.
ASSEMBLY
1. Place the support beam in a shop press on the receiving tool with the beveled edge of the
D-Pin bore facing up. Both ends of the support beam must be supported squarely on the
press bed.
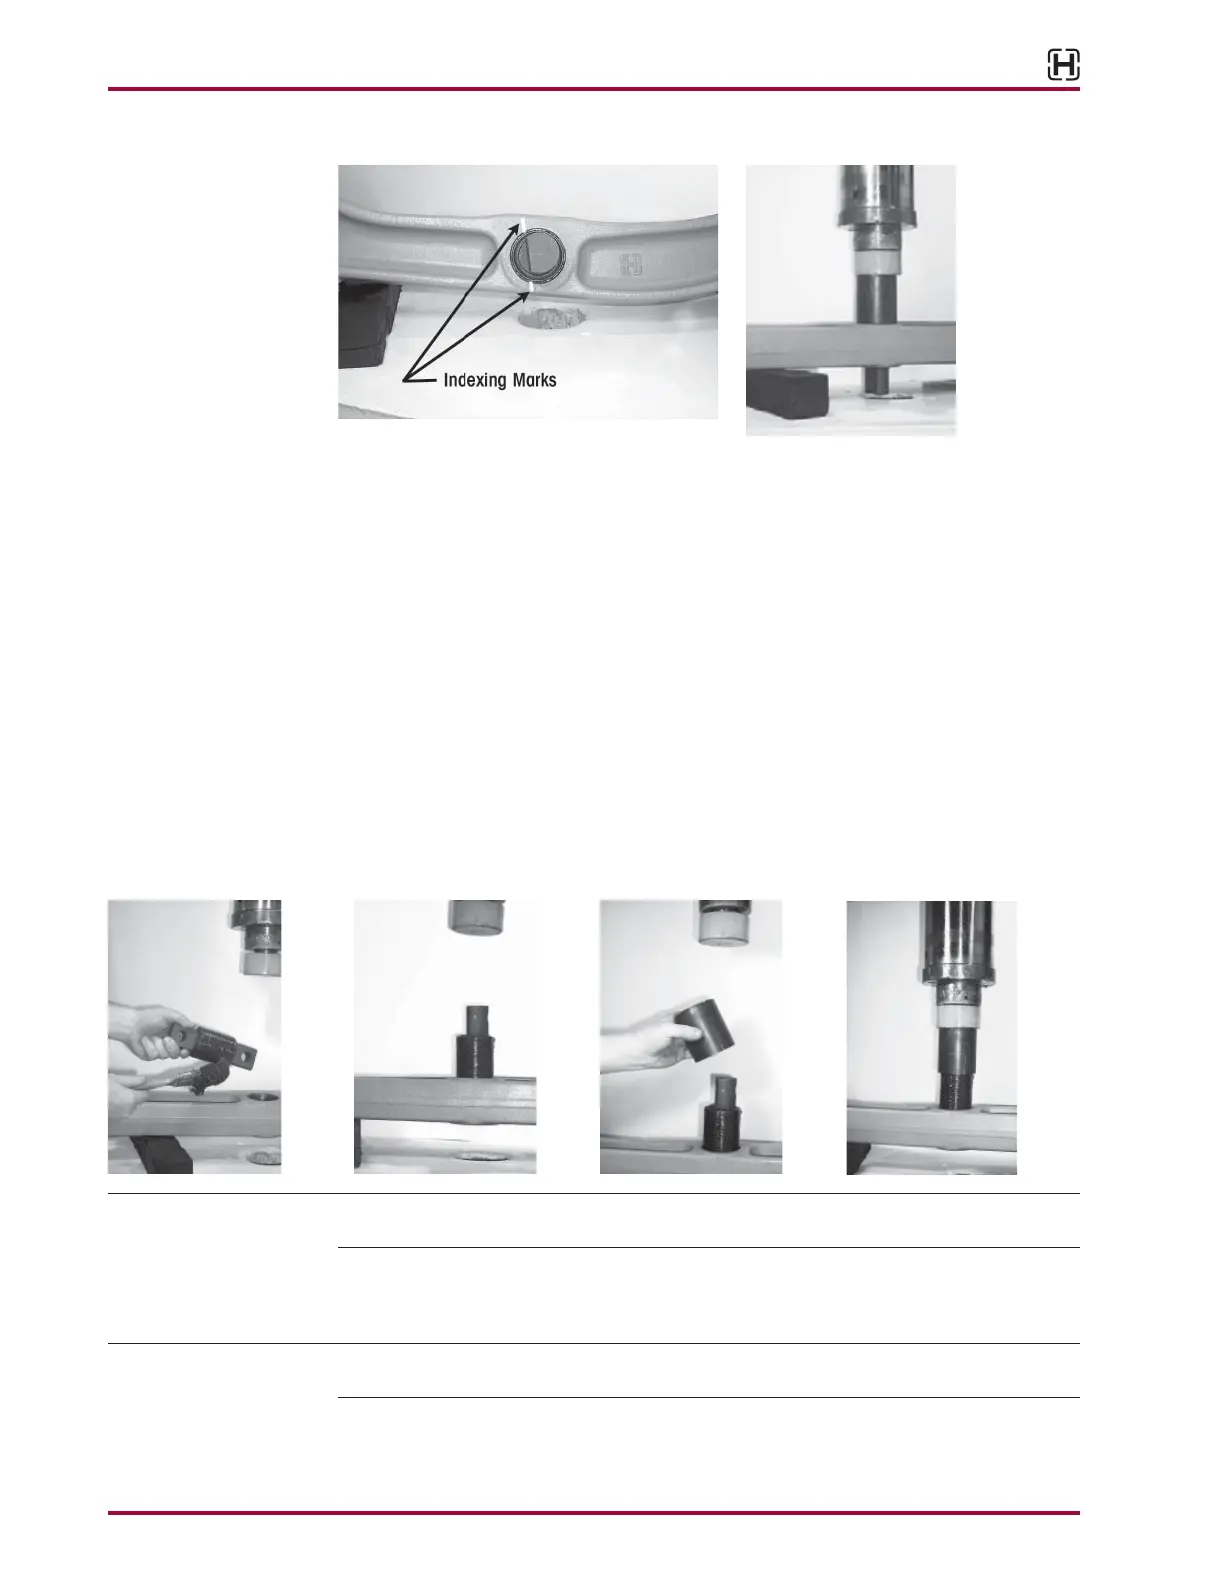
2. Lubricate the support beam D-Pin bore and the D-Pin bushing retaining sleeve with chassis
grease, see Figure 8-16.
3. Line up the D-Pin bushing with the clocking line that was put on the support beam prior to
the removal of the D-Pin bushing, see Figure 8-17.
4. Install the D-Pin bushing installation tool and press in the new D-Pin bushing until the outer
metal sleeve is centered in the support beam assembly, see Figures 8-18 and 8-19.
FIGURE 8-16 FIGURE 8-17 FIGURE 8-18 FIGURE 8-19
NOTE If the service also requires the replacement of the QUIK-ALIGN pivot bushing, refer to QUIK-ALIGN
Pivot Bushing Disassembly in this section.
5. Install the support beams into the hanger’s one side at a time. Care should be taken to
ensure the support beams are installed in the proper locations, for example: the left rear
support beam is installed in the left rear hanger.
NOTE All the old sealant MUST be removed carefully with a hand scraper as to not damage the
U-beam assembly and the sealant application areas should be cleaned.