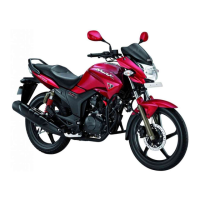
î Remove the collar (2) and speed sensor
(3) from the wheel.
INSTALLATION
TORQUE : 5.9 kgf-m
î After installing the wheel apply the brake
several times and then check if the wheel
rotates freely. Recheck the wheel if the brake
drags or if the wheel does not rotate freely.
î Position the front wheel between the fork
legs by aligning the slot on the speed sensor
with the lug on the fork legs and the disc
between the brake pads to avoid damage to
the pads. Insert the axle from the right side
through the fork legs and wheel hub.
î Tighten the front axle nut to the specified
torque.
î Install the side collar (2) to the right side of
the wheel hub and then install the speed
sensor (3) on the left side of the wheel hub.
î Do not depress the brake lever when the
wheel is removed. The caliper pistons will be
forced out of the cylinder with subsequent
loss of brake fluid. If this occurs, servicing of
the brake system will be necessary. Visit
your Authorised Hero MotoCorp workshop
for this service.
î Avoid grease, oil or dirt on the disc or pads
surfaces. Any contamination can cause poor
brake performance or rapid pad wear after
re-assembly.
î Be careful to install the speed sensor in the
wheel hub with the lugs on the speed sensor
aligned with the slot in the wheel hub.
NOTE
î If a torque wrench was not used for
installation visit your Authorised Hero
MotoCorp workshop as soon as possible to
verify proper assembly. Improper assembly
may lead to loss of braking force.
REAR WHEEL REMOVAL
Drum type
î Raise the rear wheel off the ground.
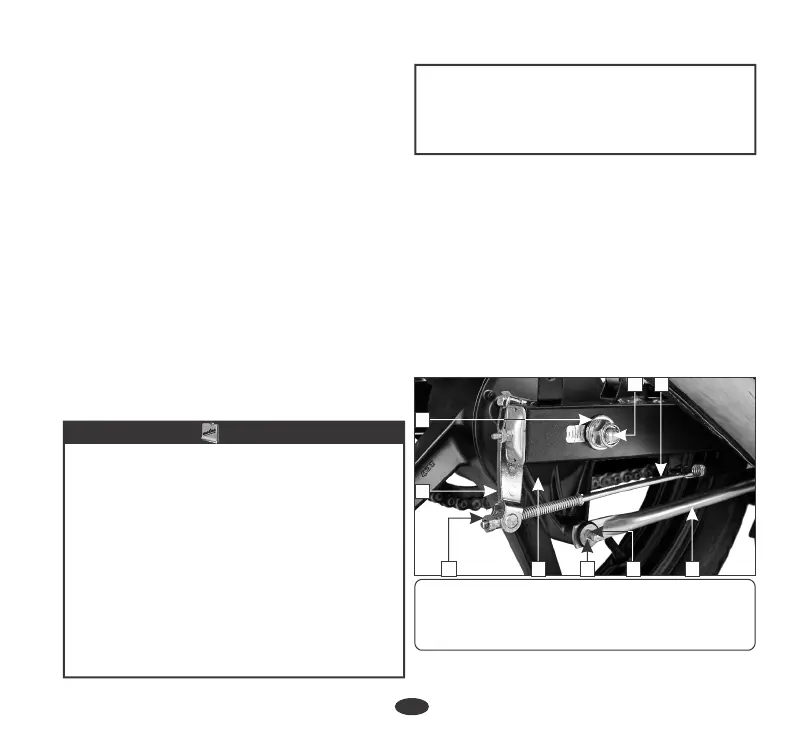
î Remove the rear brake adjusting nut (1)
and disconnect the brake rod (2) from the
brake arm (3) by pushing down the brake
pedal. Disconnect the brake stopper arm
(4) from the brake panel (5) by removing
split pin (6) and lock nut (7).
î Remove the axle nut (8) and pull out
the axle (9). Remove the wheel.
3
1
2
46 7
8
5
9
(1) Rear brake adjusting nut (2) Rear brake
rod (3) Brake arm (4) Brake stopper arm (5)
Brake panel (6) Split pin (7) Lock nut (8) Axle
nut (9) Axle
49
 Loading...