EN
29/80
7 Initial operation
• Remove the transportation safety device from the bottom of the housing, see sheet ”Transportation safety
device".
• Position the centrifuge in a stable and level manner in a suitable place. During set-up, the required safety
margin of 300 mm around the centrifuge is to be kept according to EN / IEC 61010-2-020.
When the centrifuge is running, according to EN / IEC 61010-2-020, no persons, dangerous
substances or objects may be within the safety margin of 300 mm around the centrifuge.
Substances can be discharged through the ventilation opening on the rear side of the
centrifuge. The device is to be placed in such a way that the air stream is not directed towards
people.
• Do not place any object in front of the ventiduct.
Keep a ventilation area of 300 mm around the ventiduct.
• Centrifuge with PE connector:
If required, connect the PE connector at the back of the device with an additional medical potential equalization
system.
• Check whether the mains voltage tallies with the statement on the type plate.
• Connect the centrifuge with the connection cable to a standard mains socket. For connection ratings refer to
Chapter "Technical specifications".
• Turn on the mains switch. Switch position "Ι".
The machine type and program version will be displayed and the LEDs light up.
OPEN OEFFNEN will be
displayed after 8 seconds. The LED
lights up.
• Open the lid.
The last used centrifuge data will be displayed.
• Remove the transportation safety device in the centrifuge, see sheet ”Transportation safety device”.
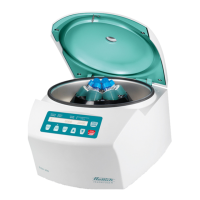
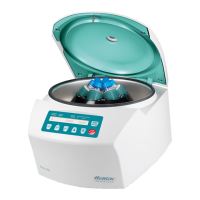
8 Opening and closing the lid
8.1 Opening the lid
The lid can only be opened when the centrifuge is switched on and the rotor is at rest. If it cannot be
opened under these circumstances, see the section on “Emergency release”.
• Rotate the turning handle on the front panel to the left. The
LED will now go off.
• Open the lid.
8.2 Closing the lid
Do not bang the lid shut.
• Place the lid and lightly press down the front edge of the lid.
• Turn the handle on the front panel to the right .The
LED will come on.
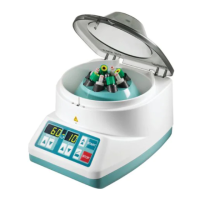
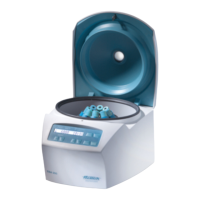
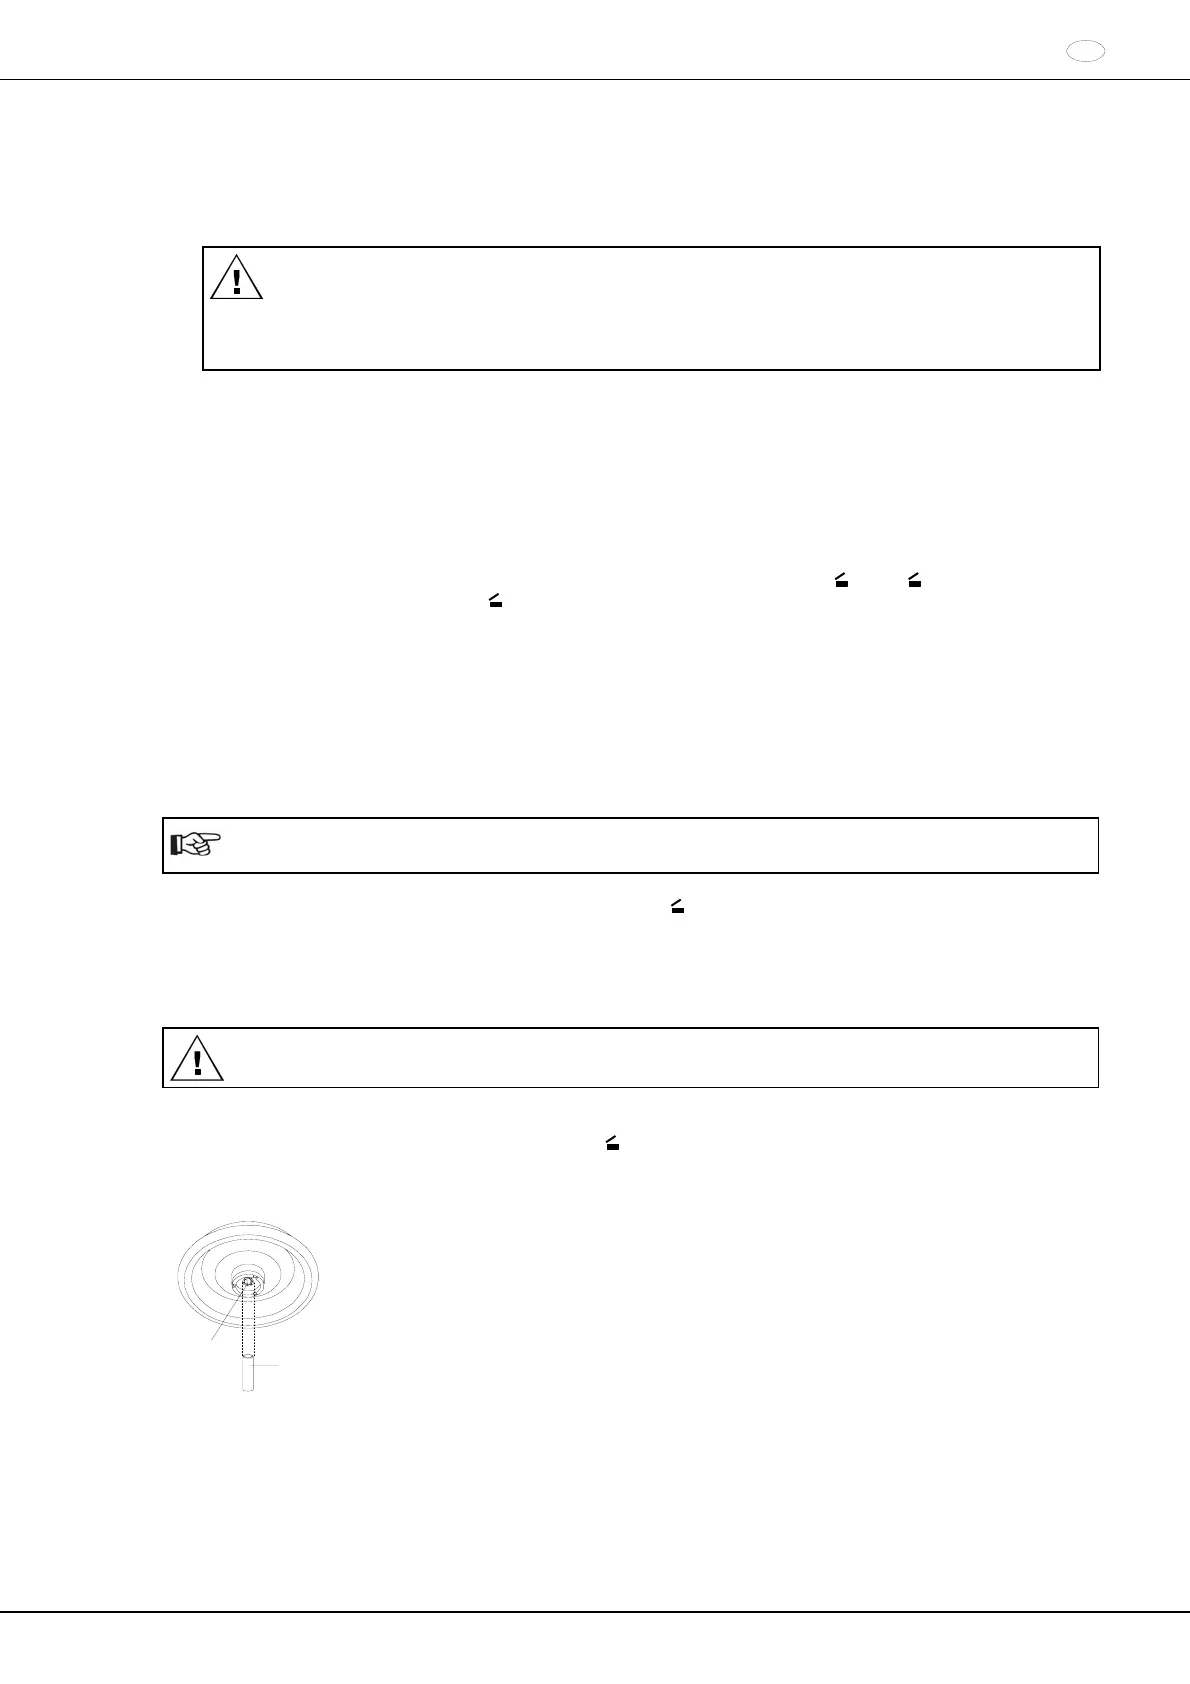
9 Installation and removal of the rotor
B
A
• Clean the motor shaft (B) and the collet chuck of the rotor (A) and then lightly grease
the motor shaft. Particles of dirt between the motor shaft and the collet chuck prevent
perfect positioning of the rotor and cause erratic running.
• Position the rotor vertically on the motor shaft and press down as far as the stop. The
rotor must audibly engage in the collet chuck.
• Tighten the rotor tension nut with the supplied wrench by turning in a clockwise
direction.
• Check the rotor for firm seating.
• Loosening the rotor: Loosen the tensioning nut by turning anti-clockwise. Turn the
tensioning nut until the rotor is able to be lifted from the motor shaft.
 Loading...