Do you have a question about the HighPoint Rocket Series and is the answer not in the manual?
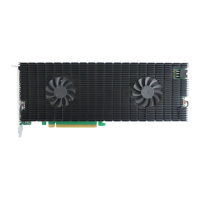
On the rear of the SSD7540, remove the six screws that secure the unit's heat sink to the PCB.
Lift the edge of the silicone sheet from the heat sink and pull it away from the surface.
Use tools such as a plastic scraper to carefully remove any residual silicone material.
Remove the blue film from each replacement silicone pad before application.
Align the replacement padding to correspond with the SSD7540's M.2 ports and chipset.
Apply even pressure to each pad to eliminate air pockets and ensure a tight seal.
Carefully reinsert the power supply cable for the cooling fan.
Refasten the six screws that were removed in step 1 on the rear of the SSD7540.
| Brand | HighPoint |
|---|---|
| Model | Rocket Series |
| Category | Computer Hardware |
| Language | English |