6
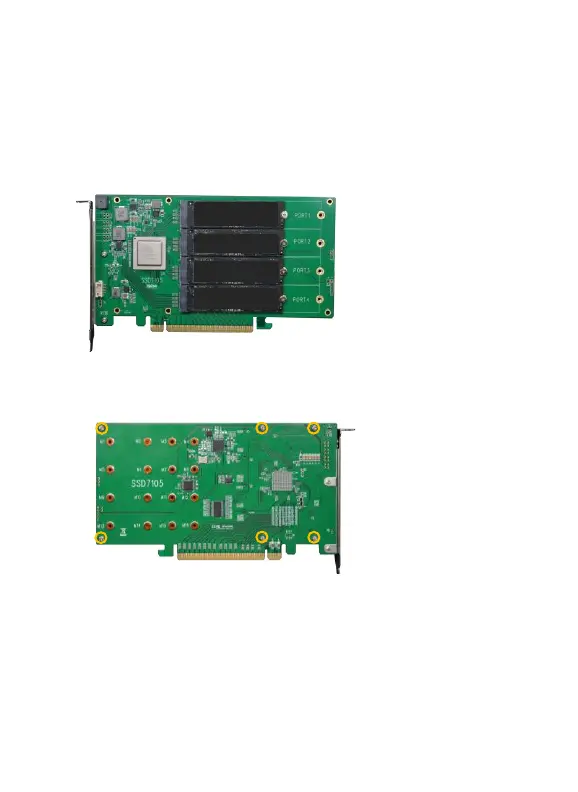
Note: Make sure the SSDs are carefully, but securely installed into
each M.2 port. Loose connections can cause a variety of stability
and performance issues, and may ultimately result in data loss.
The following example shows four SSDs installed into Port 1, 2, 3
& 4;
Step 7. Replace the heat sink after installing all SSDs
Step 8. On the rear of the SSD7105, refasten the 6 screws that were
removed in step 1.
Note
:
Make sure the aluminum cover is properly aligned with the
controller board (PCB), and that it makes full contact with the thermal
pad, before refastening it to the SSD7105. If the cover is improperly
installed, the fan and thermal pad will be unable to sufficiently cool the
NVMe SSD’s and controller componentry, which may result in damage
to the SSD’s or controller hardware, performance loss, unstable I/O,
and the loss of data.
 Loading...