Quick Start Guide of Digital Video Recorder
10
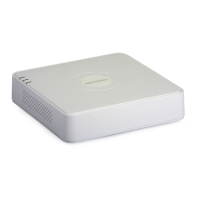
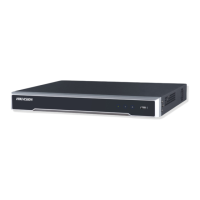
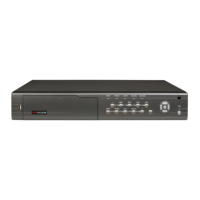
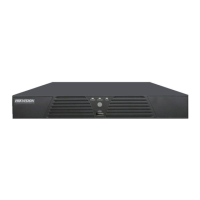
Description of Front Panel
Alarm indicator turns red when a sensor alarm is detected.
Ready indicator is normally blue, indicating that the DVR is
functioning properly.
Indicator turns blue when DVR is controlled by an IR remote.
Indicator turns red when controlled by a keyboard and orange when
IR remote and keyboard is used at the same time.
Indicator does not light when the DVR is controlled by the IR remote
control with the address of 255.
HDD indicator blinks in red when data is being read from or written
to HDD.
Tx/Rx indictor blinks in blue when network connection is functioning
properly.
Indicator turns blue when the device is armed;
Indicator does not light when the device is disarmed;
The arm/disarm state can be initiated by pressing and holding on the
ESC button for more than 3 seconds in live view mode.
Switch to the corresponding channel in Live view or PTZ Control
mode.
Input numbers and characters in Edit mode.
Switch between different channels in Playback mode.
The light of the button is blue when the corresponding channel is
recording; it is red when the channel is in network transmission
status; it is pink when the channel is recording and transmitting.
The DIRECTION buttons are used to navigate between different
fields and items in menus.
In the Playback mode, the Up and Down button is used to speed up
and slow down recorded video. The Left and Right button will select
the next and previous record files.
In Live View mode, these buttons can be used to cycle through
channels.
In PTZ control mode, it can control the movement of the PTZ
camera.
The ENTER button is used to confirm selection in any of the menu
modes.
It can also be used to tick checkbox fields.
In Playback mode, it can be used to play or pause the video.
In single-frame Playback mode, pressing the button will advance the
video by a single frame.
In Auto-switch mode, it can be used to stop /start auto switch.
Move the active selection in a menu. It will move the selection up
and down.
In Live View mode, it can be used to cycle through different
channels.
In the Playback mode: the outer ring is used to speed up or slow
down the record files and the inner ring is used to jump 30s
forward/backward in records files.
 Loading...