UM DS-2CE17H0T-IT3F 052220NA 8
Ceiling/Wall Mounting with Junction Box
Before You Start
You need to purchase a junction box in advance.
Ceiling mounting and wall mounting are similar. The
following steps take wall mounting as an example.
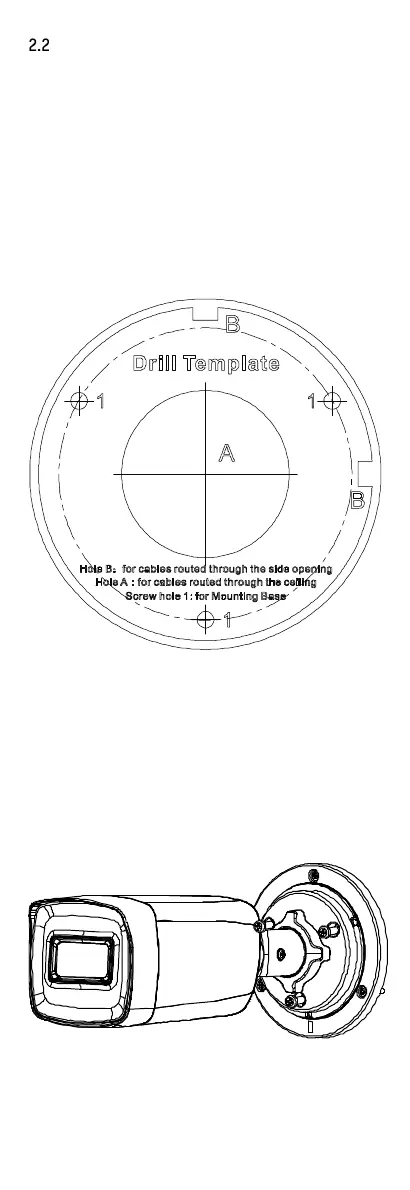
1. Paste the junction box drill template where
you want to install the camera.
2. (Optional) For a concrete wall, drill the screw
holes with a 5.5 mm drill, and insert the
supplied wall plugs.
Figure 4, Junction Box Drill Template
3. (Optional) Drill the cable hole if the cables are
routed through the wall.
4. Disassemble the junction box.
5. Align the screw holes of the camera with
those on the junction box cover. Attach the
camera to the junction box cover with three
PM4 × 10 screws.
Figure 5, Attach Camera to Junction Box Cover
6. Secure the junction box body onto the wall
with three PA4 × 25 screws (supplied).
 Loading...