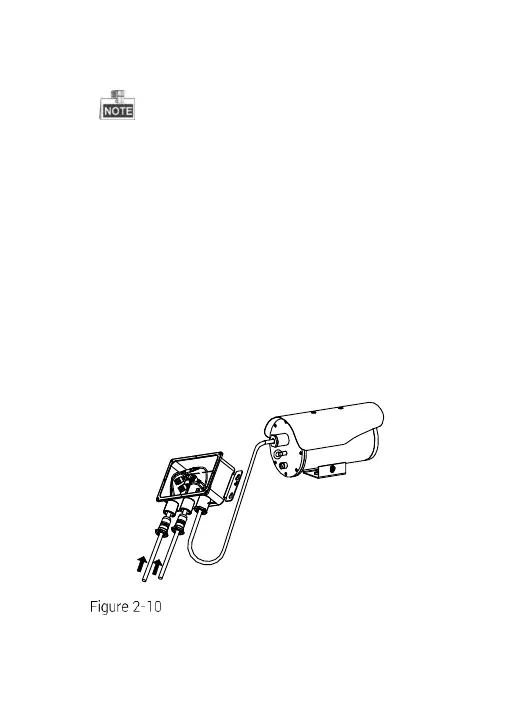
2) Route the cables (including network cable, alarm cable,
audio cable, power cable, etc.) into the cable hole.
Save the sealing ring for future usage.
To ensure the sealing performance, we provide you with
multiple sealing plugs. Select the appropriate sealing
plug according to your cable type.
You are highly recommended to route one cable through
one sealing plug hole, or twist multiple cables to one
strand and seal it with waterproof glue before you route
it through the cable hole.
3) Loosen the rest two water-proof nuts, and take out the
washer, sealing ring.
4) .Route the power cable (from the power supply end) and
network cable (from the LAN interface) through the rest
two cable holes. Make sure you cut the crystal plug before
inserting the network cable.
Install the Camera onto the Junction Box
5) Assemble the crystal plug of network cable inside the
junction box, and then connect the network cable.
 Loading...