User Manual of Network Video Recorder DS-3E0109P-E
13
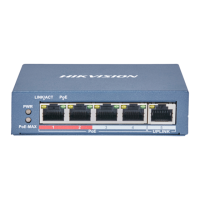
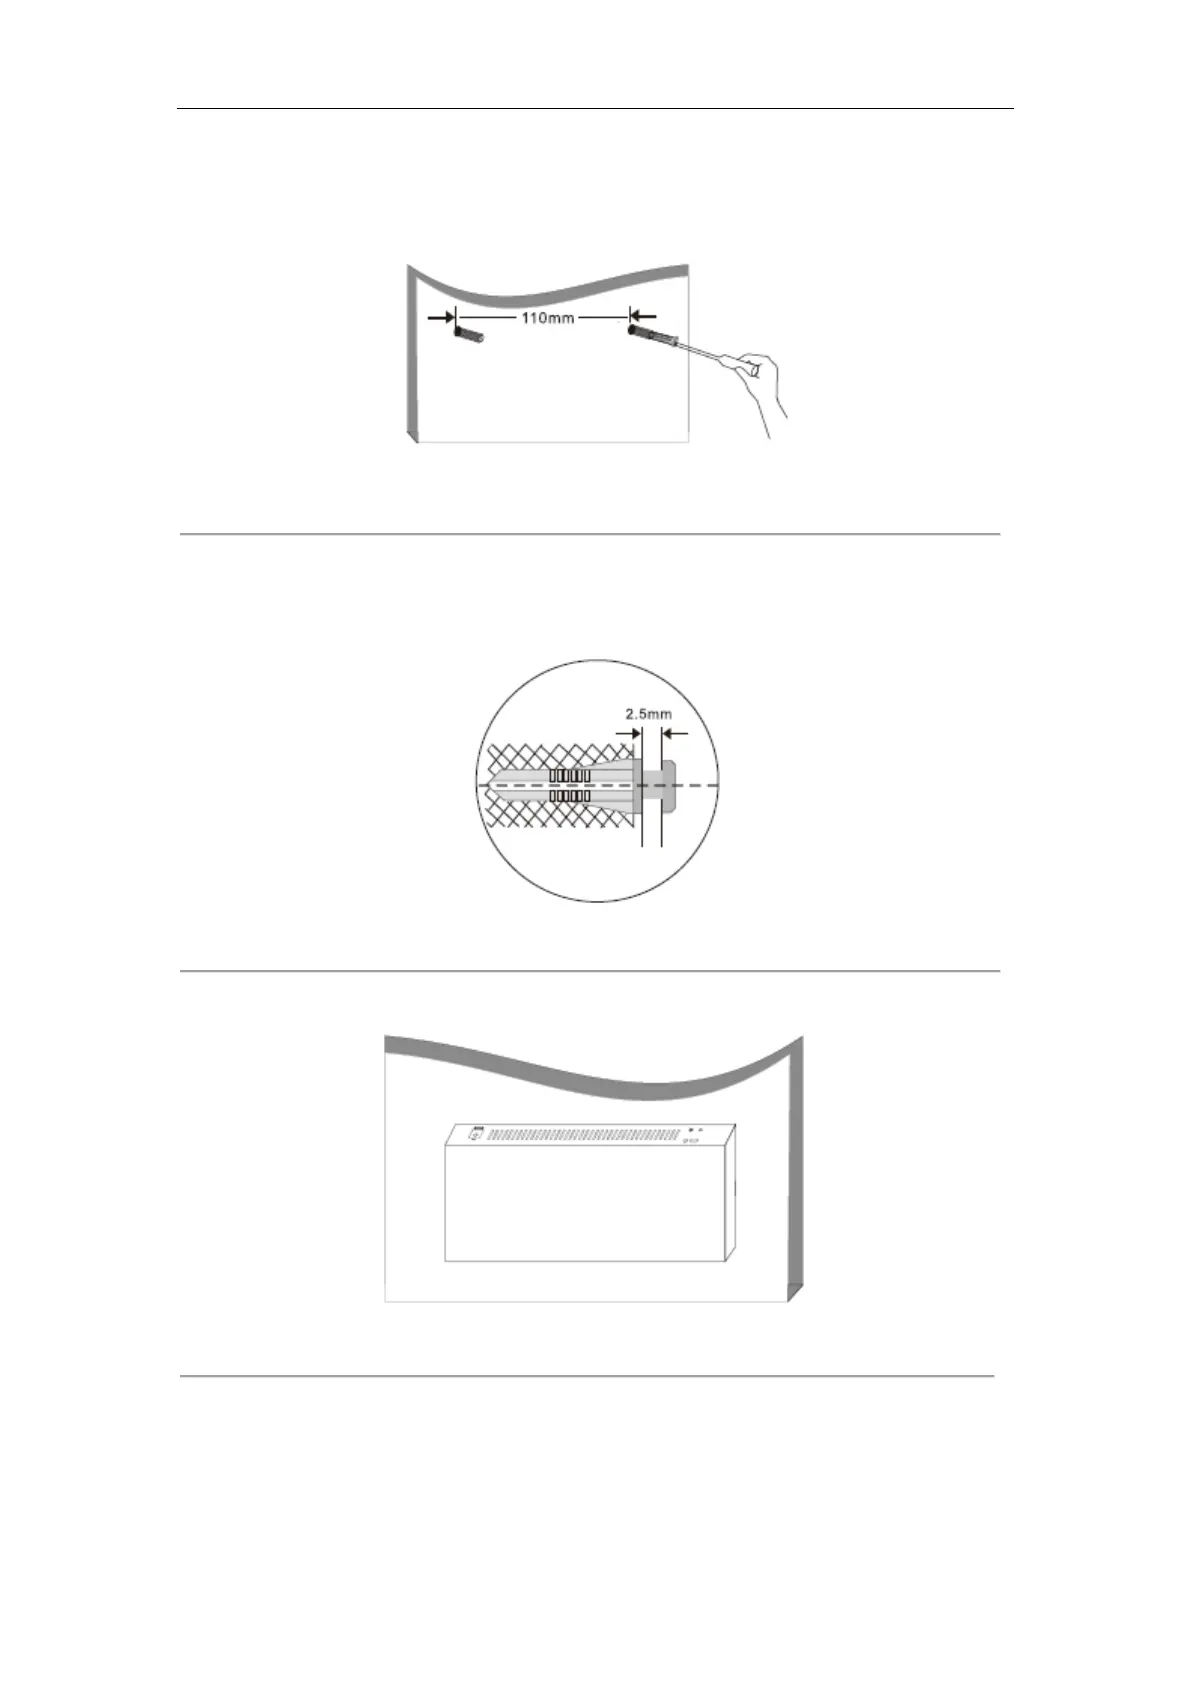
Step 2: Drill two 6mm diameter holes, about 110mm (DS-3E0109P-E) away apart on the same level in the wall.
(93mm for DS-3E0105P-E)
Figure 2.2 Drill holes in the wall
Step 3: Insert the expansion screw tubes completely into the holes in the wall with rubber hammer.
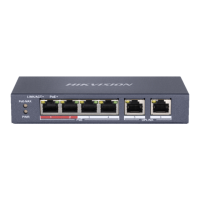
Step 4: Tighten the expansion tubes and screws with Phillips screwdriver. In order to mount the switch to the wall
firmly, the distance between the screw head and the tube head must be kept at least 2.5mm wide.
Figure 2.3 Tighten the expansion tubes
Step 5: Place the switch onto the mounting screws, and slide it down until it locks in place.
Figure 2.4 Hang the switch against the wall