DS-7200-ST Series DVR Quick Operation Guide
36
select the channel or all under Copy To and click the Copy button.
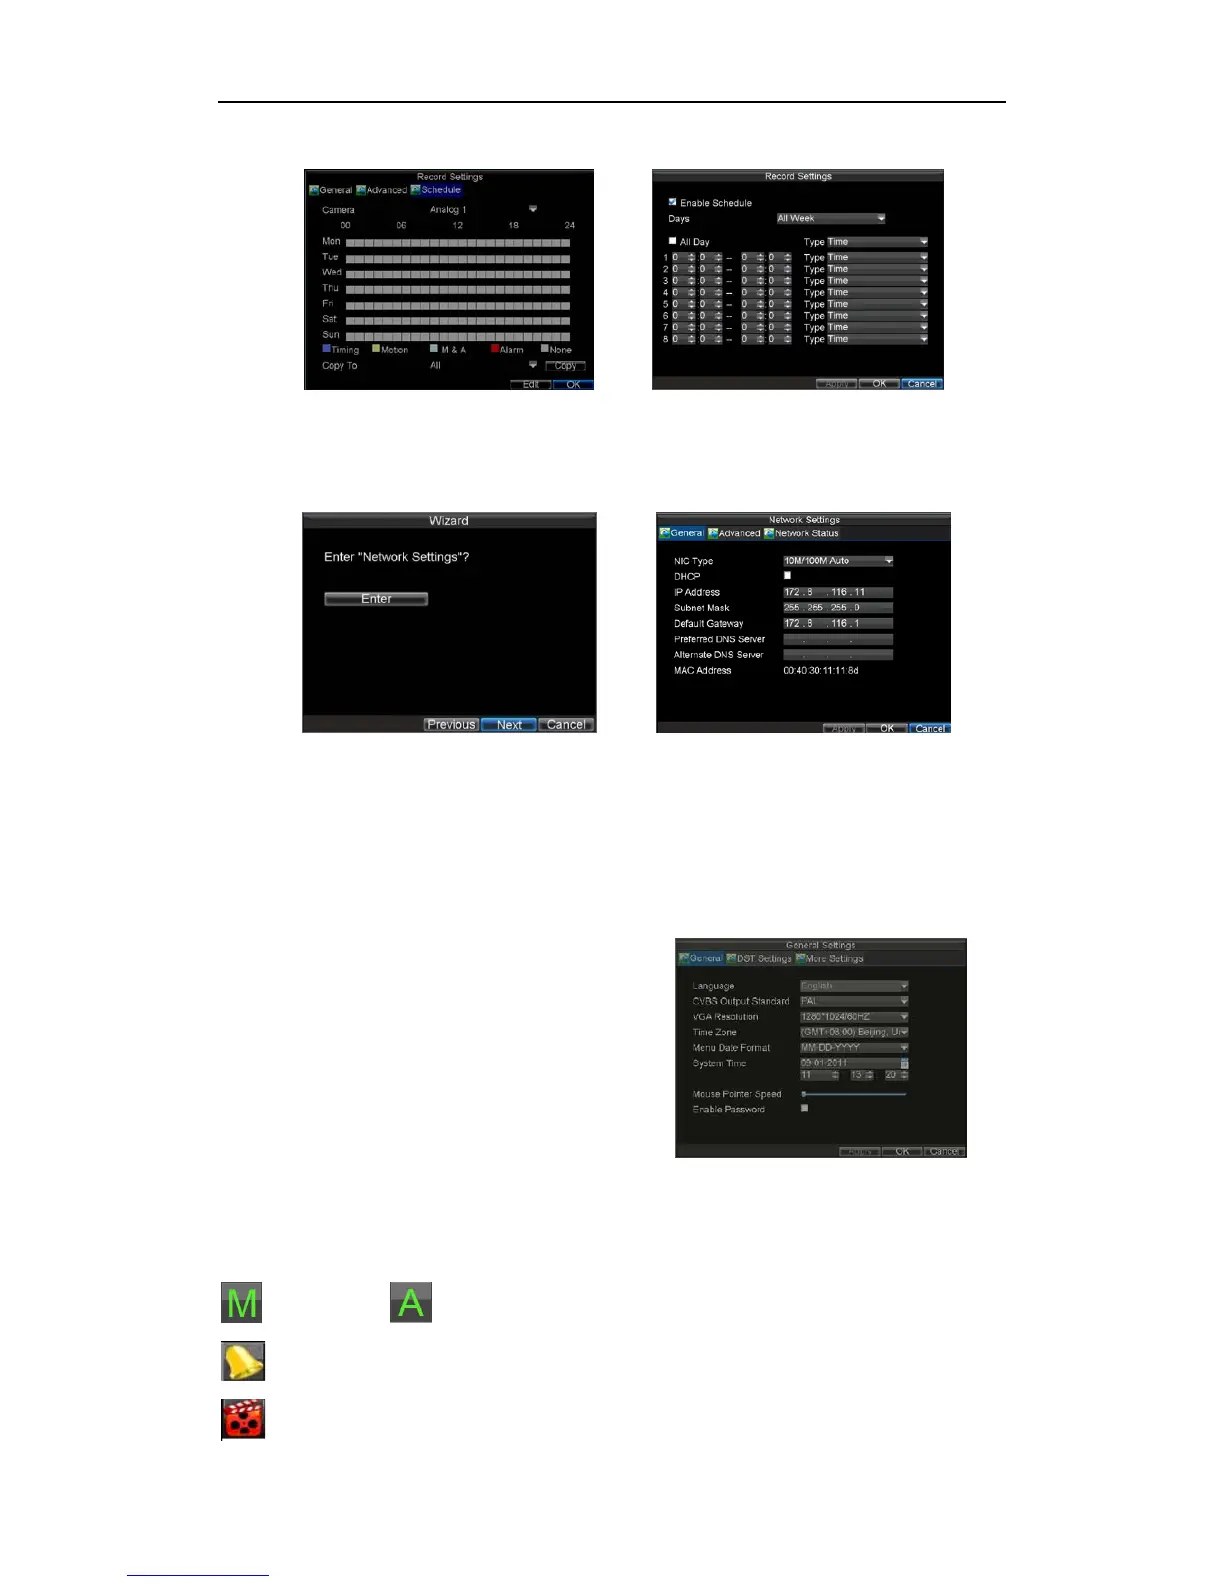
14. Click the Next button. This will take you to the Network Settings window.
15. To configure network settings, click the Enter button.
16. Enter the IP Address, Subnet Mask and Default Gateway.
17. Click the OK button to return to the Setup Wizard.
18. Click the Next button. This will take you to the Camera Management window.
19. Select Add to add IP camera, and click OK to return to Setup Wizard.
20. If all the settings are entered as desired, click the Done button to finish and exit the Setup Wizard.
You’ve completed the Setup Wizard. The next step in the initial setup process is to setup the system date and time.
Setting Date & Time
It is extremely important to setup the system date and time to accurately timestamp recordings and events.
To set date and time:
1. Enter General Settings menu by clicking Menu> Settings >
General.
2. Enter the correct date and time under System Time.
3. Click the Apply button to save the setting.
Live View
Some icons are provided on screen in Live View mode to indicate different camera status. These icons include:
Main Output Aux Output
Event Alarm: Indicates video loss, video tampering, motion detection or relay alarm.
Record: Indicates the current channel is recording. The recording may have been started manually, from a
 Loading...