6. Secure ① with the ③ in clockwise direction.
2.6 Installation of Water-proof Tape
Purpose:
If the camera is installed outdoor, you can use supplied water-proof tape to protect
cable connectors and unused cables after the camera is secured on the installation
surface.
Steps:
1. Tear off the yellow release paper on the back of the water-proof tape.
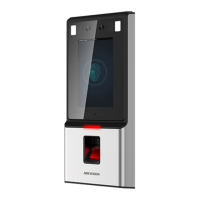
2. Stretch the water-proof tape to reach twice the initial length.
Figure 2-16 Stretch the Water-proof Tape
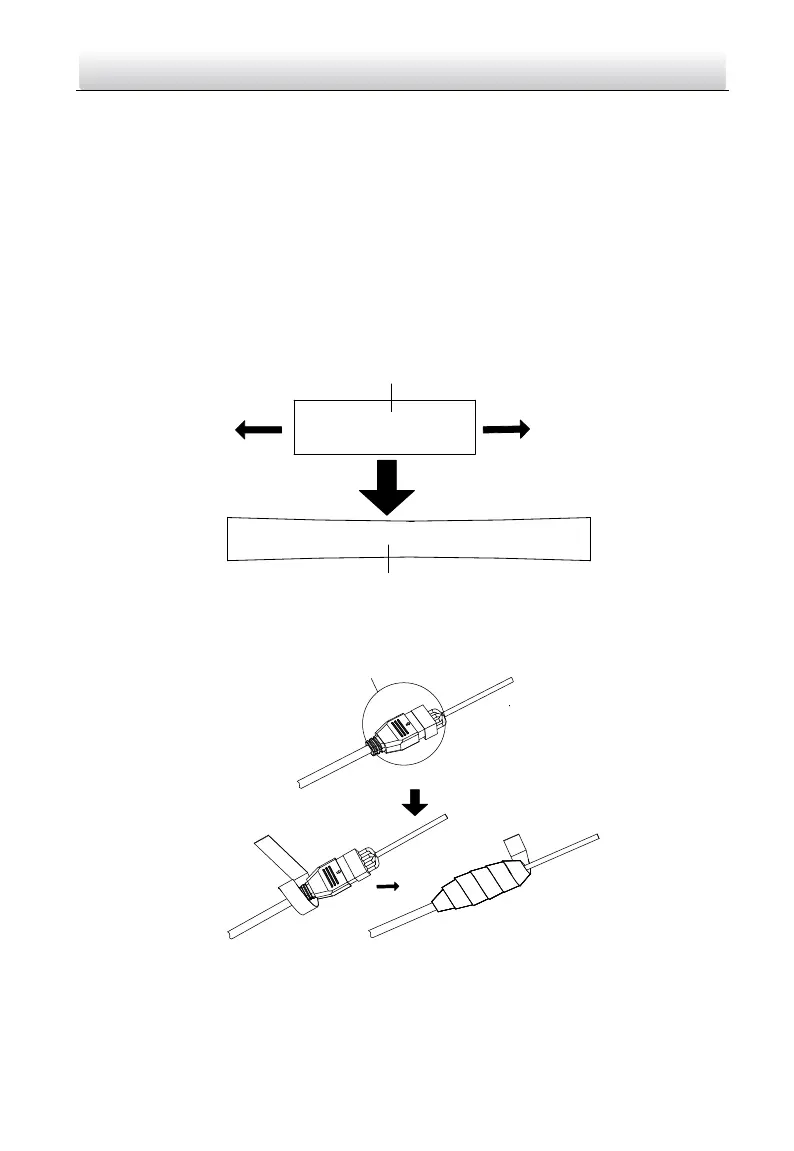
3. Wrap the water-proof tape around the cable connector tightly as the figure below.
Figure 2-17 Wrap the Water-proof Tape
Note:
Make sure that all naked wires are all firmly wrapped in the water-proof tape.
 Loading...