EasyManuals Logo

HIKVISION Network Dome Camera User Manual

HIKVISION Network Dome Camera
26 pages
To Next Page IconTo Next Page
To Previous Page IconTo Previous Page
Page #14 background imageLoading...
Page #14 background image
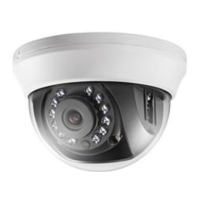
Installation Manual of Network Dome Camera
6
Hangzhou Hikvision Digital Technology Co., Ltd. | Copyright ©
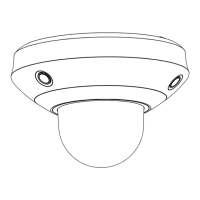
1. Use the screws to fix the bottom plate on the ceiling, and rotate dome camera in
anti-clockwise direction to attach it to the bottom plate, and finally use the lock screw to
secure the dome camera into position.
2. Loosen the set screws with a hexagonal screw driver (attached with the camera), and take
down the dome cover.
NOTE:
If required, user can apply the pliers
to remove the clip (refer to the part
kdi
dttdli
)
th id f

Questions and Answers:

Question and Answer IconNeed help?

Do you have a question about the HIKVISION Network Dome Camera and is the answer not in the manual?

HIKVISION Network Dome Camera Specifications

General IconGeneral
LensVaries by model (e.g., 2.8mm, 4mm, 6mm fixed lens; varifocal lens options available)
IR RangeUp to 30m (varies by model)
Video CompressionH.265+/H.265/H.264+/H.264
Power SupplyPoE (802.3af)
Operating Conditions-30°C to 60°C (-22°F to 140°F)
Wide Dynamic Range (WDR)120 dB
Ingress ProtectionIP67
Vandal ResistanceIK10
Network InterfaceRJ45 10/100Mbps Ethernet
Humidity95% or less (non-condensing)

Related product manuals