EasyManua.ls Logo

Hilti PR 2-HS User Manual

Hilti PR 2-HS
2 pages
To Next Page IconTo Next Page
Page #1 background imageLoading...
Page #1 background image
PR 2-HS I Quick guide I 2014
1
www.hilti.com.au
Shock-Mode
Deactivation:
PR 2-HS Quick guide
Slow
beeping
Solid beep
Fast
beeping
Press ON/OFF
Wait for Laser
1. Press ON/OFF
3. Press Shock-Mode button to
deactivate Shock-Mode
4. LED indicates Shock-Mode is
deactivated
2. Shock-Mode activates
automatically after 2 minutes
Basic Application
3. If rotator is bumped, laser
stops rotating and all LEDs
activate
Press ON/OFF for 3 sec. to enter
PRA 20 Settings
Press to change
Volume (normal/
loud/ off /low)
Press to change
units (1/8 / 1/16 /
off)
PRA 20 Menu
change the sound to beep
more rapidly above the PRA
30 center mark or below
change digital measurement
units from mm (Metric) to
inches (Imperial)

Other manuals for Hilti PR 2-HS

Question and Answer IconNeed help?

Do you have a question about the Hilti PR 2-HS and is the answer not in the manual?

Hilti PR 2-HS Specifications

General IconGeneral
TypeRotating Laser
Accuracy±0.5 mm at 10 m
Self-leveling Range±5°
Rotation Speed600 rpm
Laser ClassClass 2
Operating Temperature Range-20 - 50 °C
Protection ClassIP 66
Operating Time with Alkaline Battery60 hours
Power Supplyrechargeable battery

Summary

Basic Application Operation

Shock-Mode Functionality

Shock-Mode Activation

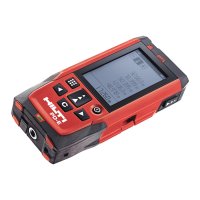
Activates automatically after 2 minutes or when the rotator is bumped, stopping rotation and activating all LEDs.

Shock-Mode Deactivation

Press the Shock-Mode button to deactivate the mode; the LED will indicate deactivation.

PRA 20 Settings and Menu

Volume Control

Press to change audio output volume levels (normal, loud, off, or low).

Unit Selection

Press to change digital measurement units from Metric (mm) to Imperial (inches).

PRA 20 Menu Access

Press ON/OFF for 3 seconds to enter the PRA 20 menu for sound or unit changes.

Keyboards and Controls

Button Functions

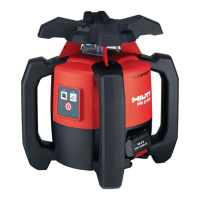
Identifies buttons for LED Shock Warning, Shock Warning, LED Leveling, Slope Mode, Volume, and On/Off.

Indicator Status

Explains LED indicators for Shock Warning deactivated, Slope Mode On, and Battery Status.

Slope Mode Operation

Slope Adapter Setup

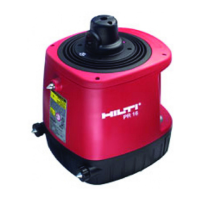
Mount the slope adapter and PR 2-HS on a tripod, and set the slope adapter to 0%.

Setting Desired Inclination

Press ON/OFF, wait for leveling, then turn the slope screw to set the desired inclination.

Related product manuals