6
(1)
(2)
(3)
(4)
(5)
(6)
Wear high-voltage rubber gloves when connecting the lead wires.
Connect the test leads securely so that they do not disconnect
during the test.
Connect the low-voltage test lead (black) to the
test point on the electrical appliance (surface of
the body of the appliance, ground terminal, or
other test point).
Set the three parameters mentioned in “1. Preparation”: Test voltage, Reference leakage current
value (upper limit for the test), and Test time. Refer to “3. Simple Startup Inspection (Settings).”
Set the test voltage after starting the test (while checking the measured voltage value).
Turn on the power switch of the electrical
appliance while power is not supplied to
the electrical appliance.
You cannot take accurate measurements if the
power switch of the electrical appliance is turned off.
Connect the high-voltage test lead (red) to the test
point on the electrical appliance (the short-circuited
part of the plug or the short-circuited leads of the
receptacle that is connected to the plug).
Check that no one is near the testing area and turn on the main power to the 3159.
Check that the analog voltmeter is indicating
0 kV
and that the
lamp is
not
illuminated
.
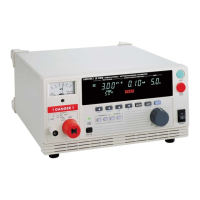
Measured voltage value Test timeLeakage current value
5. Pre
aration Before the Test
Enlarged
Switch ON

 Loading...