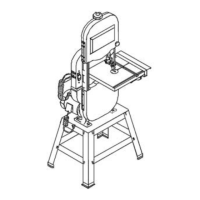
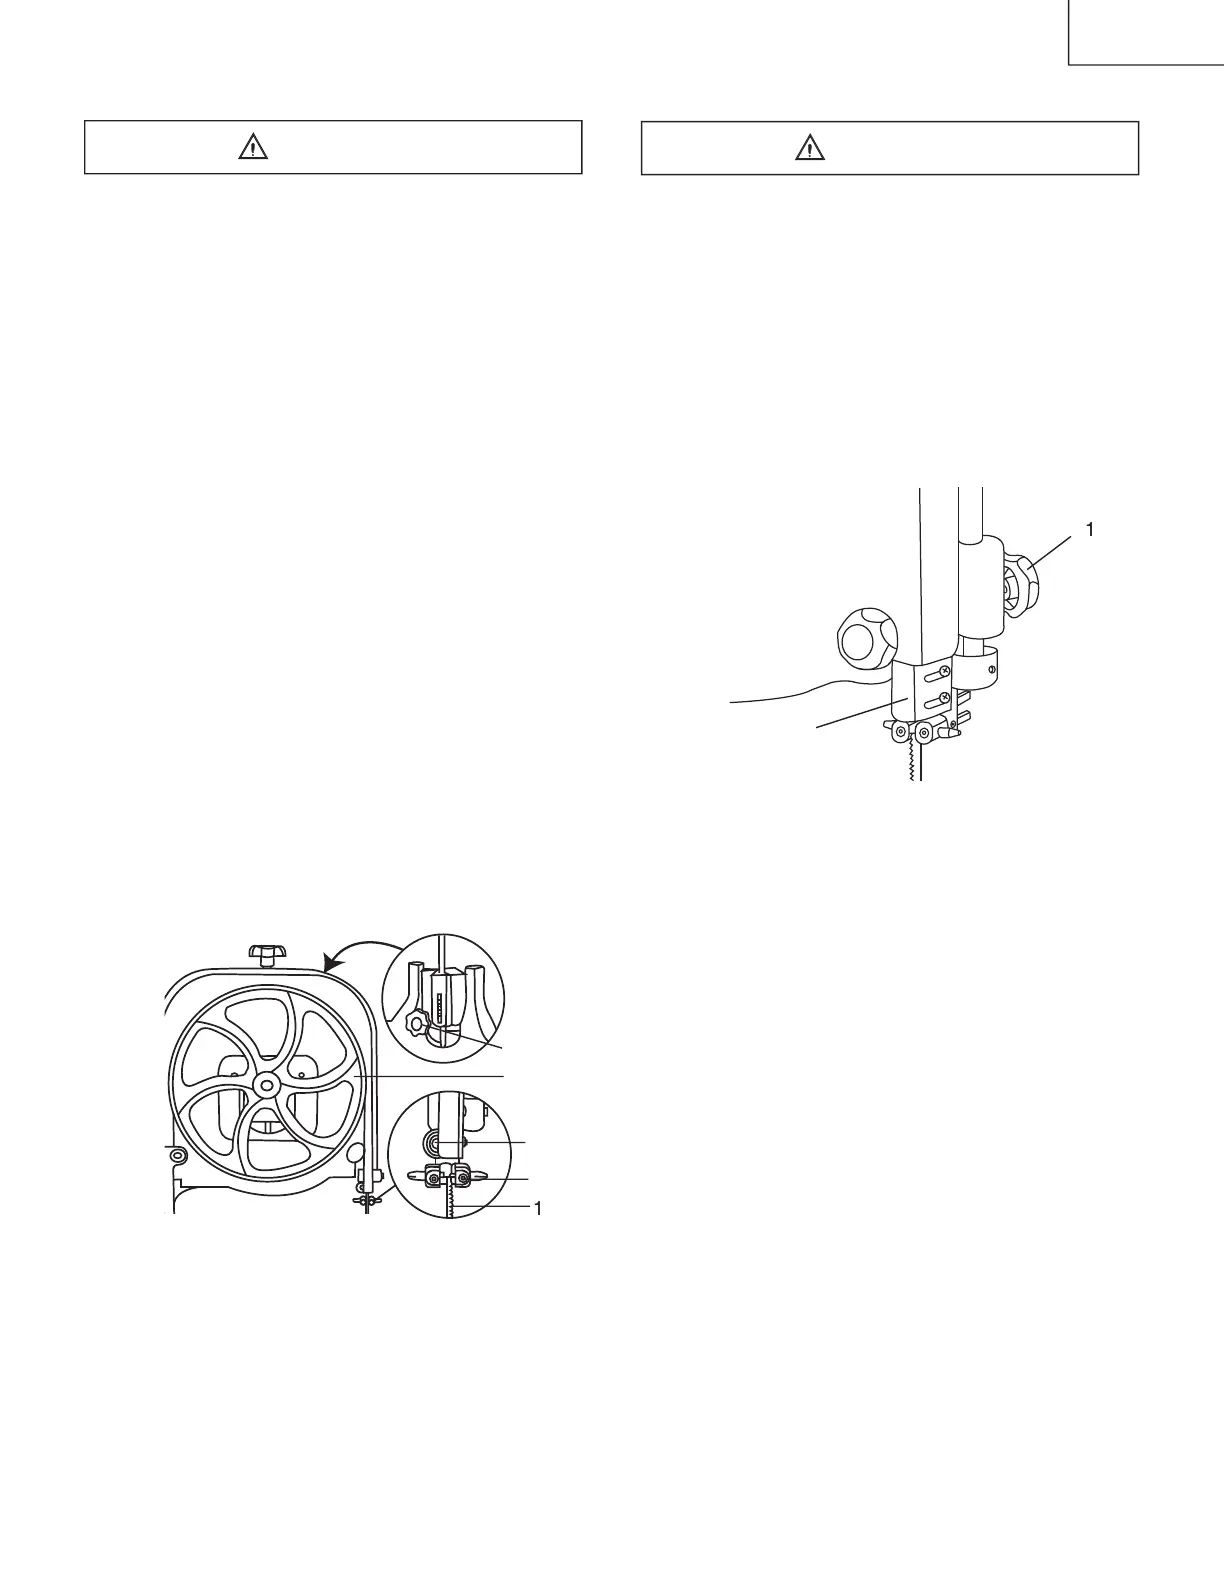
UPPER BLADE GUIDE ASSEMBLY (FIG. N)
To avoid injury, turn the switch OFF and disconnect the
saw form the power source before making any
NEVER make adjustments with the machine running;
1. Loosen the lock knob (1) and move the blade guide
assembly (2) up or down to 1/8” (3.175mm) above
2. Tighten the lock knob.
BLADE GUARD ASSEMBLY (FIG. M)
To avoid injury, turn the switch OFF and disconnect the
saw from the power source before making any
NEVER make tension adjustments with the machine
1. The blade (1) must be tensioned properly before
2. Open blade (1) the upper cover.
3. Move the blade guides (2) and support bearings (3)
away from the blade, if necessary. See page 15 for
bearing and guide adjustment.
4. Rotate the wheel (4) slowly forward by hand, and
check the position of the blade on the wheel. The
blade should remain centered on the wheel as it
5. If the blade moves toward the front of the wheel, turn
the tracking knob (5) on the rear of the band saw
clockwise. This tilts the top of the wheel and moves
the blade toward the center.
6. If the blade moves toward the back edge, turn the
tracking knob counterclockwise, moving the blade
Turn the tracking knob SLIGHTLY to make
blade tracking adjustments.
 Loading...