6
1.2 Installing the “LiveViewer”
The “LiveViewer” software needs to be installed on all the computers to connect
to the projector through a network.
You need to log in as an administrator user to install the software.
1) Turn on the computer.
2) Shut down all applications.
3) Insert the accompanying CD-ROM into the computer's CD-ROM drive.
•
If the Choose Setup Language dialog doesn't appear, proceed as follows:
(1) Click on the [Start] button on the toolbar and select the “Run”.
(2) Enter E:\setup.exe and then press the [OK].
NOTE
If your CD-ROM drive is not drive E on your computer, you will need to
replace E with the correct drive letter assigned to your CD-ROM drive.
If the software has been already installed, Uninstallation will be done. Click
the [Cancel] button, then uninstallation will be canceled. If you uninstalled the
software by miss-operation, please re-install the software from first procedure.
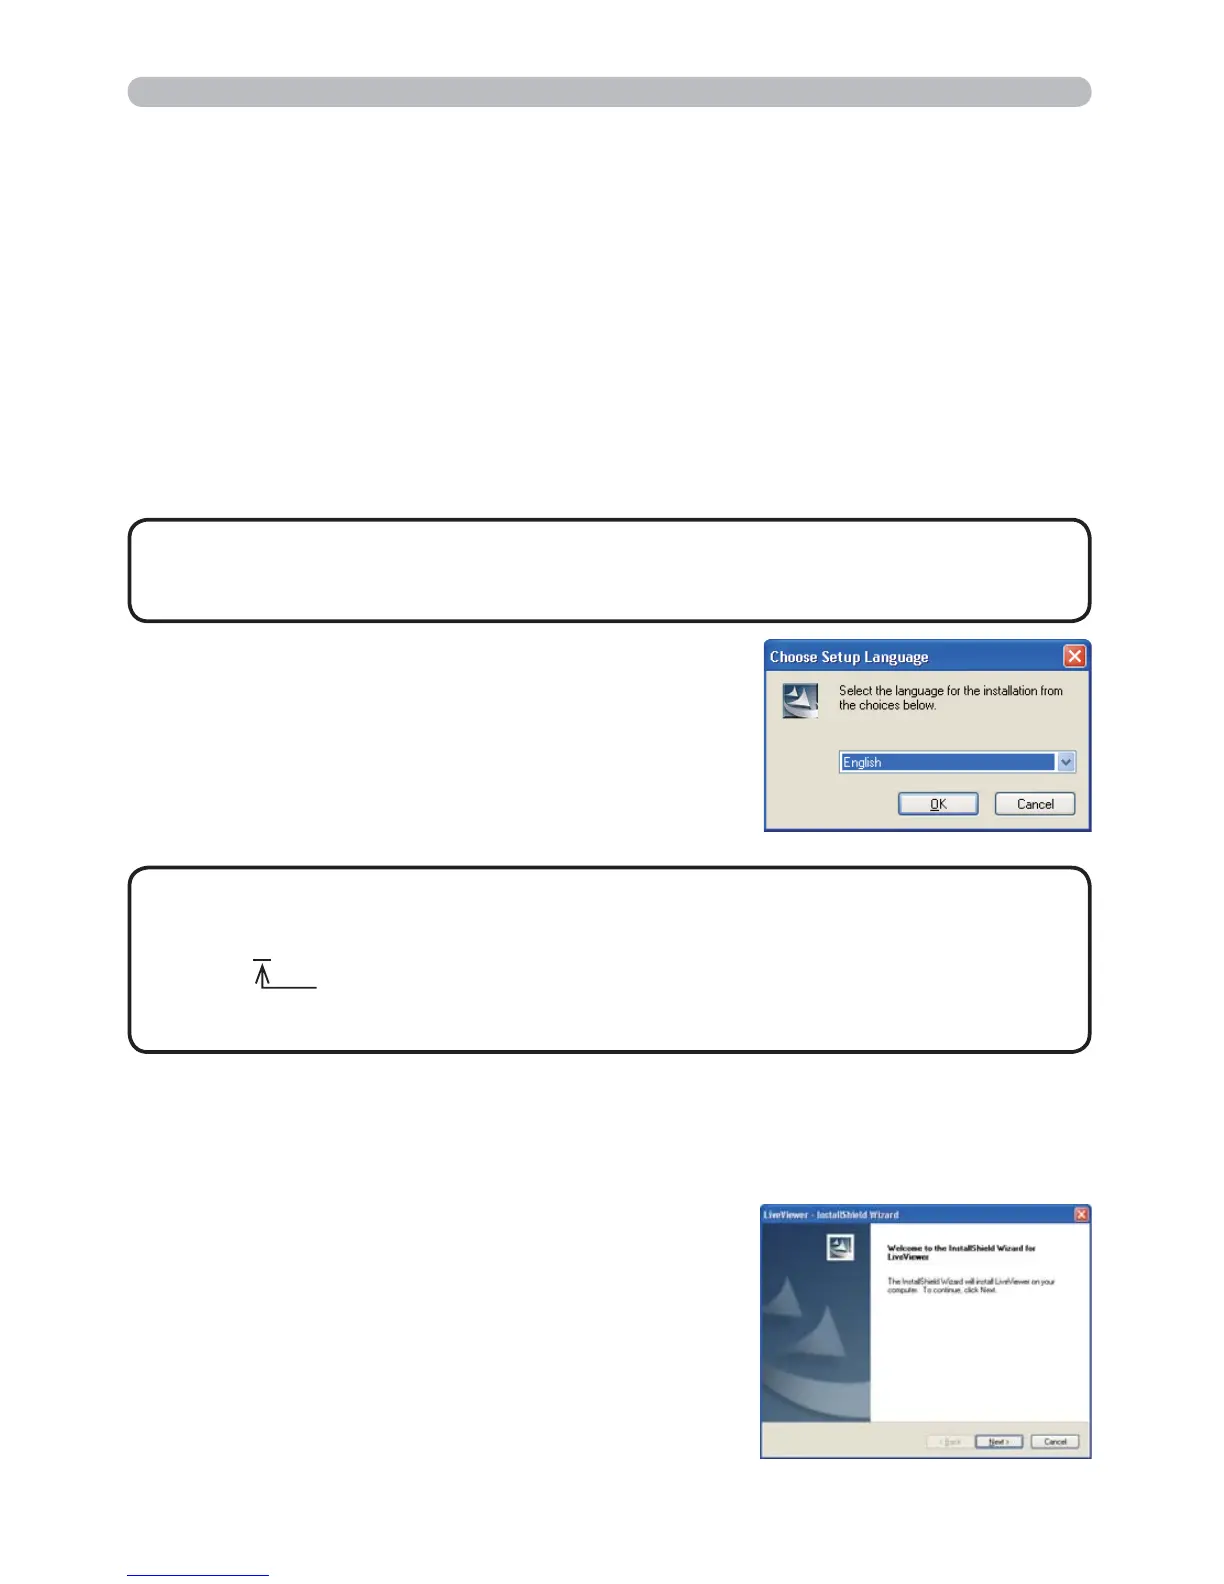
5) After a moment, the Welcome dialog will appear
as shown on the right. Press the [Next].
•
After sequence 3), the User Account Control (UAC) dialog will appear
(if you are using Windows Vista
®
or Windows
®
7). Please click the [Allow] to
continue installation.
NOTE
4) After a moment, the Choose Setup Language
dialog will appear as shown on the right. Select
what you like to use in the list, and click the [OK].
1. Connection to the network
1.2.1 Installing the “LiveViewer”
 Loading...