4 - 37
4-7-2 System reset procedure
Note:
1) Always perform system reset after completing repair: System
reset will erase all error codes stored in fl ash memory.
2) Remove the disc before executing system reset: Executing
system reset with a +RW disc loaded may erase the recorded
data.
1) Set the power switch to “OFF”, and then disconnect the battery
or AC adapter/charger.
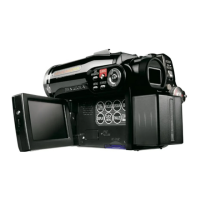
2) Use a fi ne tipped pen, etc. to push the RESET button.
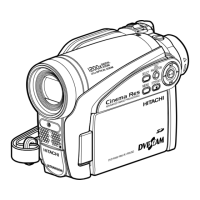
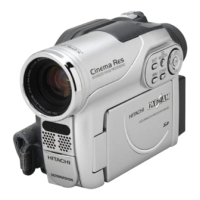
Fig 4-7-2 Reset switch position
Troubleshooting > System Resetting/Resetting Camera Functions
4-7-3
Procedure for resetting camera functions
1) Connect a battery or AC adapter/charger to
power the DVD video camera/recorder.
2) Set the power switch to “Movie”; loading
disc is not necessary at this time. For the
following steps, operate DVD video camera/
recorder while viewing the LCD monitor or
viewfi nder.
3) Press the MENU button to display the
camera function setup screen.
4) Use the
/ / / buttons to choose
“Initial Setup”, and then press the
button.
5) Use the / / / buttons to choose
“Reset”, and then press the
button: The
screen for verifying reset will appear.
6) Use the
/ / / buttons to choose
“YES”, and then press the button: Reset
will be executed.
7) After reset, press the MENU button to close
the camera function setup screen.
ENTER RETURN
Initial Setup
On
Off
On
English
Auto
Reset ?
YES
NO
Initial Setup
Beep
Power Save
Record LED
Language
Demo Mode
Reset
ENTER
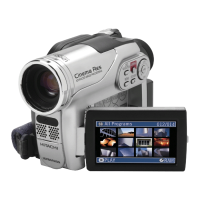
Fig 4-7-2 Example of reset screens
 Loading...