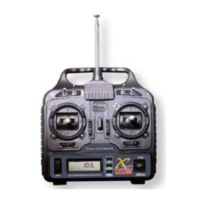
1. Press and hold the Back button and Menu button at the same time then go to the menu screen after turn on the power.
2. Turn the Menu button then go into SPECTRA Menu, then select the type of Rx, then make sure the RGB LED colors changes after BINDING.
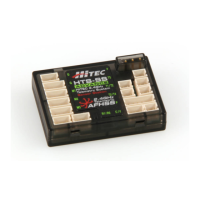
3. Please turn on the power while Rx’s LINK button is pressing. Release the LINK button after check that red and green LED of Rx are turned
on. Rx will show you to turn on the red and green LED if Rx operating is normal.
4. Turn off the power of Rx then press the back button of FLASH 7 a few times then go to Main screen.
5. Red LED keeps condition after turn on the Receiver’s power. (LED color may vary depending on the receiver.)
6. Now, you can steer object in normal mode that Tx and Rx are connected.
(Warning – Available LINK range of Tx and Rx is between 45cm and 5M. If LINK cut off more than 1 second because of the external
environment in the Scan Mode or one of transceiver’s power is turned off, you have to turn off both the Tx and Rx then LINK again.)
Transmitter Scan Mode
1. Press and hold the Back button and Menu button at the same time then go to the menu screen after turn on the power of FLASH 7.
2. Turn the Menu button then go into SPECTRA Menu then select the type of Rx then Scanning.
3. Look for the cleanest frequency in the complex environment.
4. Process again after complete to BINDING of the transceiver.
Fail safe and hold mode
When Rx signal take effect on external influence if you set the Fail - safe mode, the servo will go to Fail–safe position you stored already. The servo
will turn off the power for 1 second in hold time if you didn’t enable the Fail–safe mode. Then the servo will keep no-load condition and move to the
position that is ordered last time until it detects a normal signal again. Always, the Fail-safe mode must be enable for safe flight and the Fail-safe
mode is required safe flight status like the engine idling, the motor stop, extended air brake, etc.
- Fail-safe set-up
1. Please check the transmission system works perfectly after power on the transceiver.
2. The red LED will turn off after press and hold Rx’s LINK button for 6 seconds then the red and green LED will flash in turn after release a
LINK button then you must move all of sticks to the Fail-safe position then fix in 5 seconds,
3. The red and green LED will flash in turn faster then only red LED will turn on lastly. You must fix sticks in the Fail-safe position until this
 Loading...