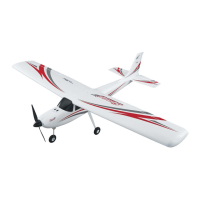
Assembling the tank plug Installing the tank
U Locate the two stopper plates. Push the aluminum
tubes through the smaller stopper disc and the back
of the rubber plug. Place the larger stopper disc on
the opposite side and insert the 3 x 20mm machine
screw through the larger disc, the rubber plug and
then into the smaller disc. Do not tighten the screw
at this time.
Final fuel tank assembly
Q Locate the metal fuel pick-up weight (often
referred to as the "clunk weight") and the medium
silicone fuel tubing. Insert the fuel pick-up weight
onto the fuel tubing. Compare the length of the
fuel tank to the length of the fuel tubing and cut
the tubing so that the fuel pick-up weight on the
end of the fuel tubing will not touch the end of the
fuel tank. The plug assembly can now be inserted
into the tank. The pressure tube should be
adjusted so the tube is pointed straight up just
under the top of the tank.
Caution: The pressure tube should be close but not
touching the top of the tank because the flow of fuel
may be interrupted and cause the engine to quit.
The stopper discs on the rubber plug can be
tightened by turning the screw. Do not over tighten
the stopper plates or damage to the tank may occur.
(-1 Insert the fuel tank into the fuselage as shown in
the photo.
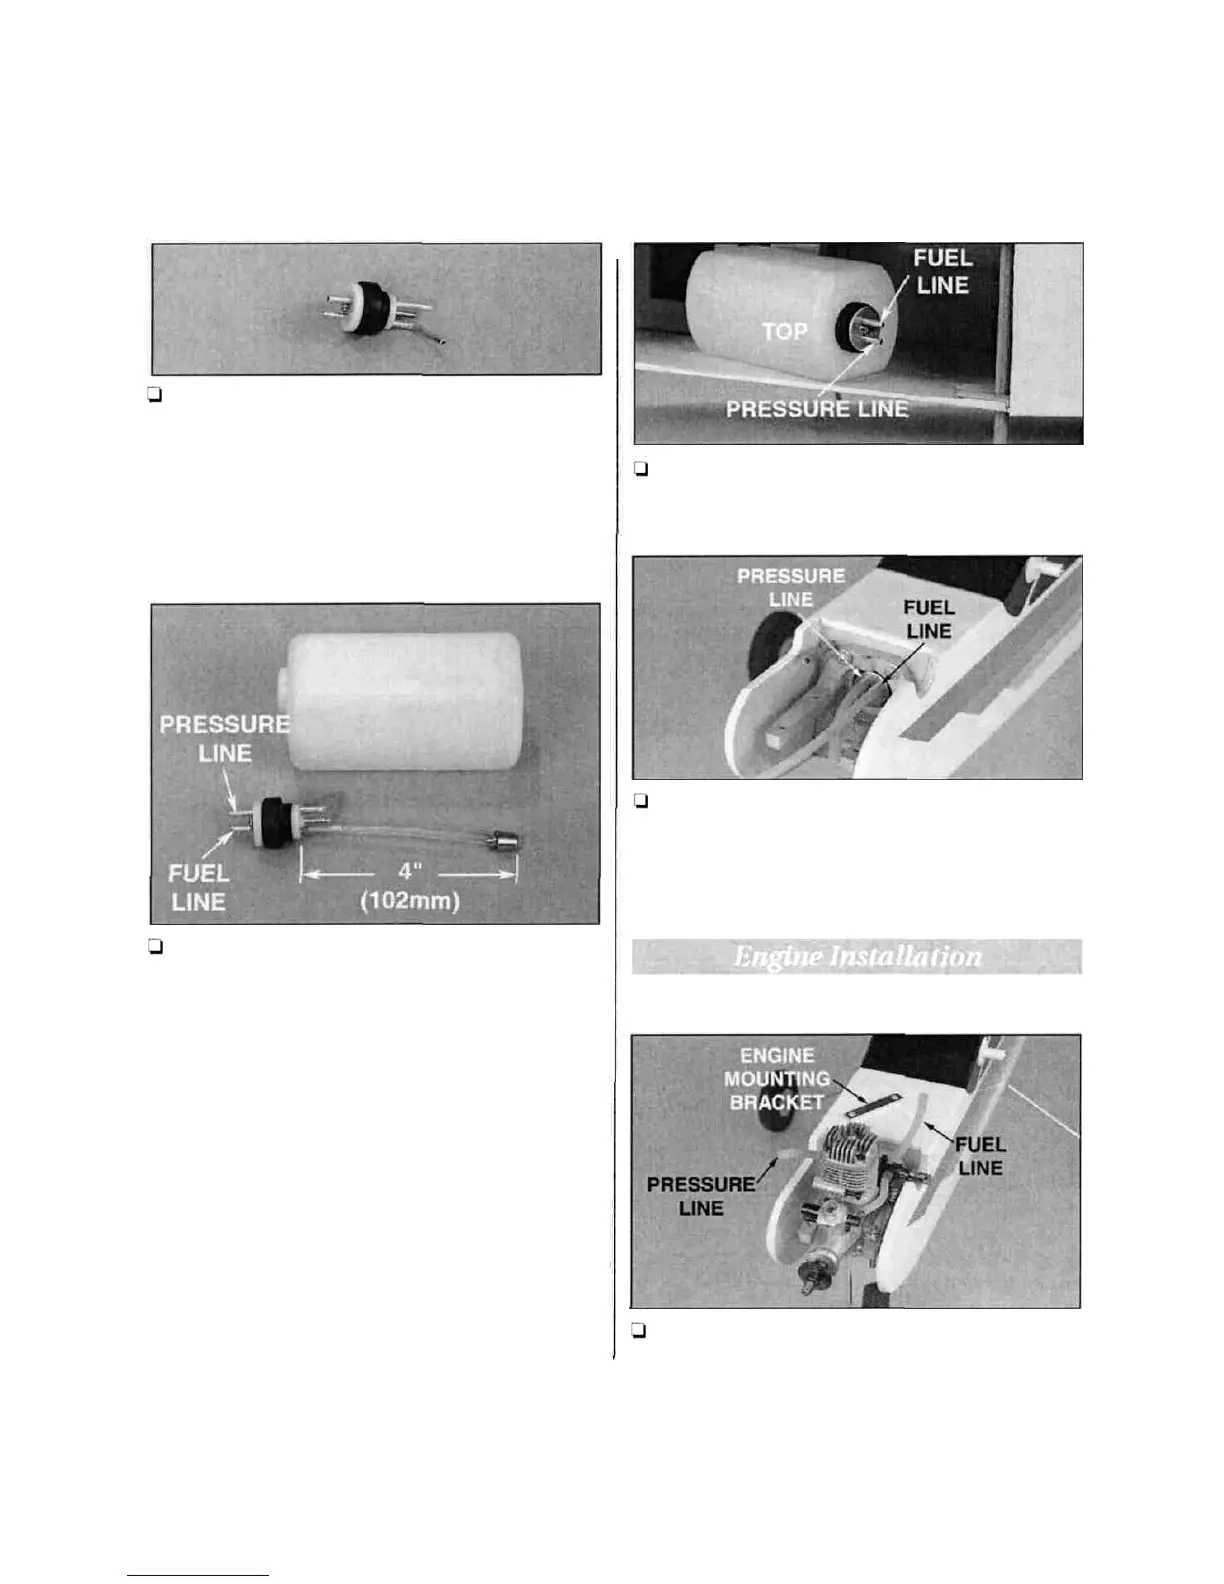
Orientation of the fuel ports
1-1 Note the locations of the fuel tubes. Cut two fuel
line lengths, pressure line 4-1/2" (114mm) and fuel
line 4" (101mm), from medium silicone fuel line
(not included). Place the cut fuel lines over the
correct tubes.
Mounting the engine
1-1 The photo shows an O.S. 40 LA engine mounted.
Secure the engine by using two engine mounting
15