SH
16 © HOLMS INDUSTRI AB, ALL RIGHTS RESERVED 161230.
Operation
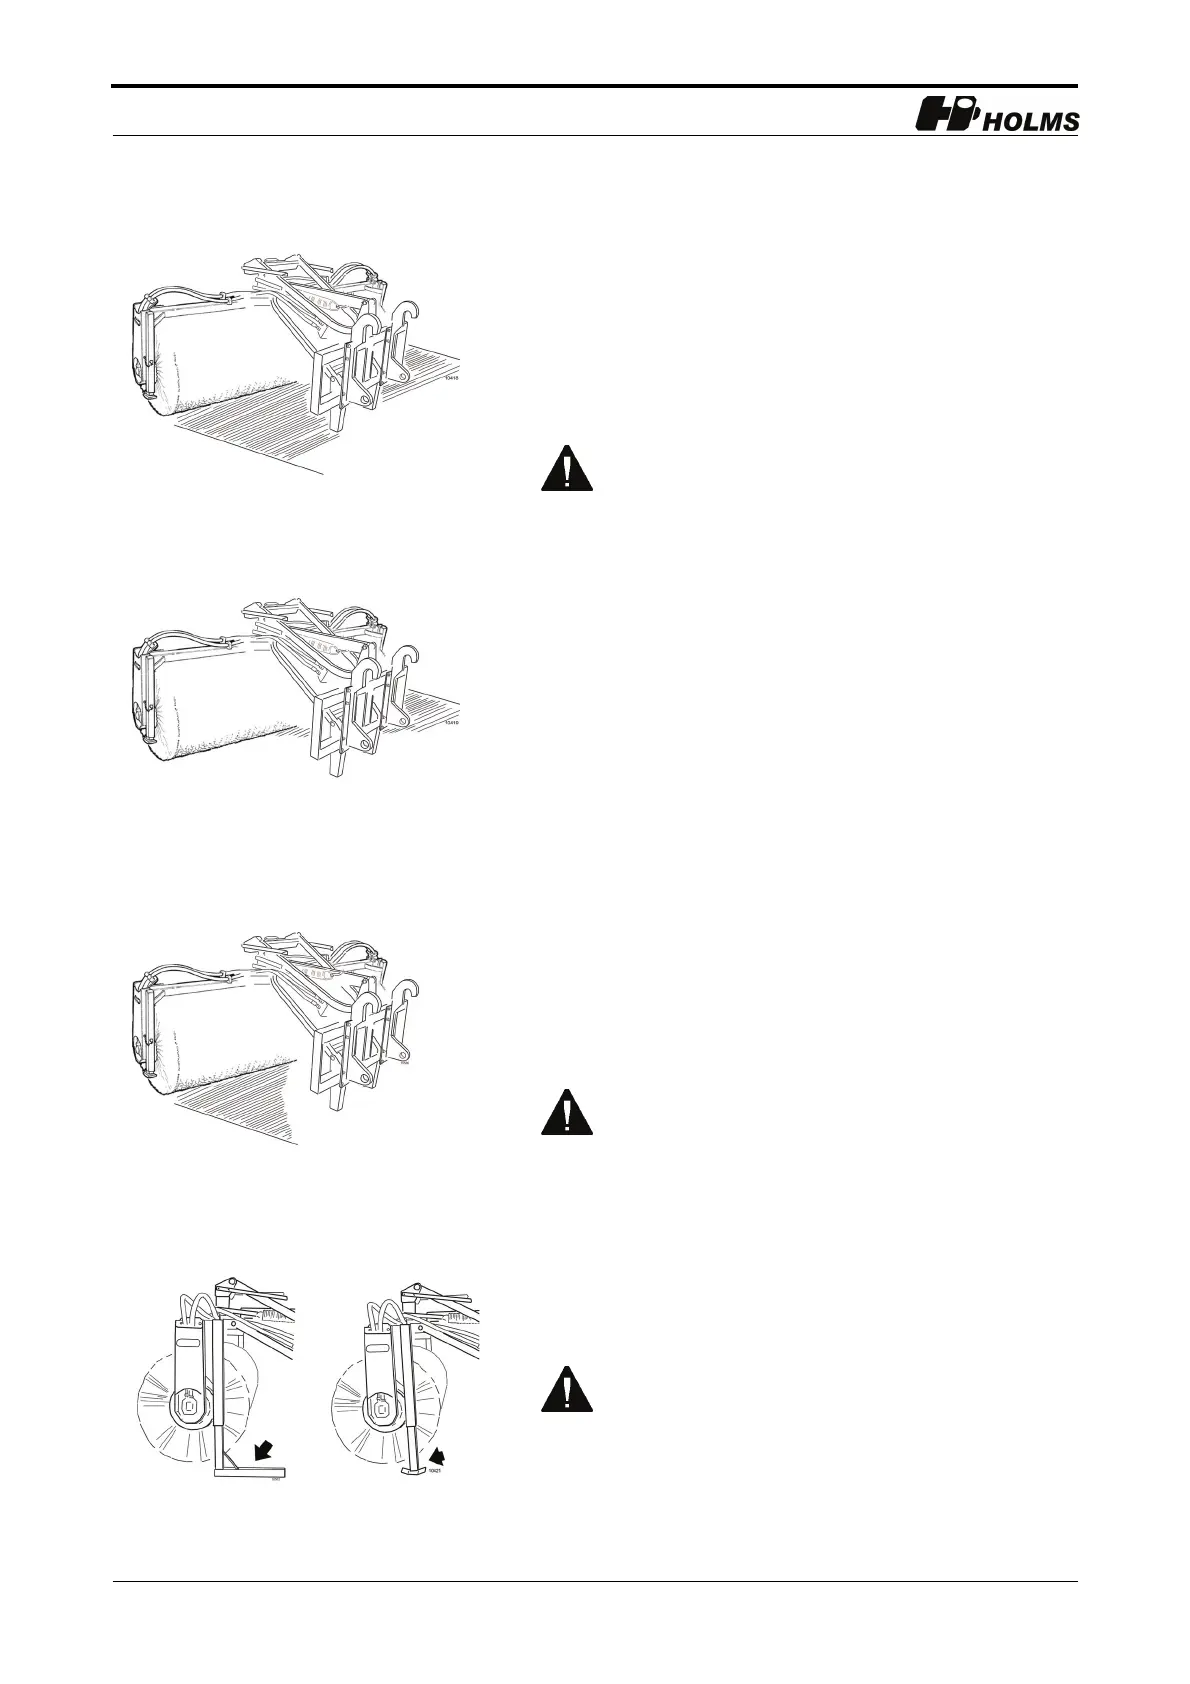
Settings for sweeping will normally be as per section
“Adjusting the height and tilt of the sweeper roller” on
page 14. The yellow markings on the height indicator and
tilt indicator must line up. In this position the loader
attachment is vertical to the ground. The sweeper roller
then applies even pressure along its entire width (see
figure 13).
If greater pressure is required on either side of the roller
or if the roller has become unevenly worn, this can be
adjusted by altering the tilt. Tilting the sweeper
backwards produces greater pressure on the side of the
sweeper roller angled towards the carrier (see figure 14).
Tilting the sweeper forwards produces greater pressure
on the side of the sweeper roller angled away from the
carrier (see figure 15).
When transporting the sweeper on the carrier the sweeper
shall be in uptilted position.
Disconnection from carrier when using standard
attachments
1. Release the machine attachment’s lock pins before
lowering the sweeper roller to the ground in order to
prevent damage to the counterbalancing system.
2. Lower and secure the supports in parking position.
3. Lower the sweeper roller to the ground.
4. Release the quick couplings for the third and fourth
function hydraulic outlet or the hydraulic motor
circuit and electrical cabling.
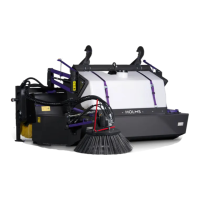
Disconnection from carrier without own lifting device
1. Position the supports in the parking position (see
figure 16). Set the connection device pin in the lifting
position.
Do not use the carrier’s lifting function to adjust
the ground pressure. Use the adjustment lever
instead (see figure 11 on page 15).
The brush will become deformed if the sweeper
roller is not parked on the supports.
Before disconnection the roller must be in line with
the angling cylinder and any lateral movement.
13.Sweeper roller with even pressure
14.Sweeper tilted backwards
15.Sweeper tilted forwards
16.Supports in parking position