22
ENGLISH BACK TO TOC
NOTE: When the “Last Procedure” Icon is pressed, only
the previous procedure will be displayed. Information for
procedures prior to the most recent procedure will not be
available.
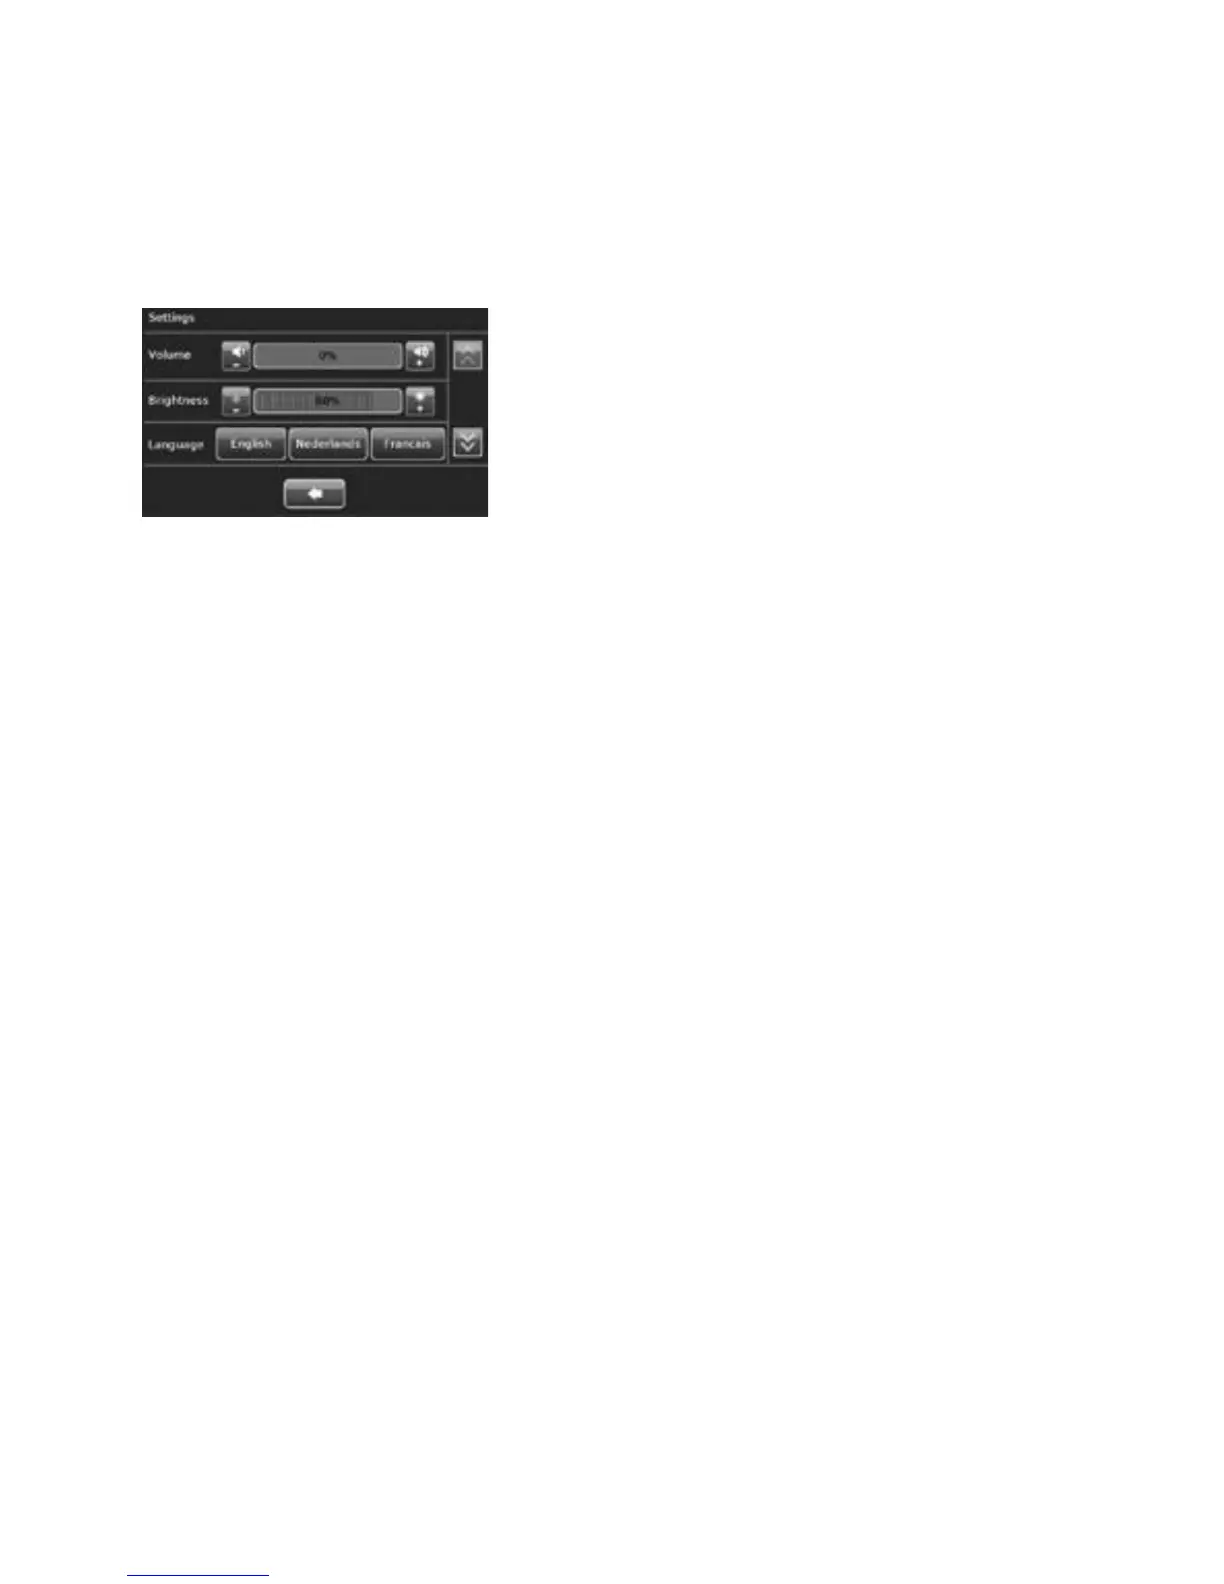
NOTE: In the “Settings” screen, press the “-” or “+” buttons
to adjust the volume and brightness.
NOTE: The first time the Model 10 RFC is turned on, the
“Select Your Language” screen will display. The default
setting is in English. To select another language, press the
button with the name of that language. Save the selection by
pressing the flashing green button located at the bottom right
center of the screen. The language selection will be retained.
To change the language selection after the initial setup, use
the “Setting” screen. Press the name of the language to
change the language used on the screen display. To save
changes to the settings, press the flashing green button
located at the bottom right center of the screen. To cancel a
selection, press the blue “X” located at the bottom left center
of the screen.
Troubleshooting Most Common Alarms
CAVITY ASSESSMENT ALARM
If the cavity integrity assessment fails, a screen will display “Cavity
Assessment Failure” with an abridged version of the troubleshooting tips
below. The cause of the cavity integrity assessment (CIA) failure is the
inability to pressurize the cavity. It may be caused by:
1. Device leak: Ensure that the suction line desiccant filter has been
installed. Check all tubing connections to ensure that they are tightly
connected.
2. Leak at the external os of the cervix: Look for visible bubbles or a
“hissing” sound at the external os of the cervix.
Use the tab on the cervical collar to advance the cervical collar
towards the external os of the cervix to ensure there is a tight seal.
Perform the CIA test again. If the CIA test fails again, use a second
tenaculum to grasp the cervix around the sheath of the NovaSure
disposable device. Perform the CIA test again.
3. Uterine perforation: If a perforation is suspected, the procedure
should be terminated immediately.
NOTE: CO
2
leakage may occur at the external cervical os due to the
presence of an over-dilated cervix. Visible bubbles or the “hissing”
sound of escaping gas may accompany CO
2
leakage under either of
these conditions.
NOTE: When following the troubleshooting steps on the Model 10
RFC, press the “?” button on the screen and use the scroll buttons
on the right for more information. To get back to the main screen
from the additional troubleshooting tips, press the “X” in the top
right corner of the screen.
If the cavity integrity assessment fails after reasonable attempts
to implement the troubleshooting procedure (step 2.36), abort the
procedure.
VACUUM ALARM
The Vacuum alarm occurs when the vacuum level is outside its specified
range. This can occur as a result of one or more of the following:
• An over-dilated cervix;
• Poor contact between the cervical collar and the external cervical os;
• The vacuum relief valve is in the closed position;
• An obstruction in the disposable device filter(s) (two) or desiccant; or
• An obstruction within the disposable device.
If the Vacuum check fails, a screen will display “Vacuum Failure” with an
abridged version of the following troubleshooting tips:
• Gently press a 2-3.5 mm uterine dilator or sound inside the vacuum
relief valve
• Check the cervical collar position, and reposition if necessary. Use the
tab on the cervical collar to advance the cervical collar towards the
external os of the cervix to ensure there is a tight seal. Verify that air is
not being drawn through the cervix by a loose fit between the cervical
collar and the entrance to the cervical canal. If air is being drawn in
through the cervical canal, try to reposition the cervical collar and
disposable device shaft to prevent air ingress.
• Ensure the suction canister on the disposable device is vertical and the
device tubing is not draped over the patient’s leg.
• Check all tubing connections to ensure that they are tightly connected.
Check the push-on tubing connectors at the desiccant tube. Replace
the desiccant if it is pink. Ensure that the filter located near the
disposable connection on the vacuum feedback line is tightened.
• Reattempt ablation.
If the “Vacuum Failure” screen displays again:
• Disconnect the disposable device from the RF controller.
• Remove the disposable device and replace with a new disposable
device.
• Reattempt the ablation with the new device.
Model 10 RFC USERS ONLY