S
Susan ThomasAug 6, 2025
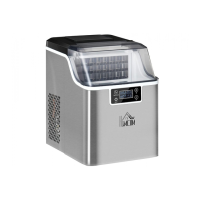
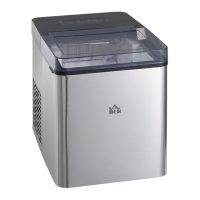
What to do if the 'ADD WATER' indicator turns on for my HOMCOM IM2100-GS Ice Maker?
- Ccaitlin49Aug 6, 2025
If the 'ADD WATER' indicator illuminates on your HOMCOM Ice Maker, this may be due to: 1. Low water level or absence of water: Stop the ice-making process, replenish the water, and then press the “ON/OFF” button to initiate a new ice-making cycle. 2. A blocked water screen at the bottom of the water reservoir: Clean the water screen. 3. Pump malfunction: It needs to be inspected and repaired by an authorized service department.