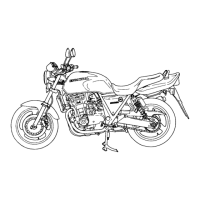
68
Fig. 4.
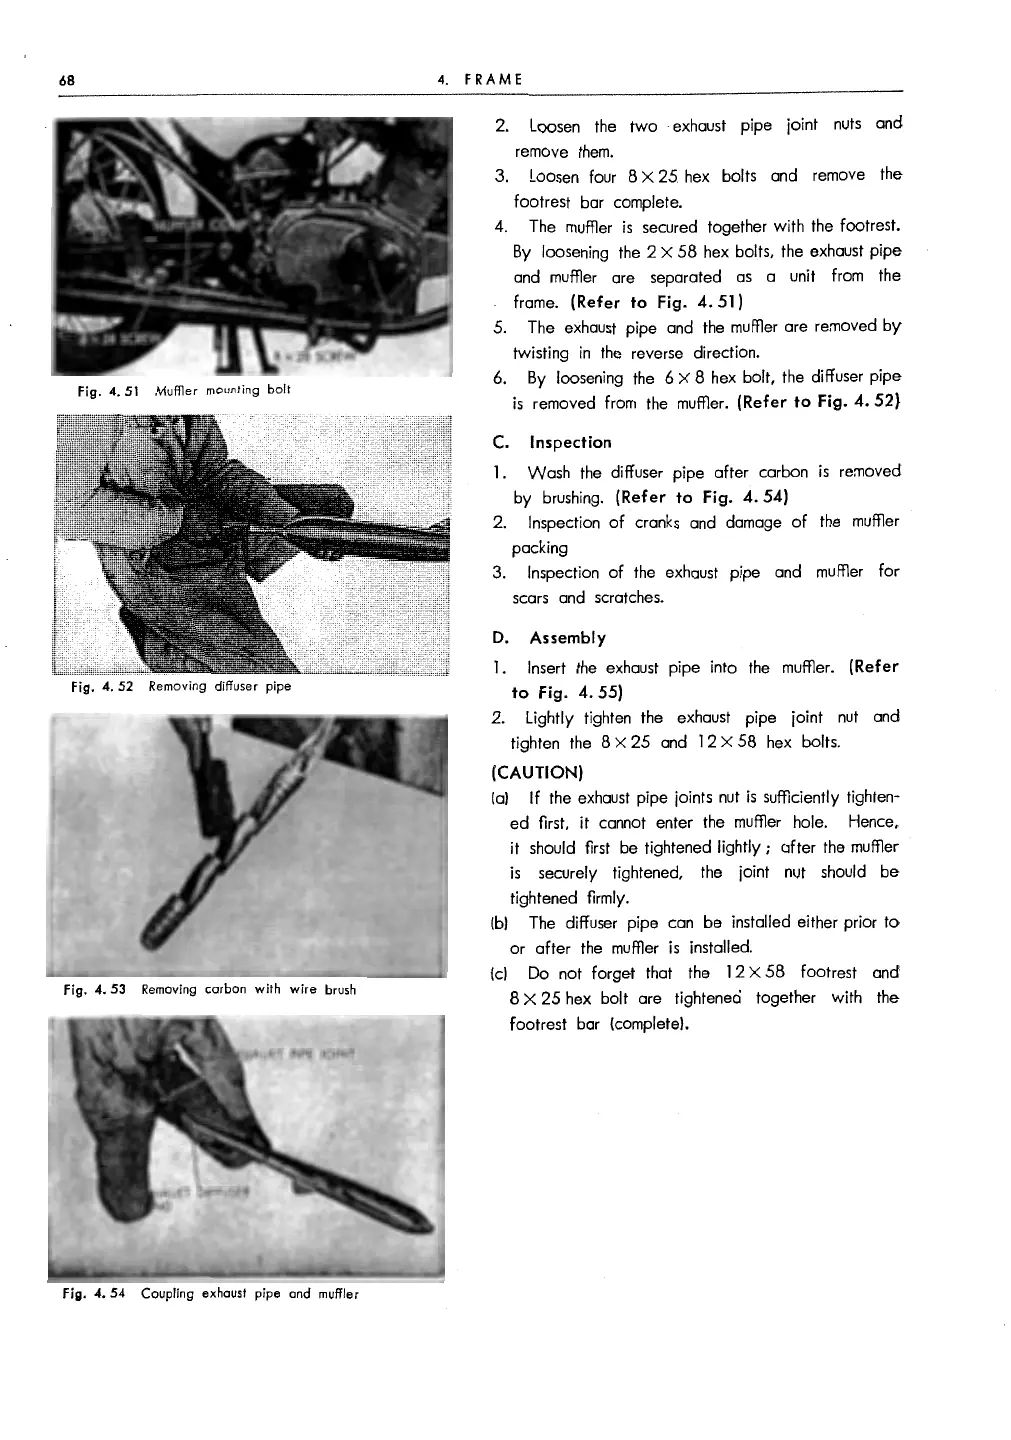
51
Muffler mounting
bolt
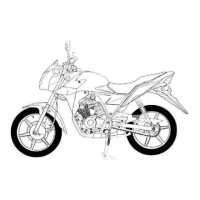
Fig. 4. 52 Removing diffuser pipe
Fig.
4. 53
Removing
carbon with
wire
brush
Fig. 4. 54 Coupling exhaust pipe and muffler
4.
FRAME
2.
Loosen
the
two
exhaust pipe joint
nuts
and
remove
them.
3.
Loosen
four 8 X
25
hex
bolts and remove the
footrest bar complete.
4.
The
muffler
is
secured together with the footrest.
By
loosening
the
2 X
58
hex bolts, the exhaust pipe
and
muffler are separated
as
a unit from the
frame.
(Refer to Fig.
4.
51)
5. The
exhaust
pipe
and
the
muffler are removed
by
twisting
in
the
reverse direction.
6.
By
loosening
the
6 X 8
hex
bolt, the diffuser pipe
is
removed from the muffler. (Refer to Fig.
4.
52}
C.
Inspection
1.
Wash
the
diffuser pipe after carbon
is
removed
by
brushing.
(Refer to Fig. 4. 54)
2. Inspection
of
cranks
and
damage
of
the muffler
packing
3. Inspection
of
the exhaust pipe and muffler
for
scars
and
scratches.
D.
Assembly
I.
Insert
the
exhaust
pipe into
the
muffler. (Refer
to
Fig.
4. 55)
2. Lightly tighten the exhaust pipe joint
nut
and
tighten
the
8 X 25
and
I 2 X
58
hex
bolts.
(CAUTION)
(al
If
the
exhaust
pipe joints
nut
is
sufficiently tighten-
ed first,
it
cannot enter the muffler hole. Hence,
it
should first be tightened lightly ; after the muffler
is
securely tightened, the joint nut should
be
tightened firmly.
(bl
The
diffuser pipe can be installed either prior
to
or after
the
muffler
is
installed.
(cl
Do not forget that the
12
X
58
footrest and
8 X
25
hex bolt are tighteneci together with the
footrest bar (complete).