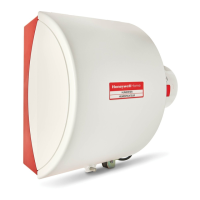
HE360 HUMIDIFIER AND INSTALLATION KIT
7 69-2629EF—09
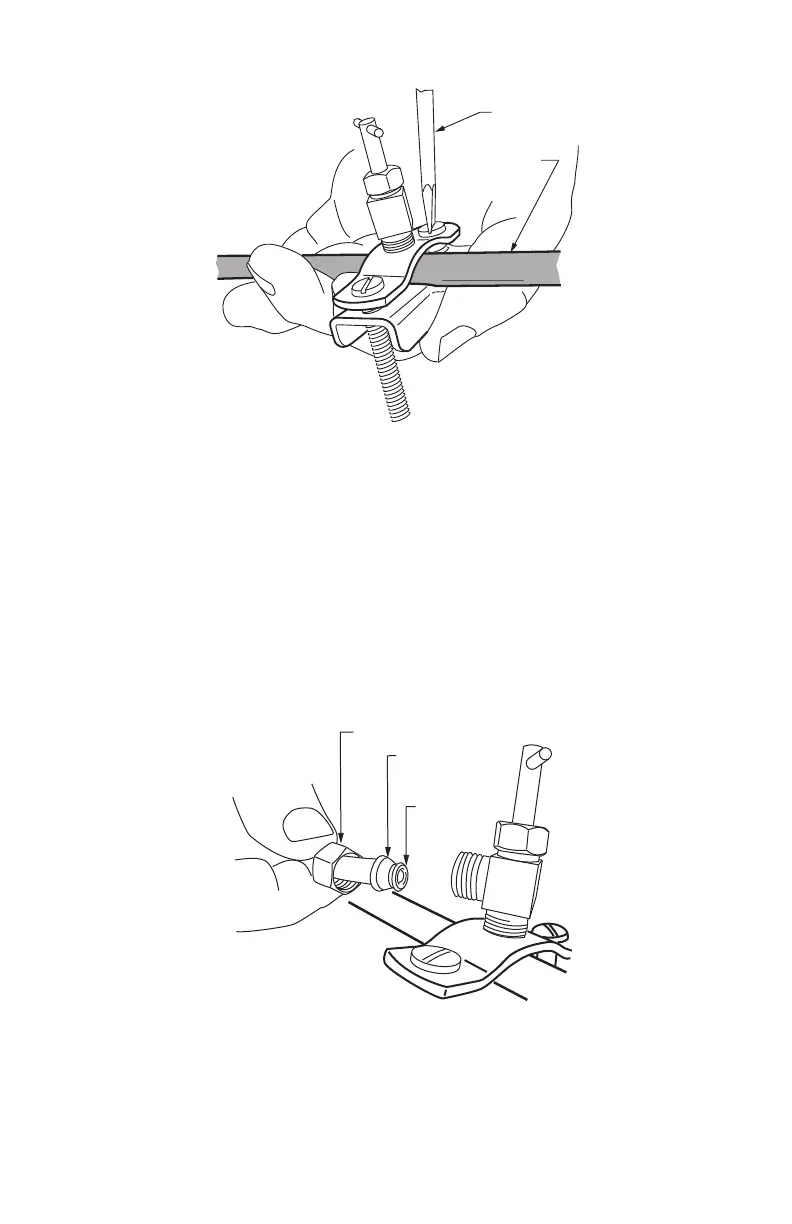
Fig. 6. Installing the saddle valve.
3. Use 1/4 in. (6 mm) OD tubing and connect the saddle valve to the inlet side of the solenoid valve on the
humidifier (see Fig. 7).
a. Place the brass compression nut over the tubing.
b. Install brass insert into end of tubing.
c. Slide the plastic compression ring over the tubing. (Discard copper compression ring provided with
valve.)
NOTE: To prevent leaking, use plastic (Delrin) sleeve rings with plastic tubing. Use copper sleeve rings only
with copper tubing.
d. Insert the tubing into the solenoid valve fitting and support the valve while tightening the compression
nut.
NOTE: Do not over-tighten the compression nut. Moderate tightness prevents leaking.
e. Repeat steps a. through d. for solenoid valve fitting.
f. Secure tubing with clamps provided.
Fig. 7. Installing feed tubing.
M20175
SCREW DRIVER
WATER LINE
M33404
BRASS COMPRESSION NUT
PLASTIC
COMPRESSION
RING
BRASS INSERT
 Loading...