HE360 HUMIDIFIER AND INSTALLATION KIT
69-2629EF—09 8
4. Connect a 1/2 in. (13 mm) drain tube to the humidifier drain fitting
and run to the floor drain (see Fig. 8).
a. Slide the drain clamp over the tubing.
b. Push the tubing over the drain nipple on the humidifier.
c. Hand-tighten the clamp around the tubing to secure the
humidifier drain.
d. Fasten the drain tubing (can use duct tape) along the route to
prevent movement and ensure downward slope for correct
drainage.
NOTE: Cut tubing to correct length so the tubing terminates at the drain.
Fig. 8. Installing the drain tubing.
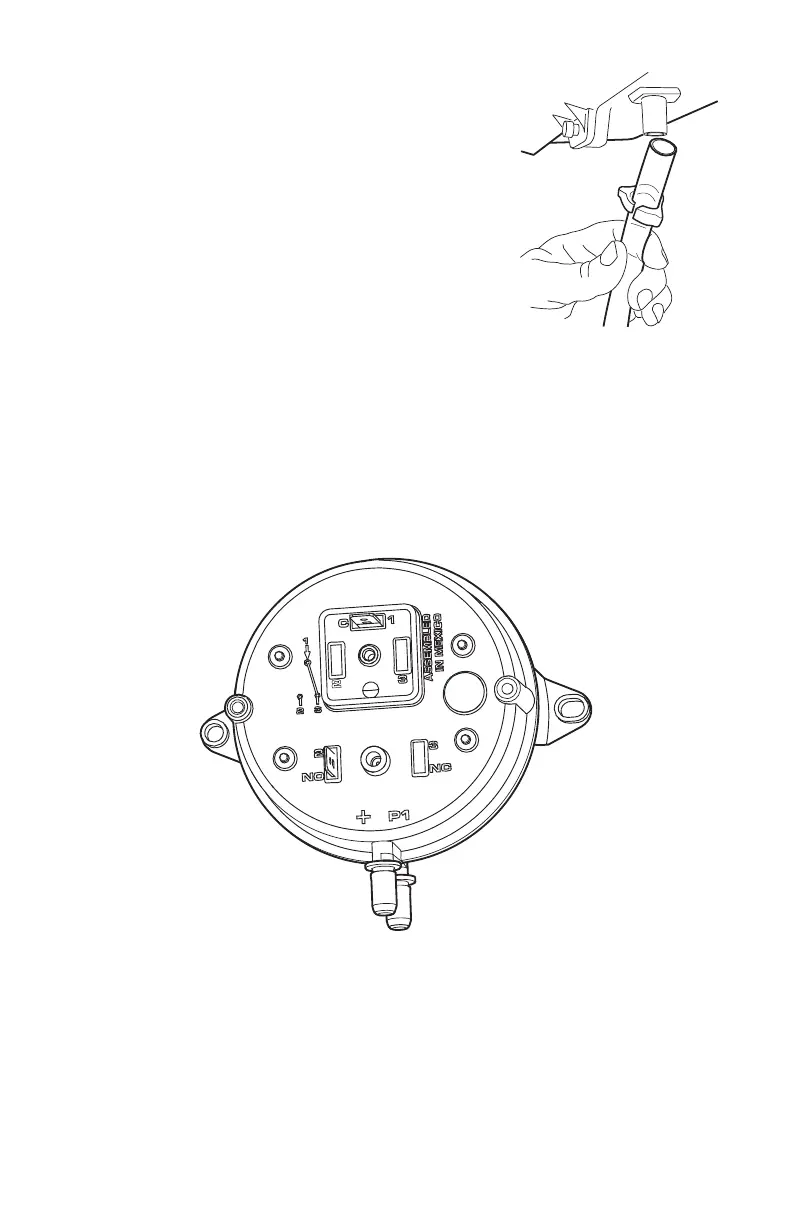
Installing the Pressure Switch
NOTE: When a Honeywell Home IAQ thermostat controls the humidifier, the pressure switch is optional
because the thermostat can be configured to only run the humidifier with a call for heat.
IMPORTANT
Do not install the switch in an area where temperature exceeds rating of -40°F to 190°F (-40°C to 88°C).
1. Disconnect power from the humidifier before installing.
2. Mount the switch vertically with pressure connectors facing down, using provided self-tapping screws to
secure the switch to the duct.
Fig. 9. Pressure switch—oriented vertically.
M27300
 Loading...