FIELD
TITLE and EXPLANATION
*96
Command to Initialize CSID and Subscriber Account Number
This is a command function, not a data field. Use this command, if necessary, to reset all subscriber account
numbers and the internal CSID to the factory default values.
*97
Command to Reset System to Factory Default Values
This is a command function, not a data field.
Pressing ∗97 resets all data fields to the factory default values
(shown on the Program Form).
IMPORTANT: Do not press ∗97 to load defaults if any programming has been done previously—data
already programmed into the system will be changed!
*98
Command to Exit Program Mode (with installer code lockout)
Exits Programming Mode and prevents re-entry by:
Installer Code + [8] + [0] + [0]. To enter the programming mode if
∗
98 was used to exit, you must first
power the system down. Then power up again, and press [∗] and [#] at the same time, within 50 seconds
of powering up.
See field *88 for other Program mode lockout options.
*99
Command to Exit Program Mode
Exits Programming Mode and allows re-entry by:
Installer Code + [ 8] + [0] + [0] or by: Pressing [∗] and [#] at the same time, within 50 seconds of power-up
Pager Programming Fields
FIELD
TITLE and EXPLANATION
*160
Pager 1 Phone No.
Enter the pager phone number. If you enter fewer than 20 digits, exit by pressing [∗] and next field
number. To clear entries from this field, press ∗160∗.
*161
Pager 1 Characters
Enter up to 16 optional characters, which may be sent as a prefix to the 7-digit system status code sent
to Pager 1 (if used). Phone number in field *160 must be entered. If fewer than 16 characters, exit by
pressing [∗] and next field number. To clear entries from this field, press ∗161∗.
For example, these optional 16 characters may be composed of the following:
• paging company PIN number, subscriber account number, ∗ (enter # + 11 to send ∗), # (enter # + 12
to send #), pause (enter # + 13 to allow a 2-second pause; some paging systems require pause)
• Any special character(s) the end user may decide to transmit
The format for the 7-digit system status code is defined as follows:
Pager Format: XXX-YYYY where:
XXX = 3-digit event code: 911 = Alarm 101 = Opening (disarm)
811 = Trouble 102 = Closing (arm AWAY)
YYYY = 4-digit user or zone number (depending on type of event).
The first digit is “1,” followed by the 3-digit user or zone number, or “0,” followed by a 3-digit
device address number.
Example 1. Pager displays: 911– 1004: an alarm (911) caused by a fault in zone 4 (1004).
Example 2. Pager displays: 102– 1005: a closing–system arming (102) by User 5 (1005).
*162
Pager 1 Report Options
Enter the types of reports to be sent to the pager.
Open/close reports go to pager only when arming (close)/disarming (open) from a keypad using a
security code; auto-arming/disarming, arming with assigned button, and keyswitch arming do not send
pager messages.
Miscellaneous System Fields
*172
Pager Delay Option for Alarms
Enter the desired pager delay (none, 1, 2, or 3 minutes) for alarms. This delay applies to all pagers in
the system.
*177
Device Duration 1, 2
Enter the desired duration for output action options 5 (duration 1) and 6 (duration 2) programmed in
∗80 Output Function Programming.
*181
50/60 Hz AC Operation
Select the type of AC power applied to the control (option is used for Real-Time Clock synchronization).
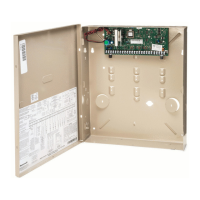
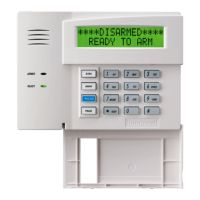
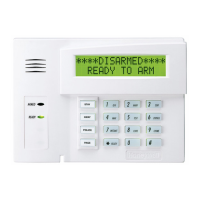
Installation Instructions
4-8
 Loading...