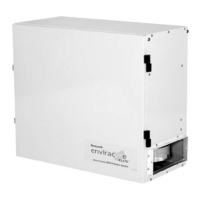
F57A,B FLUSH-MOUNT COMMERCIAL ELECTRONIC AIR CLEANER
9 68-0083—07
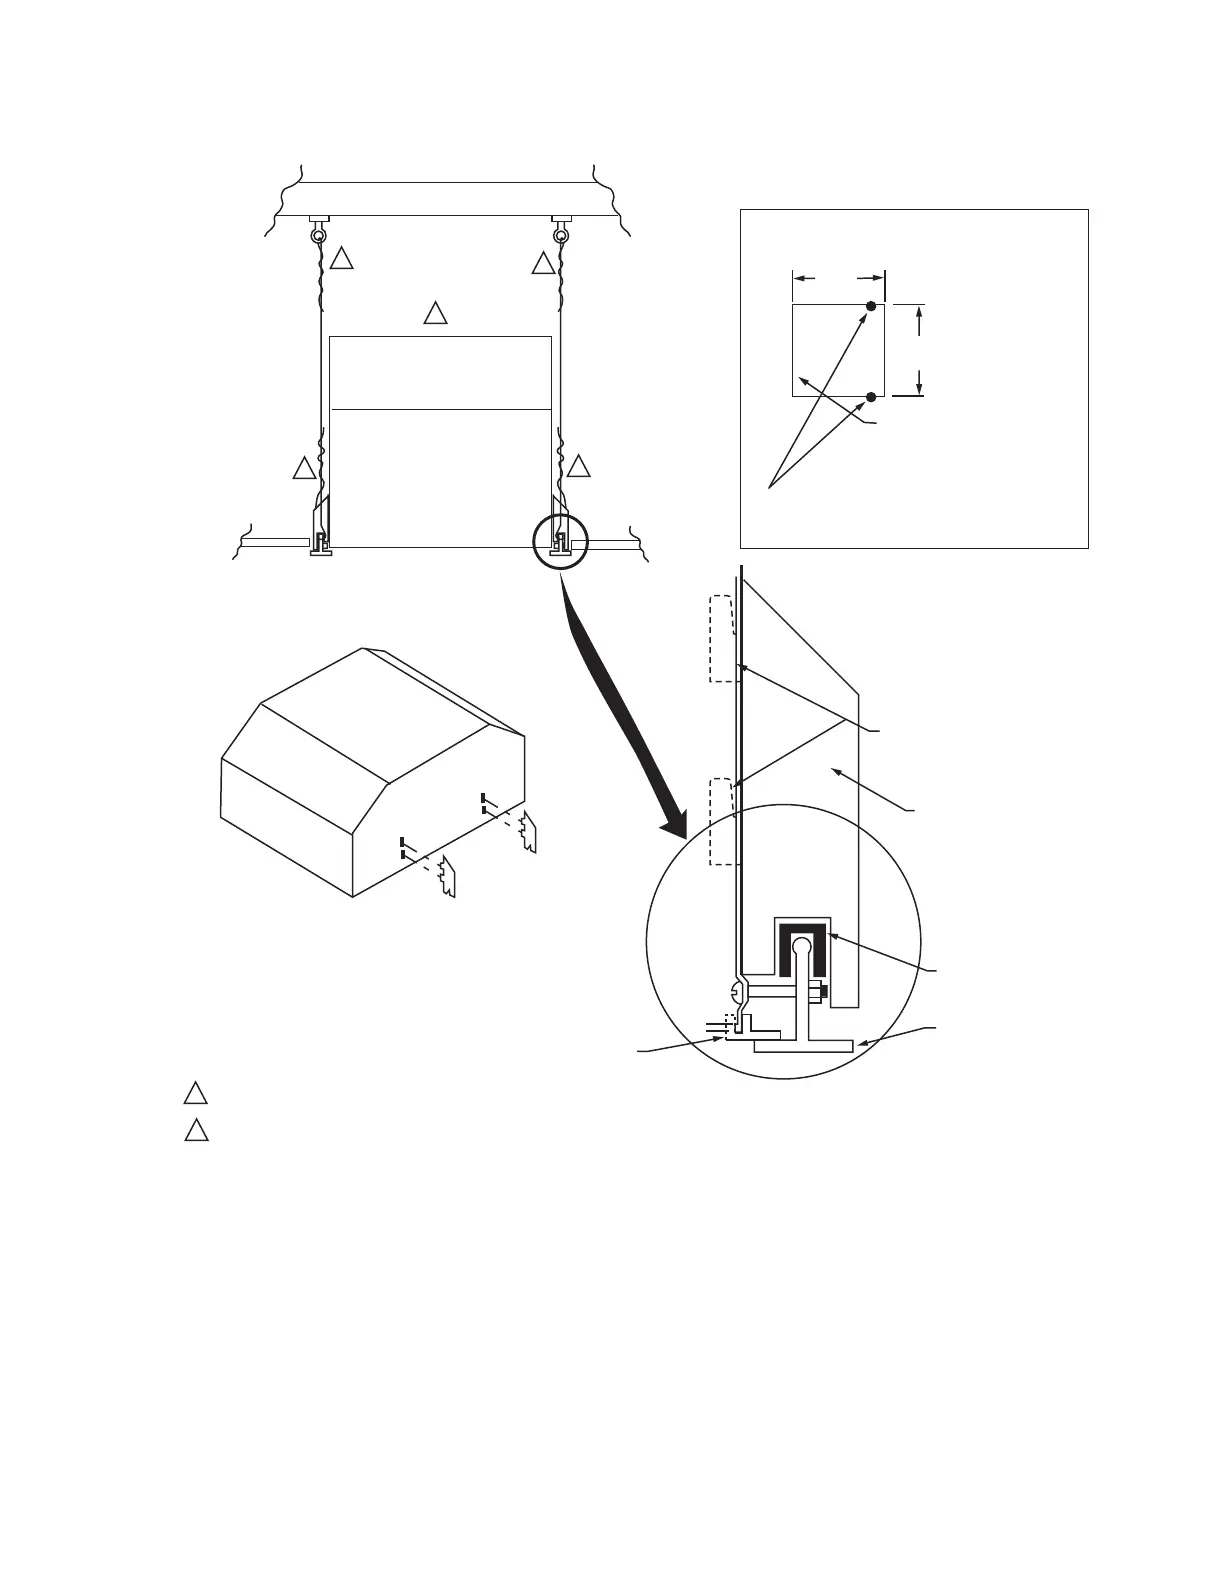
Fig. 6. Typical F57B mounting procedures.
Reinforce the suspended ceiling T-bars with the wire,
placing the wires to evenly distribute the F57 weight.
Securely attach wires to both the suspended ceiling and
the true ceiling, and to the T-bars. Twist the wire at least
four times.
Place F57 into cleared area with grille side facing the
floor. Lift F57 into space until grille side is above
suspended ceiling level. Reach in and attach the rubber
mounting spacers to the T-bars at the mounting
shoulder locations.
Attach four support shoulders to the F57. Bend the tabs
on the mounting shoulders to secure them to the F57.
Attach vinyl flanges to the bottom of the F57 frame to
cover any space that appears between the F57 and the
suspended ceiling.
Settle the F57 on the mounting spacers on the
reinforced T-bars.
Locate the holes just above the four vinyl flanges. Drill
1/4-in. (6.4 mm) holes through the T-bars at these
locations. Slip a panhead bolt through each hole, and
fasten with a self-locking nut.
SUSPENDED
CEILING
F57B
BE SURE TO TWIST THE SUPPORT WIRE A MIINIMUM OF FOUR TIMES TO PROPERLY BEAR WEIGHT.
THERE MUST BE 14 IN. (356 MM) BETWEEN SUSPENDED CEILING AND TRUE CEILING.
SUPPORT
SHOULDER
POSITIONS
REINFORCED
T-BAR
VINYL FLANGE
MOUNTING
SPACER (1 OF 4)
SUPPORT
SHOULDER
(1 OF 4)
BEND TABS TO
HOLD MOUNT
ON AIR CLEANER
PLACE WIRE SUPPORTS AS CLOSE AS POSSIBLE
TO F57B SUPPORT SHOULDER POSITIONS,
APPROXIMATELY 1 IN. (25 MM) FROM ENDS.
T-BAR/DROP CEILING SUPPORT SYSTEM
24 IN.
(610 MM)
24 IN.
(610 MM)
M5675
SUSPENDED
CEILING
TRUE CEILING
1
1
1
1
2
1
2
IF NEEDED, REMOVE T-BAR
TO CREATE 24 X 24 IN.
(610 X 610 MM) SPACE.
F57B
 Loading...