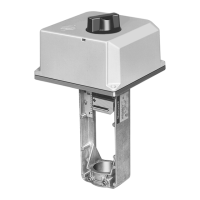
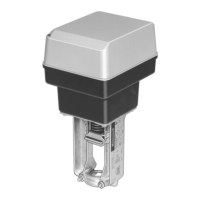
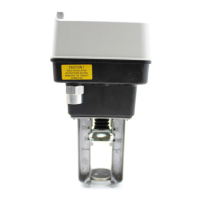
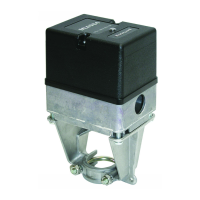
ML6984, ML7984 SERIES 4000 DIRECT COUPLED VALVE ACTUATORS
Automation and Control Solutions
Honeywell International Inc.
1985 Douglas Drive North
Golden Valley, MN 55422
customer.honeywell.com
® U.S. Registered Trademark
© 2016 Honeywell International Inc.
95C-10939—11 M.S. Rev. 09-16
Printed in United States
TROUBLESHOOTING
TYPICAL SPECIFICATIONS
Valve Actuators shall mount directly to the bonnet of the
valve, and shall be self-contained and self adjusting.
Direct coupled valve actuators shall be 24° Vac or 28° Vdc
power, available with floating or modulating control signal
inputs. Actuator shall be usable with common power
supply for multiple actuators and controllers.
Position feedback voltage/pilot duty auxiliary switch kit,
mounting adaptor, high temperature kits, and resistor kits
for multiple actuator application shall be optional
accessories for direct coupled valve actuators.
Direct coupled valve actuators shall have a minimum
performance rating of 50,000 full stroke cycles plus
1,000,000 repositions documented in the product
literature.
Direct coupled valve actuators shall be manufactured by
the same company as manufacturers of the valves.
Symptom Possible Causes Actions
Valve seat leaks or will not close
properly
Wrong actuator used and/or system head pressure too
high
1) Check valve close-off rating
2) Check voltage at actuator terminals
Actuator not properly installed Ensure valve stem is fully threaded into brass drive shaft and locked
in place with the set screw
Incorrect DIP switch settings Check against Product Instruction Sheet
Noisy Motor Bearing failed due to overheat 1) Check for excessive temperature and replace complete actuator
2) Use high temperature kit (43196000-001)
Brushes worn out Check for excessive cycling and replace actuator
Motor
overheats/smoke/component
burn-out
Current sensing circuit failed or electronic components
failed
Replace actuator. Make sure:
1) Correct actuator used
2) Properly installed
3) Do not operate actuator before mounting on valve supply
4) Proper voltage supply
ML will not respond LED (on):
Incorrect DIP switch settings Check against Product Instruction Sheet
No control signal present Check controller
Incorrect wiring connections Check against Product Instruction Sheet
Internal time delay Allow at least 1/2 - 1 second for the ML to respond
LED (off):
No or low power supply Check voltage on T5 and T6 terminals
Error mode (gearbox damage) 1) Check power supply
2) Check calibration cycle
3) Valve stroke length less than 1/2 in. or greater than 1-1/4 in.
4) Reset device by a momentary disconnect of power at T5 and T6
Vdc/mA signal drops when
connected to ML
ML7984 in mA mode with voltage input Change DIP switch setting
Signal degradation due to incompatible load impedance Output and ML input impedance specifications
Actuator yoke corrodes Galvanic reaction from dissimilar metals if
SS U-bolt used with aluminum yoke
Replace U-bolt with galvanized U-bolt and nuts
Floating Actuator position “drifts”
when used with building
automation system
Mismatch between actuator resolution
(30 steps) and BAS controller
1) Read actual valve position using 272630D feedback module
2) Rewire actuator for 3-wire control
3) Program daily valve reset.
 Loading...