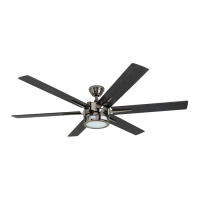
Blade Arm
Blade
Screw
Blade
Spring Washer
Flat Washer
Fig. 21
Blade Isolator
Blade ArmMotor Screw
13
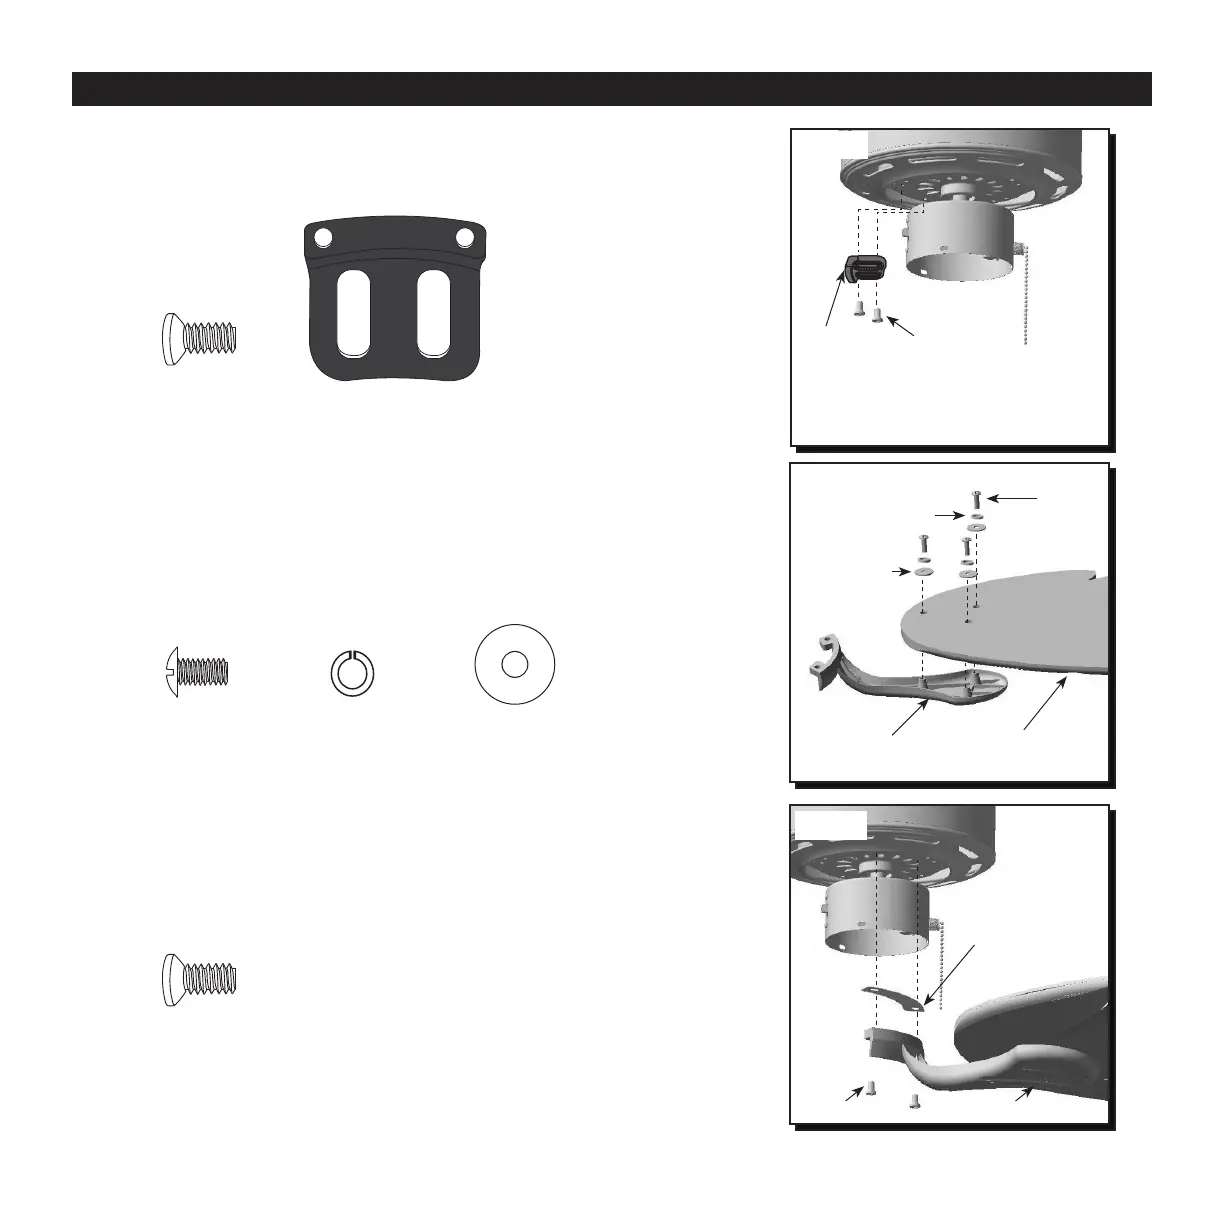
BLADE INSTALLATION
19. Remove the ten motor screws from underside of
motor and save for blade arm attachment. Discard
the plastic motor blocks but keep the motor screws
(Fig. 19).
Fig. 20
Motor Screw
Motor Screw
Blade Screw
Flat Washer
Motor Block
20. Partially insert three blade screws along with
spring washers and at washers through one
blade and into one blade arm. Tighten each blade
screw with a Phillips screwdriver (not included),
starting with the one in the middle. Repeat this step
for the remaining blades and blade arms (Fig. 20).
21. Insert the two previously removed motor screws
through one blade arm and blade isolator and then
into the motor. Repeat with remaining blade arms,
making sure to completely secure each blade arm
before proceeding with to the next (Fig. 21).
Fig. 19
Motor
Block
Motor Screw
Spring Washer
 Loading...