6
SERVICE
30
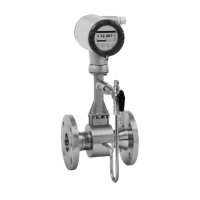
VERSAFLOW VORTEX 200
www.honeywellprocess.com 34-VF-25-137 iss.1 GLO July 2019 US
Take special note of the following figure and
• ensure that the type is the same by checking the nameplates.
• the connecting cable of the flow sensor circuits is to be laid in the cutout provided between
the signal converter insert and housing. Avoid damage such as that caused by crushing.
• proper connection of the flow sensor 5 and the display connector 1.
• tighten the mounting screws M4 7 evenly.
Exchanging the entire device
The dismantling and installation is within the responsibility of the operator.
Before disconnecting the electric connecting cable of the device, make sure that all cables
leading to the indication unit are isolated from the ground of the hazardous area. This also
applies to functional earthing conductors (FE) and equipotential bonding conductors (PA).
Observe the information above. Also, ensure that all process connections and the pipeline are
depressurised and free of product. Where environmentally critical products are concerned,
carefully decontaminate the wetted parts of the flange system after dismantling.
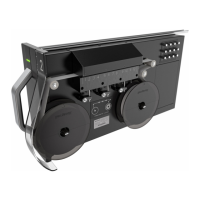
Figure 6-1: Connection of the signal converter module
1 Connector for LC display
2 Service connector
3 SIL jumper
4 Display clamps
5 Connection to the flow sensor
6 Nameplate of the signal converter insert
7 Fixing screw
CAUTION!
•
Pressurised pipes have to be depressurised before removing the measuring unit.
•
In the case of environmentally critical or hazardous products, appropriate safety precautions
must be taken with regard to residual liquids in the measuring unit.
•
New gaskets have to be used when re-installing the device in the piping.
 Loading...