Place nuts in recessed areas on front
of handle. Hold each nut in place
while tightening each bolt securely
with a Phillips screw driver.
Position cord on back of cleaner as
shown and press cord into clip.
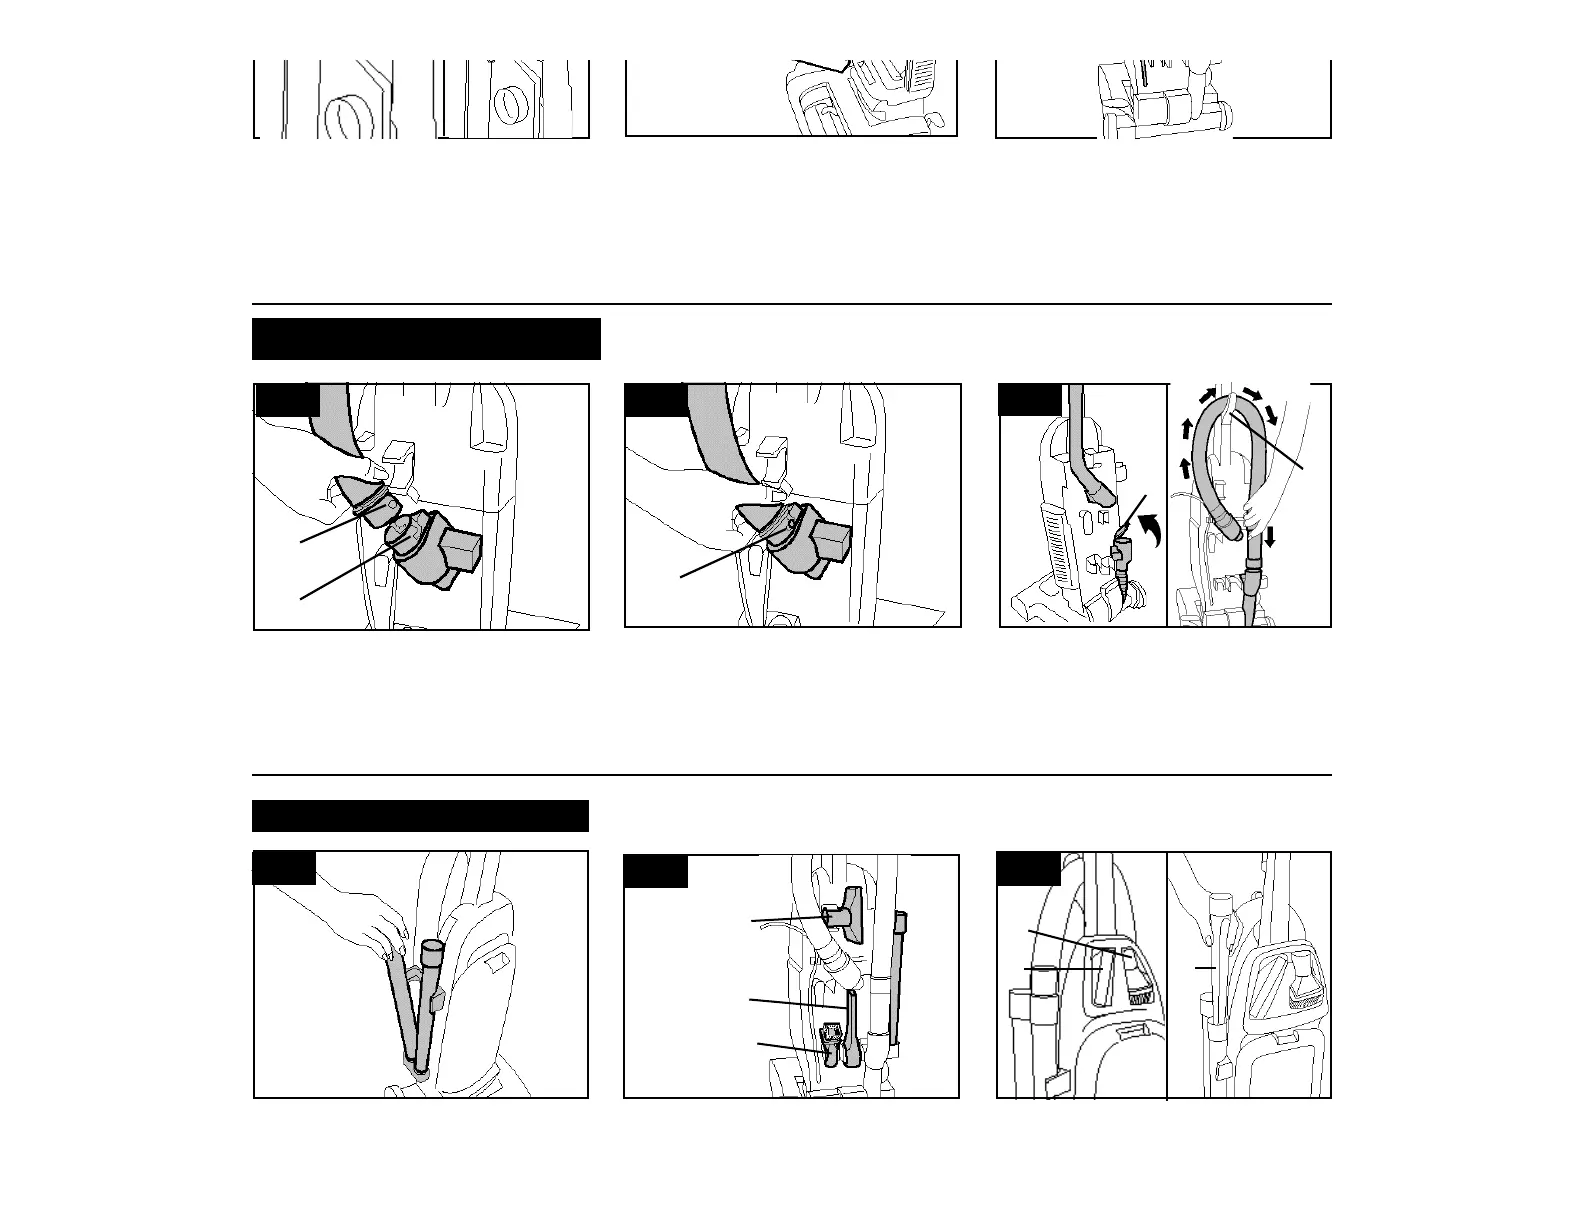
STEP II Attach hose
B
A
B
Align end of hose with projections (A)
over slots (B) in dirt duct.
Lift hose tube cover (C).
Position hose over hose hook (D) and
into hose tube (E).
E
D
C
Slide hose into (B) and twist hose to
lock it into place.
1-8 1-9
Note: Hose must be connected as shown for
all operations
1-10
STEP III Position tools
A
B
C
1-11
1-12
Place smaller unridged end of wand,
into bottom of rack. Snap wand into
For models with tools on back,
snap ends of dusting brush (A),
For models with tools on front,
position dusting brush (A), and
Reposition bag door by fitting tabs
on bottom of door into opening.
Press top of door to snap securely
shut.
1-13
A
C
D
 Loading...