38
S Dispenser
1. Remove the table top (A) and dispenser drawer (C).
2. Remove two screws around the dispenser recess and two screws from valve support panel.
3. Ease the dispenser backwards to unclip it from the cabinet top rail.
4. Remove the dispenser outlet hose, and any harness retention ties.
TDrain Pump
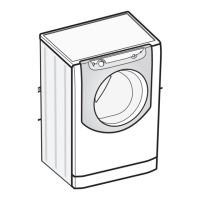
1. Remove the lower rear access panel (B).
2. Detach the sump hose from the pump using a suitable container to catch any water.
3. Disconnect the drain hose from the pump and unplug the wiring connection block.
4. Lift plastic the locking tab and slide the pump inwards and lift clear.
U Inner Drum Lifter
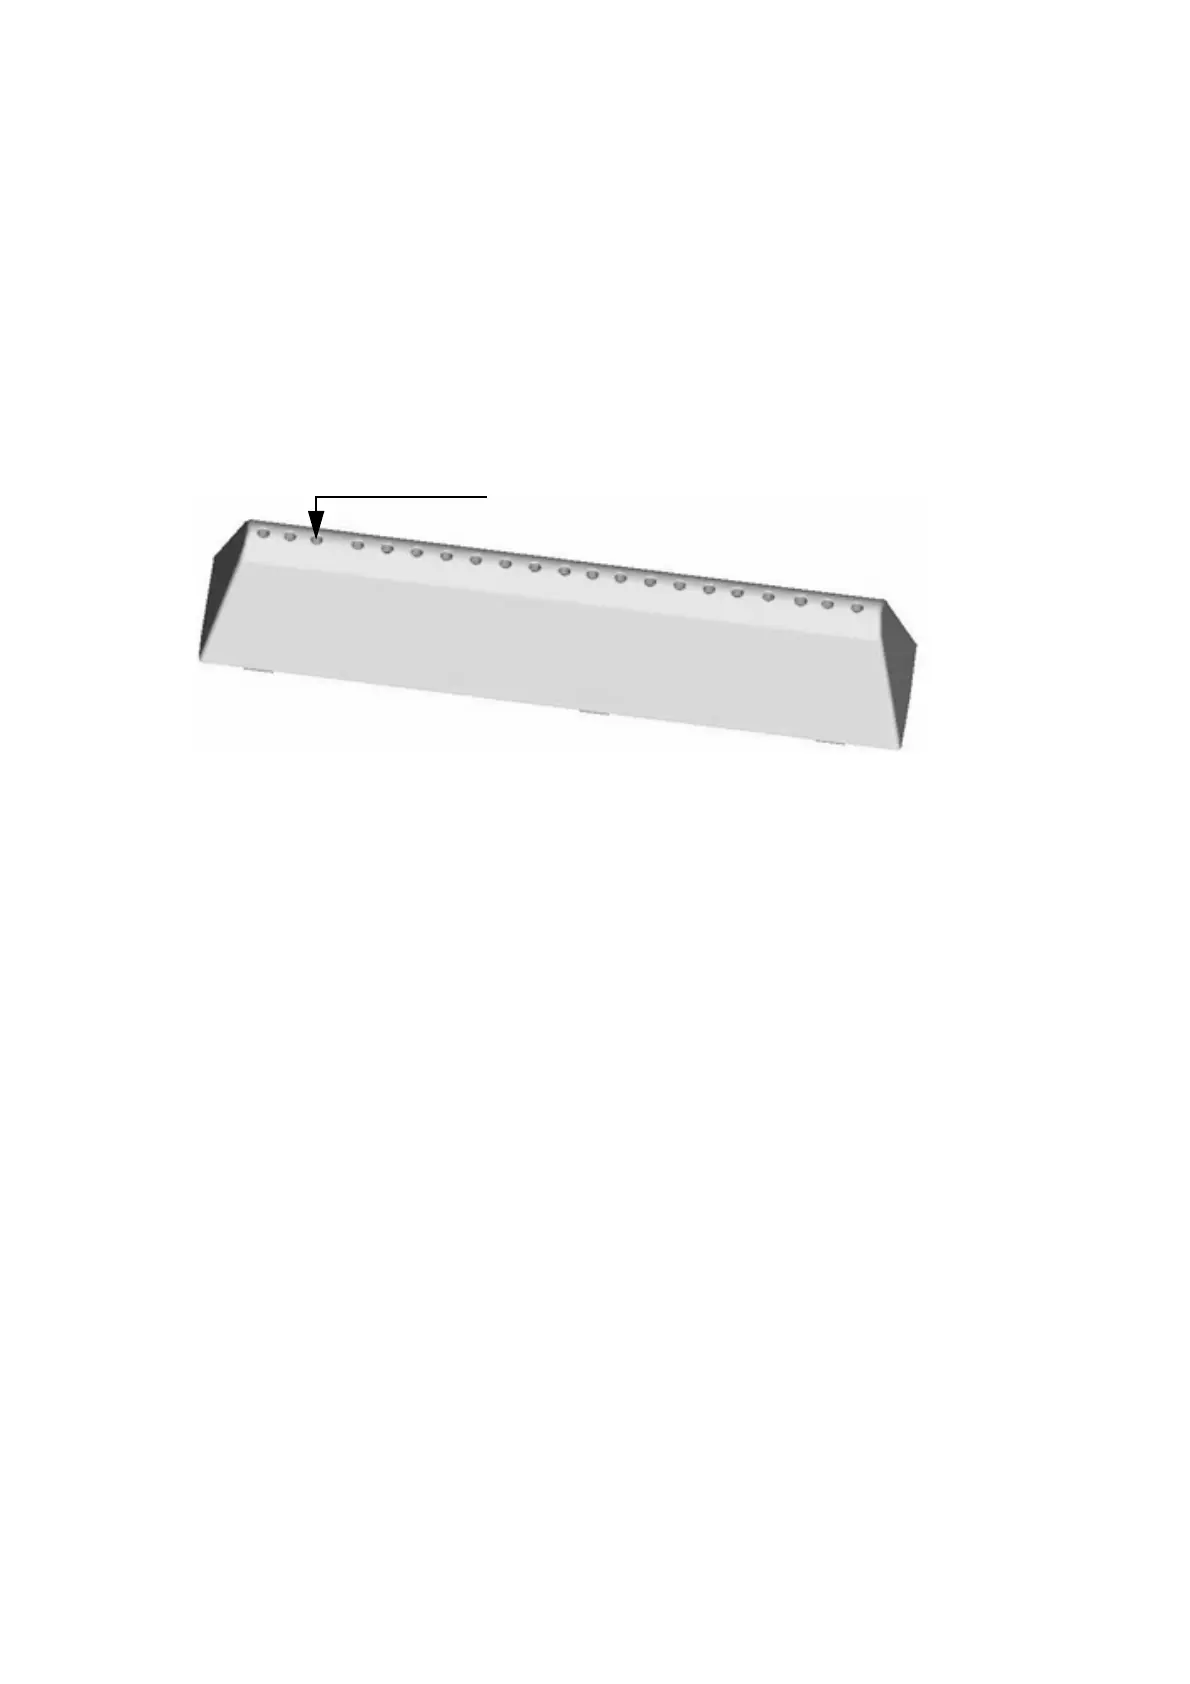
1. Insert a small screwdriver onto the 3rd lifter hole from the front of the drum.
This will depress the drum flap securing the lifter.
2. Slide the lifter to the front of the drum and remove.
3. Before refitting, lift the drum locking tab 3 mm above the drum surface.
4. Offer the lifter to the holes in the drum, slide lifter to the back of the drum until a click is heard as
the lifter is locked into place.
V Heater Box / Drum Assembly
1. Disconnect cable connections to motor, heater, thermistor and thermostat/thermal fuse cable.
2. Disconnect tie-wrap fixing heater box assembly to the door seal.
3. Disconnect filter flushing hose (if fitted).
4. Remove five Torx T30 screws fixing heater box assembly to outer drum and lift away.
Note: On re-assembly fix screws in front to rear order, torque setting for screws 12 Nm.
V(a)Fan Motor
1. Disconnect cables to the motor, heater, thermistor, and thermostat.
2. Remove the seven Torx T20 screws holding top and bottom sections and lift top section away.
3. Remove fan from motor shaft by unscrewing 11 mm nut. Note; this is left hand thread.
4. Remove the four fixing screws and release motor. From Serial No. 60508.0000 the motor fixing
screws are external to the heater box casing.
Note: On re-assembly the fan must have a clearance of approximately 2 - 3 mm from the inside
of the top section. Use nutlock 242 (Part No. 981009) on thread of fan nut.
3rd hole from the front
 Loading...