40
7. Always fit a replacement drum seal if the drum has been split and ensure that the seal joint is at
the top. When reassembling the drum halves it is essential to ensure that the thread forming
screws find their original threads, otherwise the thread can be stripped from the plastic drum
lugs. Retighten the drum joint fixing screws to 8Nm (using a suitable torque-wrench).
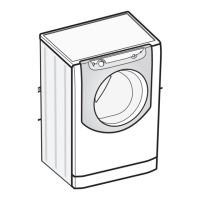
XCabinet
1. Remove the table top (A).
2. Remove the dispenser drawer (C) and console panel (D).
3. Remove the front panel (J).
4. Remove the lower balance weight (Na).
5. Remove the lower rear access panel (B).
6. Remove the motor (M).
7. Remove the top balance weight (Nb).
8. Remove the drum assembly (Va).
9. Remove the drain pump (T).
10. Unscrew feet, remove the wheels, and remove hose clips from the rear of the cabinet.
1. Remove the lower rear access panel (B).
Ensure the module has electrically discharged for 5 minutes before moving to Step 2.
Refer to Important note above.
2. Remove screw or screws securing module support to the cabinet.
3. Disconnect the wiring - it may be necessary to remove one of the plugs to extract the module
from its location.
IMPORTANT NOTE - AVOIDING ELECTRICAL DAMAGE TO THE MODULE
Before disconnecting any plugs it is advisable to note their locations.
When reconnecting the plugs to the module it is essential that the large WHITE multiway edge
connector plug is fitted with the wires from the plug oriented as shown overleaf.
continued on following page
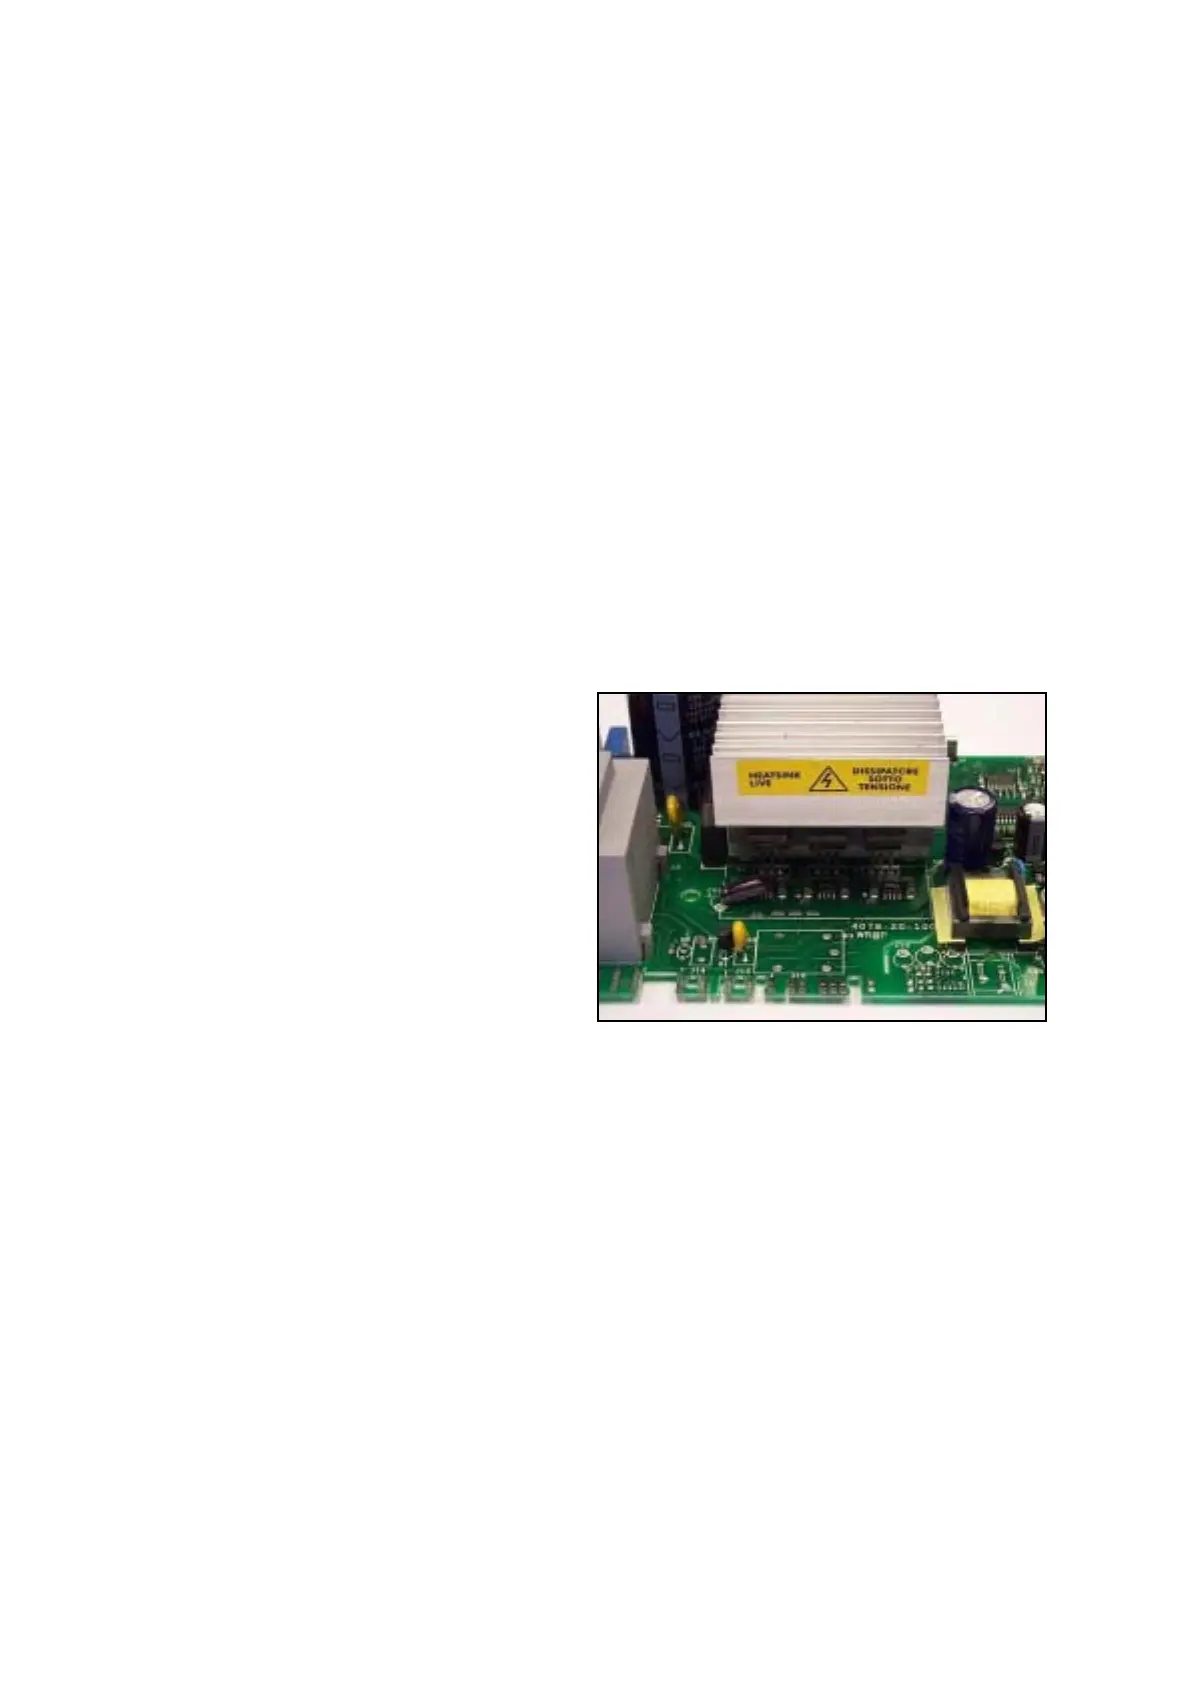
Y Power Module!
IMPORTANT NOTE
This appliance is manufactured with a '3 phase'
motor and uses a different type of power
module.
This power board is fitted with a large
aluminium heat sink which remains live after
the power is disconnected.
Under no circumstances should the board be
removed under the time shown below in Fig 1.
Alternative 'quick methods' of discharging the
board SHOULD NOT be used or attempted.
 Loading...