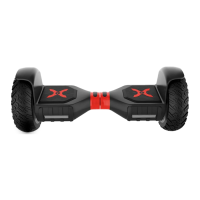
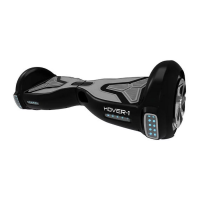
CHARGING YOUR HOVERBOARD
CHARGING THE DEVICE
• Ensure that the charging port is clean and dry.
• Make sure that there is no dust, debris or dirt inside the port.
• Plug the charger into a grounded wall outlet. The charging
indicator light ON THECHARGER will be green.
• Connect the cable with the power supply (l OOV 240V; 50/60 Hz).
• Align and connect the 3-pin charging cable into the charging
port of the hoverboard. DO NOT FORCE OR BEND THE CHARGING
CABLE INTO THE CHARGING PORT, AS IT MAY CAUSE THE PRONGS TO
BEND OR BREAK.
• Once attached to the board, the charging indicator light ON THE
CHARGER ShOUId change to RED, indicating that your device is now
being charged.
• When the RED indicator light on your charger turns to GREEN, then
your device is fully charged.
• A full charge may take up to 5 hOl.Jrs.While charging, you will see
a yellow flashing light on the scooter, which also indicates charging.
Do not charge for more than 5 hours.
• After fully charging your hoverboard, unplug the charger from
your device and from the power outlet.
BATTERY CARE / MAINTENANCE
BATTERY SPECIFICATIONS
Battery Type: Rechargeable lithium-ion battery
Charge Time: Up to 5 hours
Voltage: 36V
Initial Capacity: 4.0 AH
BATTERY MAINTENANCE
The lithium-ion battery is built into the device. Do not disassemble
the device to rernove the battery or atternpt to separate it the
device.
• When charging the device, please use the enclosed 3-pin
charging cable or otherwise ensure that the battery charging
conditions are met.
• Do not connect or attach the device or the battery to a power
supply plug or directly to a car's cigarette lighter.