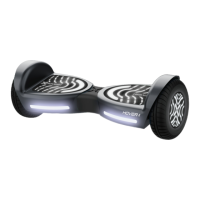
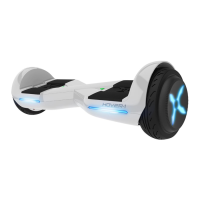
CONTROLS AND DISPLAY
PLEASE READ THE FOLLOWING INSTRUCTIONS CAREFULLY
TURNING YOUR DEVICE ON/OFF
Power On: Take your Rocket out of the box and place it flat on the
floor. Press the power button (located on the rear of your Rocket)
once. Check the LED indicator (located in the center of your
Rocket). The battery indicator light should be lit, indicating the Rocket
is powered on.
Power Off: Press the power button once.
MAT SENSOR
There are four sensors under the foot mats on your Rocket.
When riding the scooter, you must ensure you are stepping on the
foot mats. Do not step or stand on any other area of your scooter.
The Rocket may vibrate or spin in one direction, if weight and
pressure are applied to only one foot mat.
BATTERY INDICATOR
The display board is located in the middle of the Rocket.
• Green LED Light indicates the hoverboard is fully charged.
• Red flashing LED light and beeping indicates low battery.
• Yellow light indicates the board is charging.
When the LED light turns red, please recharge the Rocket.
RUNNING INDICATOR
When the operator triggers the foot mats, the Running Indicator LED
will light up, which means that the system enters the running state.
When the system has an error during operation, the running LED light
will turn red (for more details see SAFETYALERTS).
6