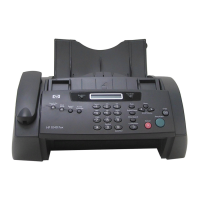
Do you have a question about the HP 1250 Fax and is the answer not in the manual?
Verify that all packing tape and cardboard is completely removed from the interior of the device.
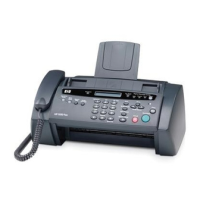
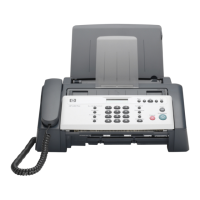
Identify all necessary parts and accessories for the setup process, including the control panel faceplate.
Extend the paper trays to the correct position, preparing the device for paper loading.
Attach the control panel faceplate, ensuring alignment and that all buttons pass through correctly.
Load plain white paper into the bottom tray, avoiding over-insertion to prevent jams.
Connect the device to a power outlet using the provided power cord and adapter.
Connect the supplied phone cord to the device and a wall jack for fax functionality.
Turn on the device and follow on-screen prompts to set the language and country/region.
Open the print cartridge access door, allowing the carriage to move for installation.
Carefully pull tabs to remove tape from print cartridges, avoiding contact with electrical contacts.
Slide the tri-color cartridge into the left slot and push firmly until it snaps into place.
Slide the black cartridge into the right slot and push firmly until it snaps into place.
Print, remove, and scan an alignment page to ensure optimal print quality.
Configure the device's date and time using the setup button and numeric keypad.
Enter your name and fax number as required for fax transmission headers.
Learn how to clear paper jams from the control panel and access doors.
Troubleshoot 'Remove and check cartridges' errors by properly re-inserting the cartridges.
| Fax Type | Plain Paper |
|---|---|
| Modem Speed | 14.4 kbps |
| Memory | 512 KB |
| Print Resolution | 300 x 300 dpi |
| Paper Capacity | 100 sheets |
| Paper Tray Capacity | 100 sheets |
| Connectivity | Telephone line |
| Transmission Speed | 6 sec per page |
| Automatic Document Feeder Capacity | 20 sheets |
| Display | LCD |