Installing the print server
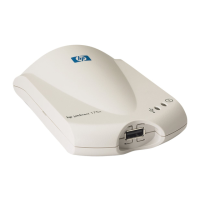
for HP Jetdirect 175x external print server/Internet connector for USB
and HP Jetdirect 310x external print server/Internet connector for USB
Overview of installation
1. Install hardware
Summary: To connect the printer to the network using the 175x or 310x print server,
you will:
● connect the print server to the network with a network cable,
● connect the print server to the printer with the included USB cable,
● plug in the power adapter, and
● print a configuration (self-test) page.
Use the instructions at either of the following locations:
● The printed Startup Guide poster that is supplied with the print server.
● On this web page below—the detailed instructions.
2. Install software
● For the basic procedure to set up each Windows (95, 98, 2000, XP, ME, NT 4.0) computer
for printing on the networked printer:
This default procedure involves installing printer drivers and other software and configuring
network parameters. You will use the installation software on either the CD-ROM supplied with
your printer or on the Jetdirect CD-ROM supplied with your print server, depending on your
printer model.
Link here to the
instructions.
And for more details see
www.hp.com/support/network-printer-CD.
● For the LPR/LPD (Line Printer Daemon) alternative printing method:
See the LPD topic in the
HP Jetdirect Administrator’s Guide.
● For Macintosh setup (MacOS 8.6 or later), read the Jetdirect CD-ROM on a Macintosh system,
select the file Network Printing.htm, and follow the instructions for setting up network
printing.