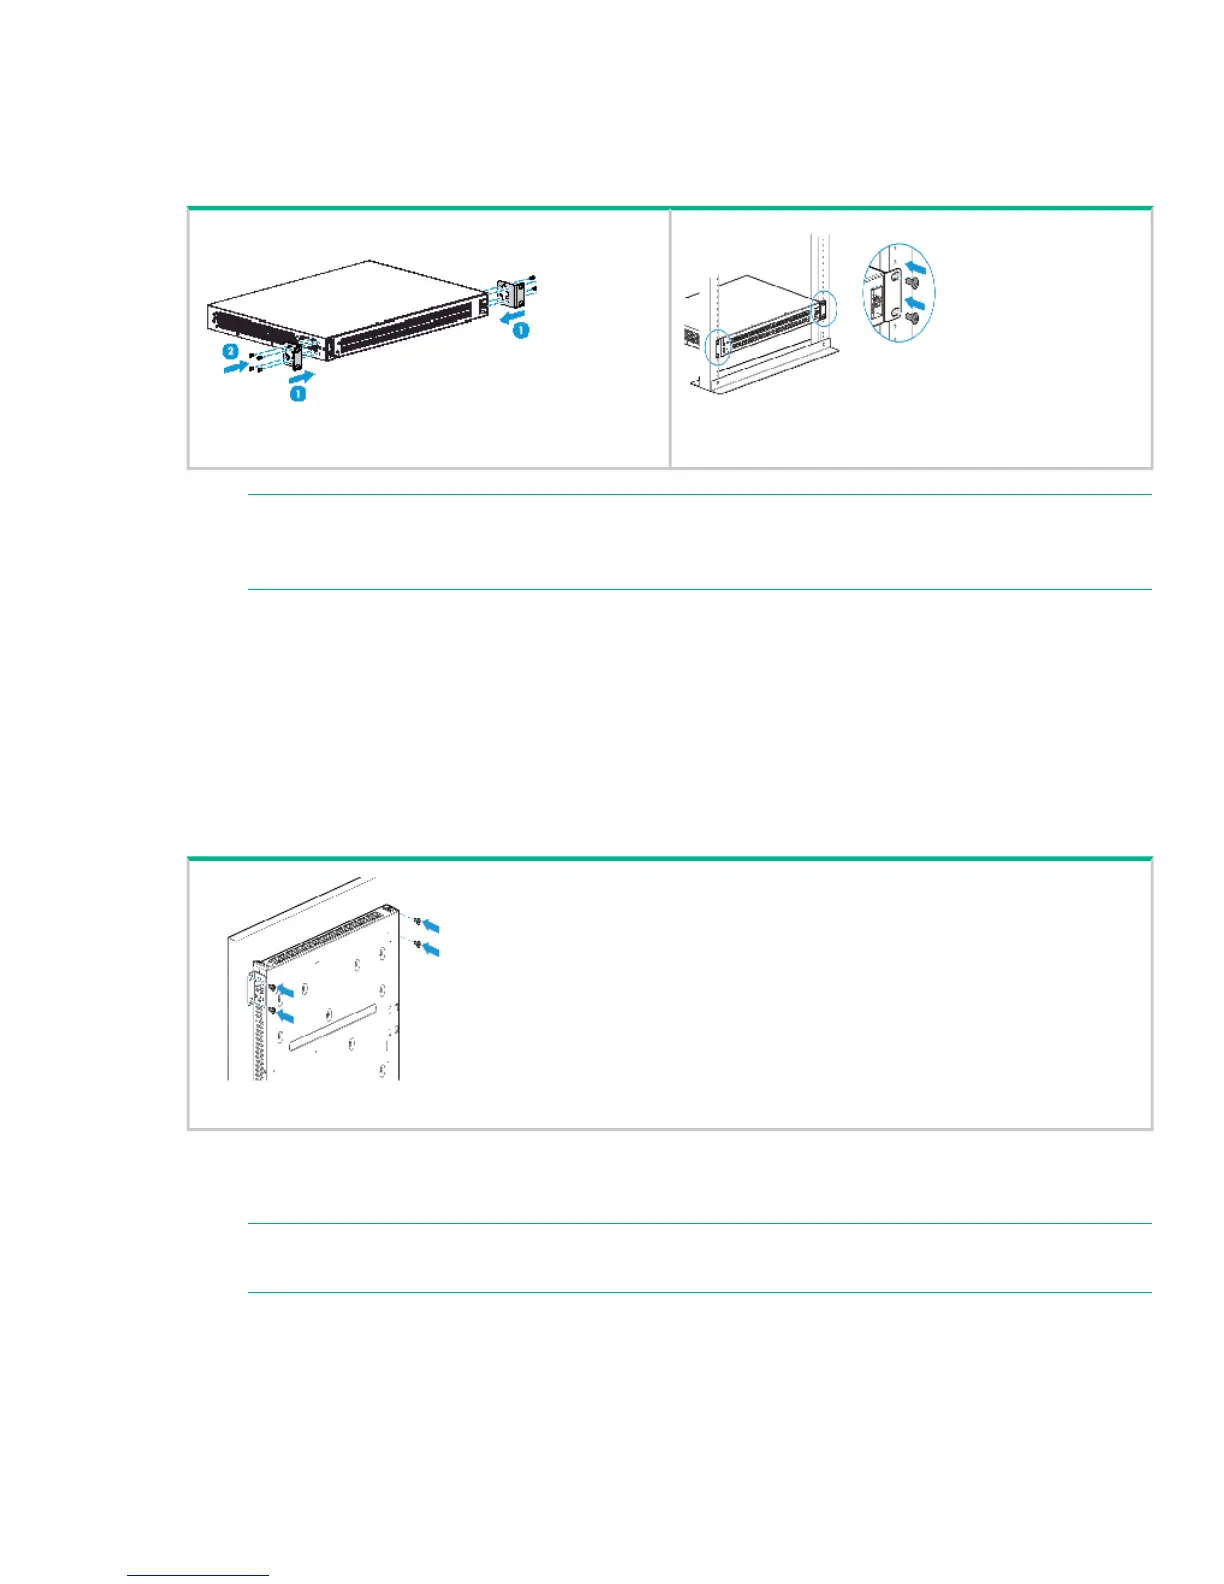
4. Install the switch hardware. Unplug the AC power from the switch before installing the switch hardware.
Rack mounting: Use a #1 Phillips (cross-head) screwdriver to attach the accessory kit brackets to
the switch using the eight 8-mm M4 screws. Then use the four number 12-24 screws to secure the
brackets to the rack.
NOTE: The HPE 2530 24-port and 48-port switches can also be mounted in 4-post racks
and cabinets by using the HPE X410 Switch Rail Kit (J9583A). For instructions on using the
kit, see the documentation that is included with the kit.
Table or desktop mounting: Attach the four self-adhesive pads (included in the accessory kit) to
the bottom corners of the switch and place the switch on a secure horizontal surface.
Wall or under-table: Use a #1 Phillips (cross-head) screwdriver to attach the supplied brackets to
the switch using the eight 8-mm M4 screws in the orientation shown.
For wall-mounting, the network ports must be facing up or down. Do not mount the switch with
ventilation or fan ducts facing up or down. ( See “Installation Precautions” (page 4).)
Attach the switch to the wall or wood surface with four 5/8-inch number 12 wood or tap screws (not
included).
5. Power on the switch. As shown in step 3.
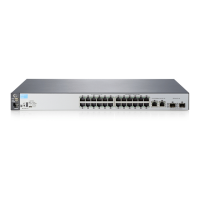
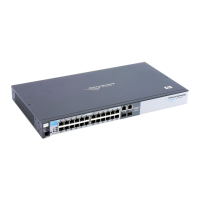
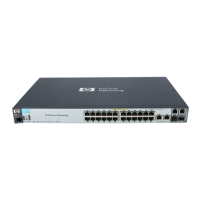
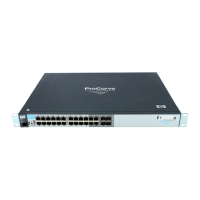
6. Connect network cables.
NOTE: For transceiver connections, install and use only Hewlett Packard Enterprise SFP
transceivers supported by the switch.
 Loading...