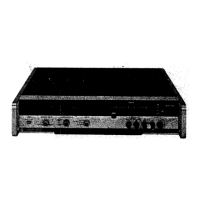
Model 3438A
SECTION
Ill
OPERATING
INSTRUCTIONS
Section
111
3-1. INTRODUCTION. 3-8. Auto.
3-2.
1
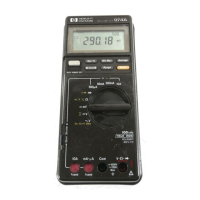
his section contains instructions for operating the
Multi~neter. Mcaburements of ac and dc voltage, ac and
dc
currcnt. and ohms are discussed. Sample applications
will be given in thih xction to demonstrate the use of the
Ill'-ltl. A description of the controls and connectors is
givcn in Figure
3-3.
I
WARNING
,
)
To prevent potential electrical or fire hazard,
do not
e-rpose the Multimeter or its
accessories to rain or moisture.
3-3. AC Operation.
3-4. Before connecting the Multimeter to ac power,
verify that the ac power source matches the power
requirements the Multimeter as marked on the option
label affixed to the rear of the instrument. If the
instrument is incompatible with the available power
source, refer to Section V of this manual for power
requirement modification instructions. After this
verification, connect the proper ac power to the
instrument and press the ON button. The instrument is
ready for use.
3-5. Overload loverrange /Improper Function
Indication.
3-6.
tigure 3-1 shows the display indication during
overload, overrange, or an improper switch setting.
Figure 3-1. Overload Indication.
3-7. Table 3-1 lists improper switch combinations.
Table 3-1. Improper Switch Combinations.
3-9. Depressing the AUTO switch with acV, dcV or k R
function selected sets the Multimeter in an automatic
ranging mode. In this mode the Multimeter will
uprange
if the display increases above
(+)
or
(-)
and
downrange
if the display decreases below
(+)
or
(-)
.
These numerical autoranging points are
irrespective of decimal placement. The difference
between the two autoranging points is called
autoranging
Il~~.s/r~r.r~.vis.
Figure 3-2 shows the autoranging points for
dc voltage measurements from
0 to 1200
V
dc.
Autoranging in other Multimeter functions is
similar.
Function
v
-v
mA
-mA
> >
a
P
>
'D
I
1.
C
I
I
.
C
E
>
> > > >
-
m
0
?
m
0:
i
8::
X
p
E' E'
2
z
e
4
INPUT LEVEL (Vdc)P
f
=DOWNRANGE POINT
*=
UPRANGE POINT
Figure
3-2.
Multimeter Autoranging.
Range
3-10, To release the AUTO switch depress one of the
MANUAL RANGE switches.
mv.a
20
mV,a
20
mv,
a
20
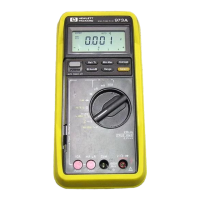
3-11. lnput Terminals.
3-12. lnput Selector Switch.
The Input Selector
Ma
20
Mn
20
Ma
20
Ma
20
Switch (front panel) is used to select front or rear input
terminals. In the FRONT position, the
VR, COM, and A
input terminals are internally connected to enable the
user to make voltage, current, and resistance
measurements from the front panel. With the Input
Selector switch set to REAR, the V
R and COM input
terminals on the rear panel are connected to allow the
user to
make voltage and resistance measurements.
Auto
Auto
NOTE
There is no current measuring capability from
the rear input terminals.