Getting Help When Things Go Wrong
4
45
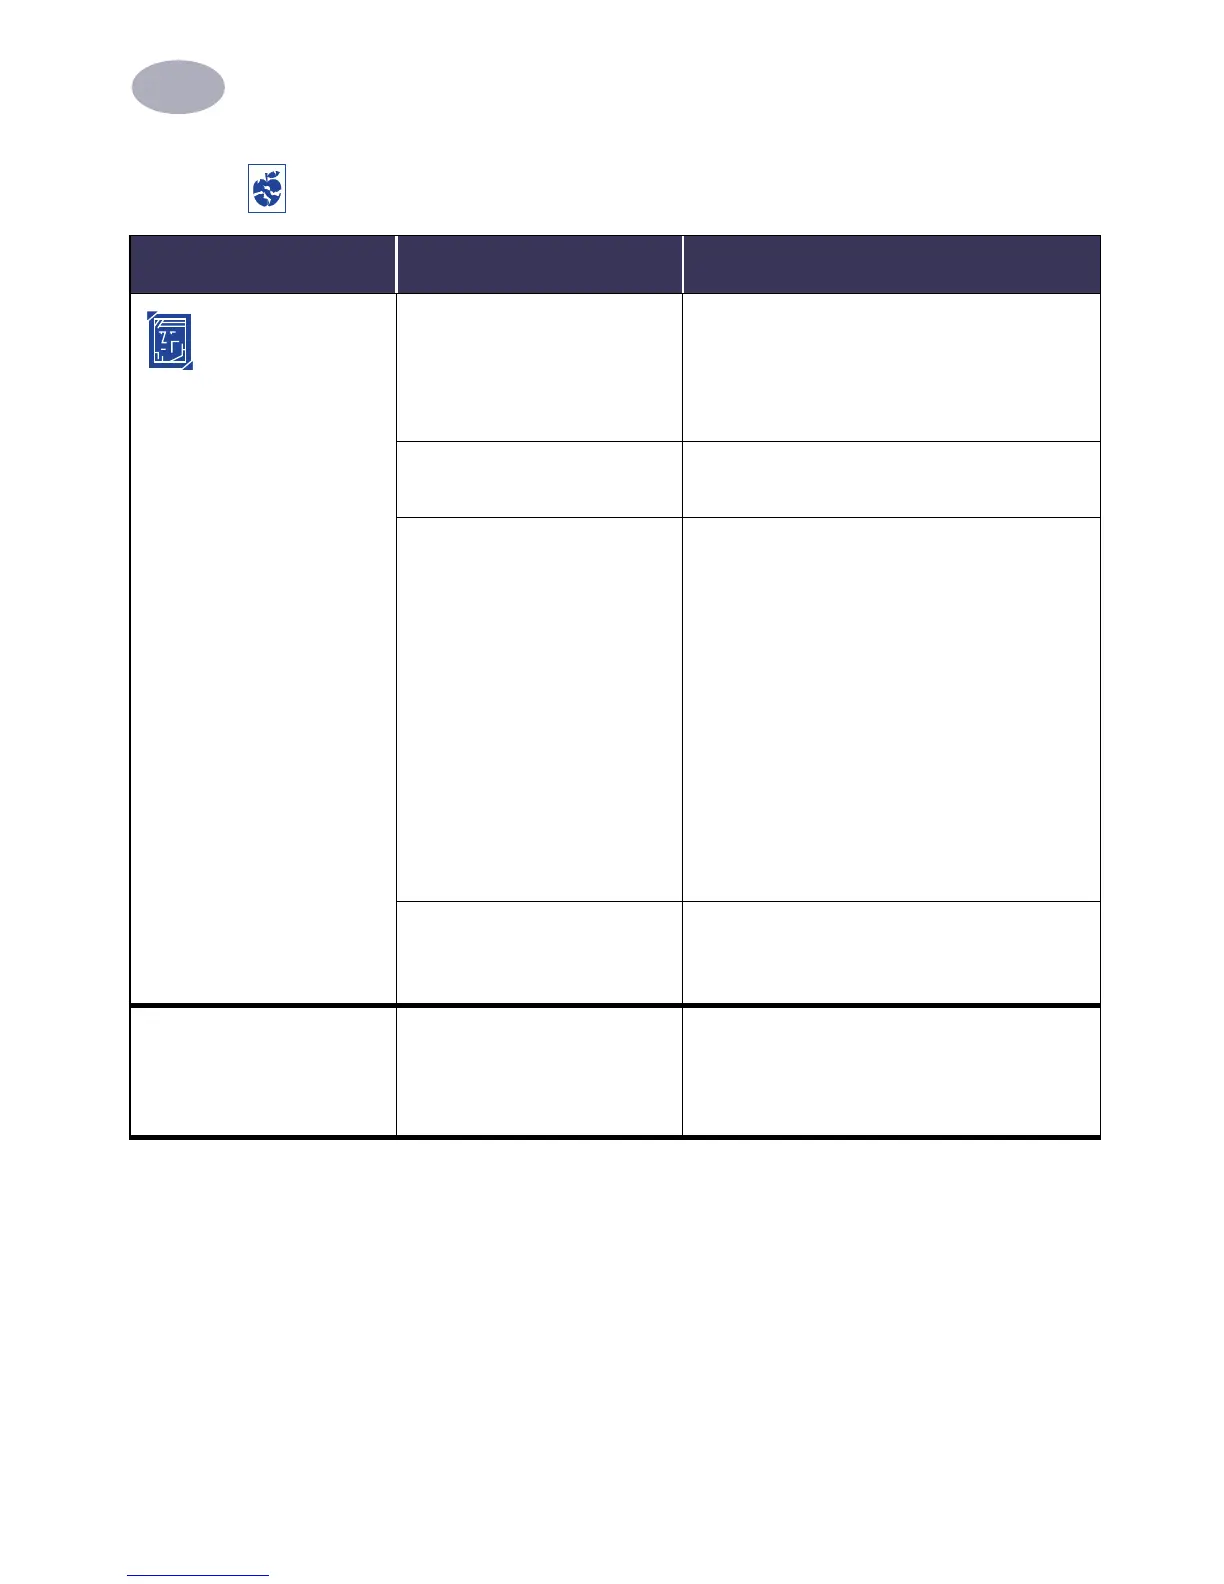
Photos aren’t
printing correctly when I
use the Photo Tray.
You may not have fully
engaged the Photo Tray.
1 Push the Photo Tray Button down and
slowly slide it toward the printer.
2 Stop when you feel resistance. Pushing too
far may crease your photo paper.
You may not have inserted the
photo media correctly.
Insert the photo media glossy side down.
You may not have selected
the appropriate Paper Type
or Paper Size.
1 From the Page Setup dialog box, select
Photo 4 x 6 in., 102 x 152 mm (with
tear-off tab) as the Paper Size. See “Page
Setup - Controlling Page Layout” on
page 6.
2 In your software program, choose Print
from the File menu. On the Paper Type/
Quality panel of the Print dialog box,
select HP Premium Plus Photo Paper,
Glossy as the Paper Type. See “Print Dia-
log Box” on page 7.
3 Click Save Settings.
4 Print your document.
You may not have selected
Best print quality.
1 Go to the Paper Type/Quality dialog box.
See “Paper Type/Quality” on page 9.
2 Select Best print quality.
Binding margin appears in
the wrong place when
trying to do Two-Sided
Printing.
You may have selected the
wrong paper orientation.
• Make sure you have selected the correct
Binding option in the Layout panel of the
Print dialog box. See “Layout” on page 9.
Is there a problem with your printout? continued
What is the problem? Possible cause To solve the problem…