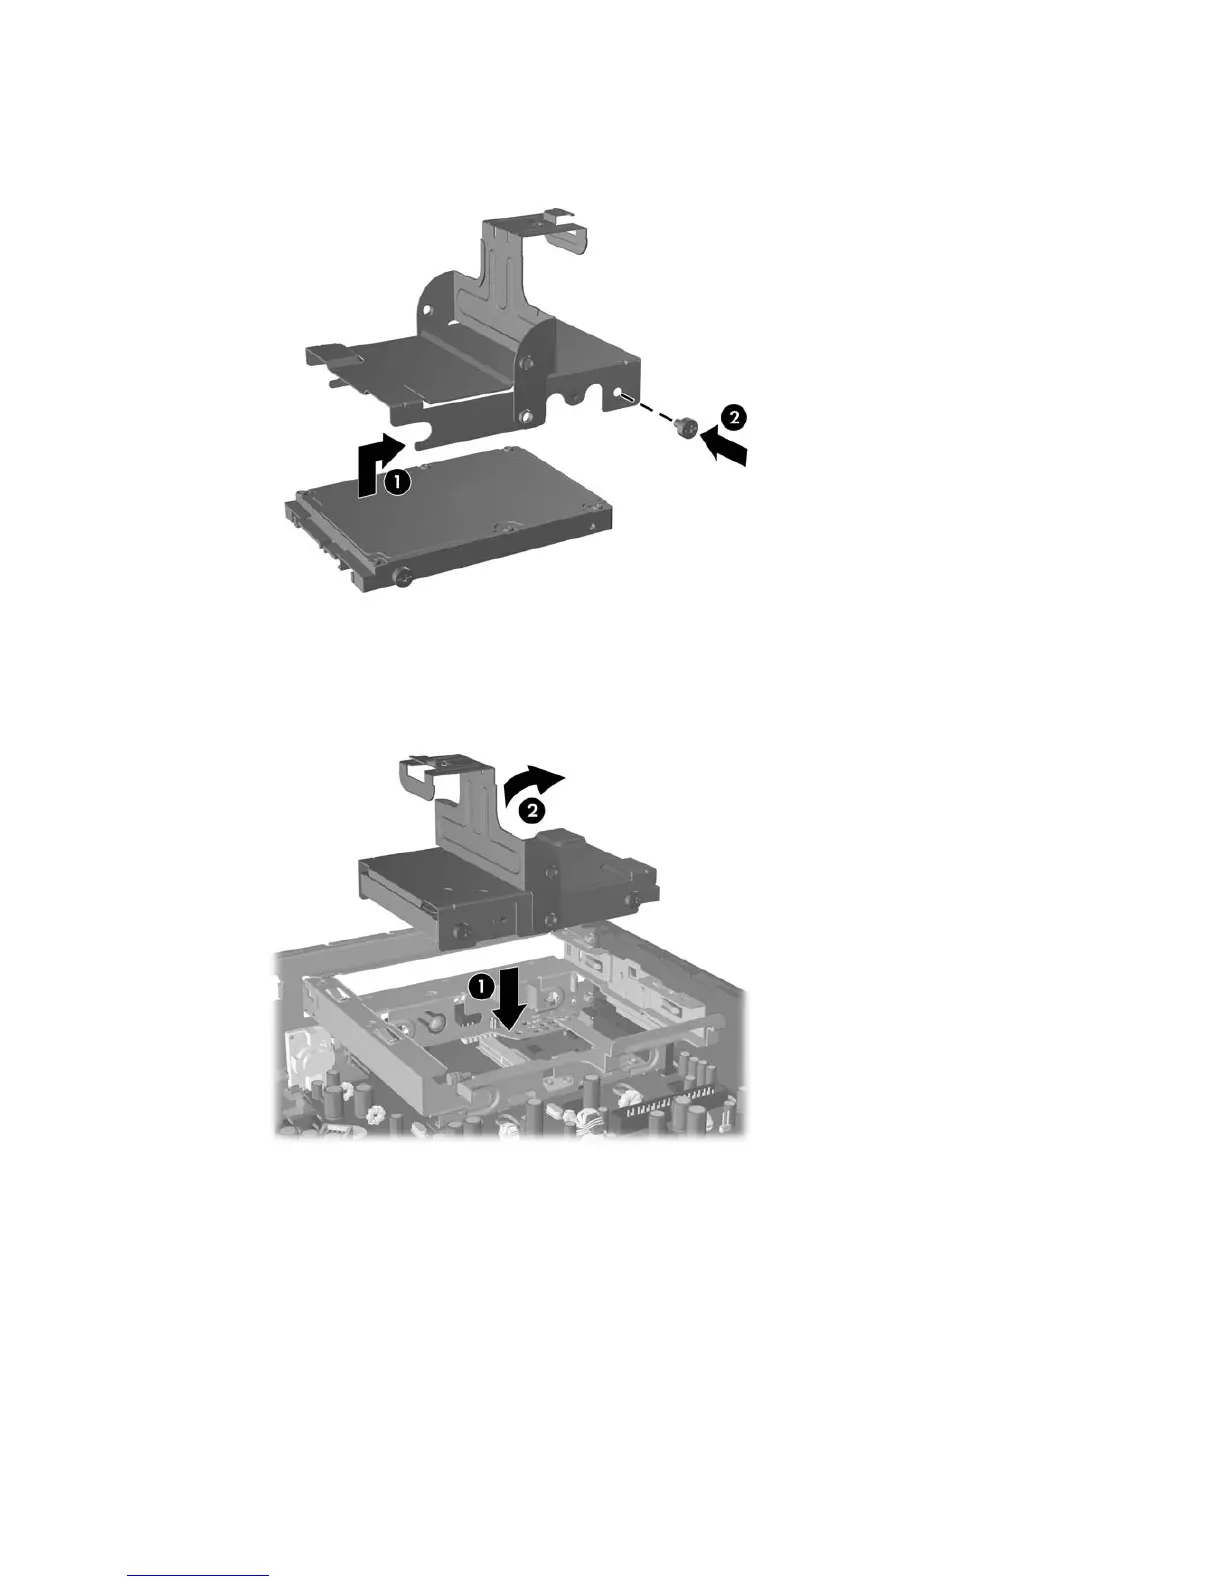
13. Align the guide screws with the slots on the carrier and slide the new hard drive into the carrier (1),
then replace the guide screw on the front left of the carrier to secure the drive in the carrier (2).
Figure 2-14 Installing the Hard Drive in the Carrier
14. To place the hard drive carrier back in the chassis, align the guide screws with the slots on the
drive bay, drop the carrier straight down into the drive bay (1), and press the handle on the carrier
all the way down to the down (2) so that the drive is properly seated and locked in place.
Figure 2-15 Installing the Hard Drive Carrier
15. Replace the computer access panel.
16. If the computer was on a stand, replace the stand.
17. Reconnect the power cord and turn on the computer.
18. Lock any security devices that were disengaged when the computer cover or access panel was
removed.
22 Chapter 2 Hardware Upgrades ENWW
 Loading...