5. Remove the Encoder Strip Spring.
NOTE: When you finish installing or replacing this component, you must perform the necessary
Service Calibrations. To find which calibrations you must perform, refer to
Service Calibration Guide to
Removal and Installation on page 170.
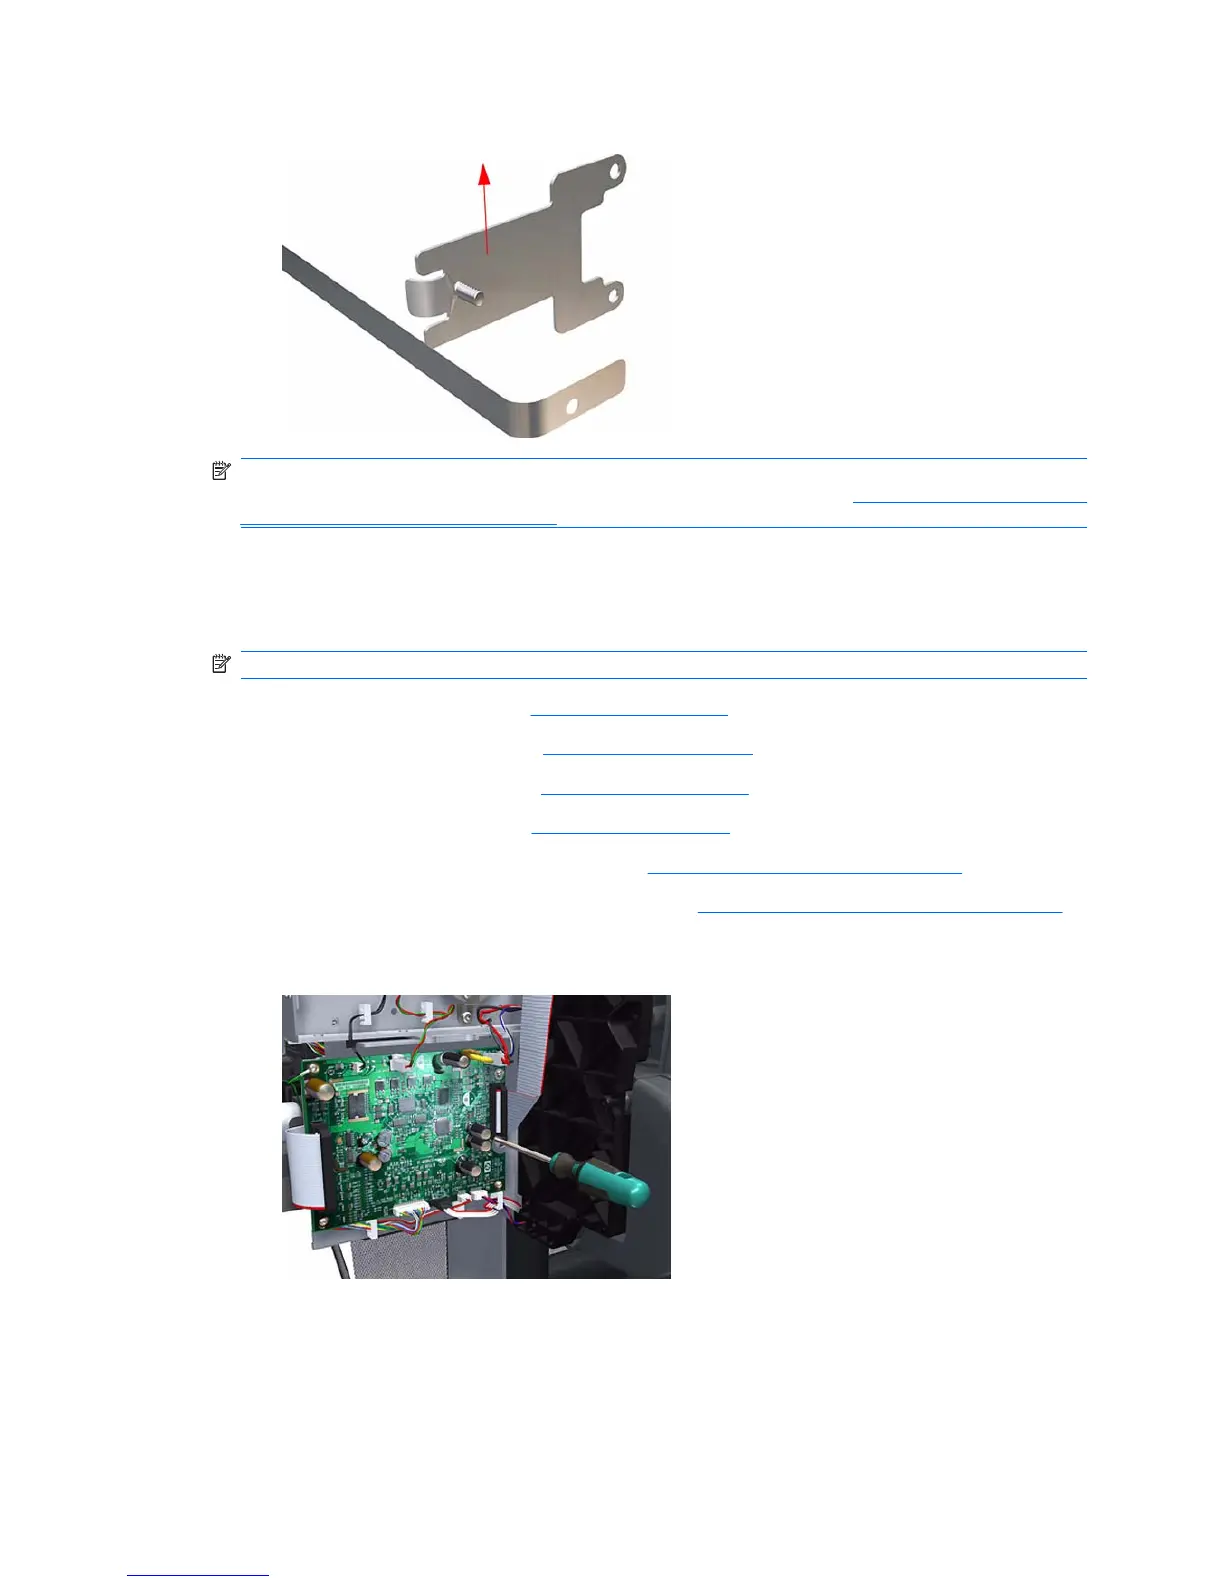
Trailing Cable
Removal
NOTE: Switch off the printer and remove the power cable.
1. Remove the Left Cover (refer Left Cover on page 188).
2. Remove the Right Cover (refer
Right Cover on page 185).
3. Remove the Front Panel (refer
Front Panel on page 203).
4. Remove the Top Cover (refer
Top Cover on page 205).
5. Remove the Window Position Sensor (refer
Window Position Sensor on page 208).
6. Remove the Ink Supply Tubes Support Rail (refer
Ink Supply Tubes Support Rail on page 209).
7. Loosen the T-10 uncapping screw sufficiently so you can manually move the Carriage Assembly
in step 8.
ENWW Trailing Cable 237
 Loading...