Entering the Service Calibrations Menu 159
Service Calibrations
If the Calibration is not done or if the values are out of the limits, a warning message will appear on
the Front Panel. In this case, try the following:
• Check that the Printer has the latest Firmware version. If not, update the Firmware to the latest
version.
• Retry the Paper Advance Calibration.
• If the problem continues, replace the Encoder Strip and Encoder Sensor ⇒ Page 331.
5. Once the Analog Encoder has been calibrated correctly, the following message will appear on the
Front Panel. Press the Enter key in order to start the media load process.
6. Load a sheet of HP Universal Instant-dry Gloss Photo media (product number Q6575A) that was
included in the Paper Advance Calibration Kit (Part Number Q1273-60296) following the
instructions on the Front Panel. If the kit is not available, then cut a piece of HP Universal Instant-dry
Gloss Photo media that is 36-inches wide and at least 42-inches long.
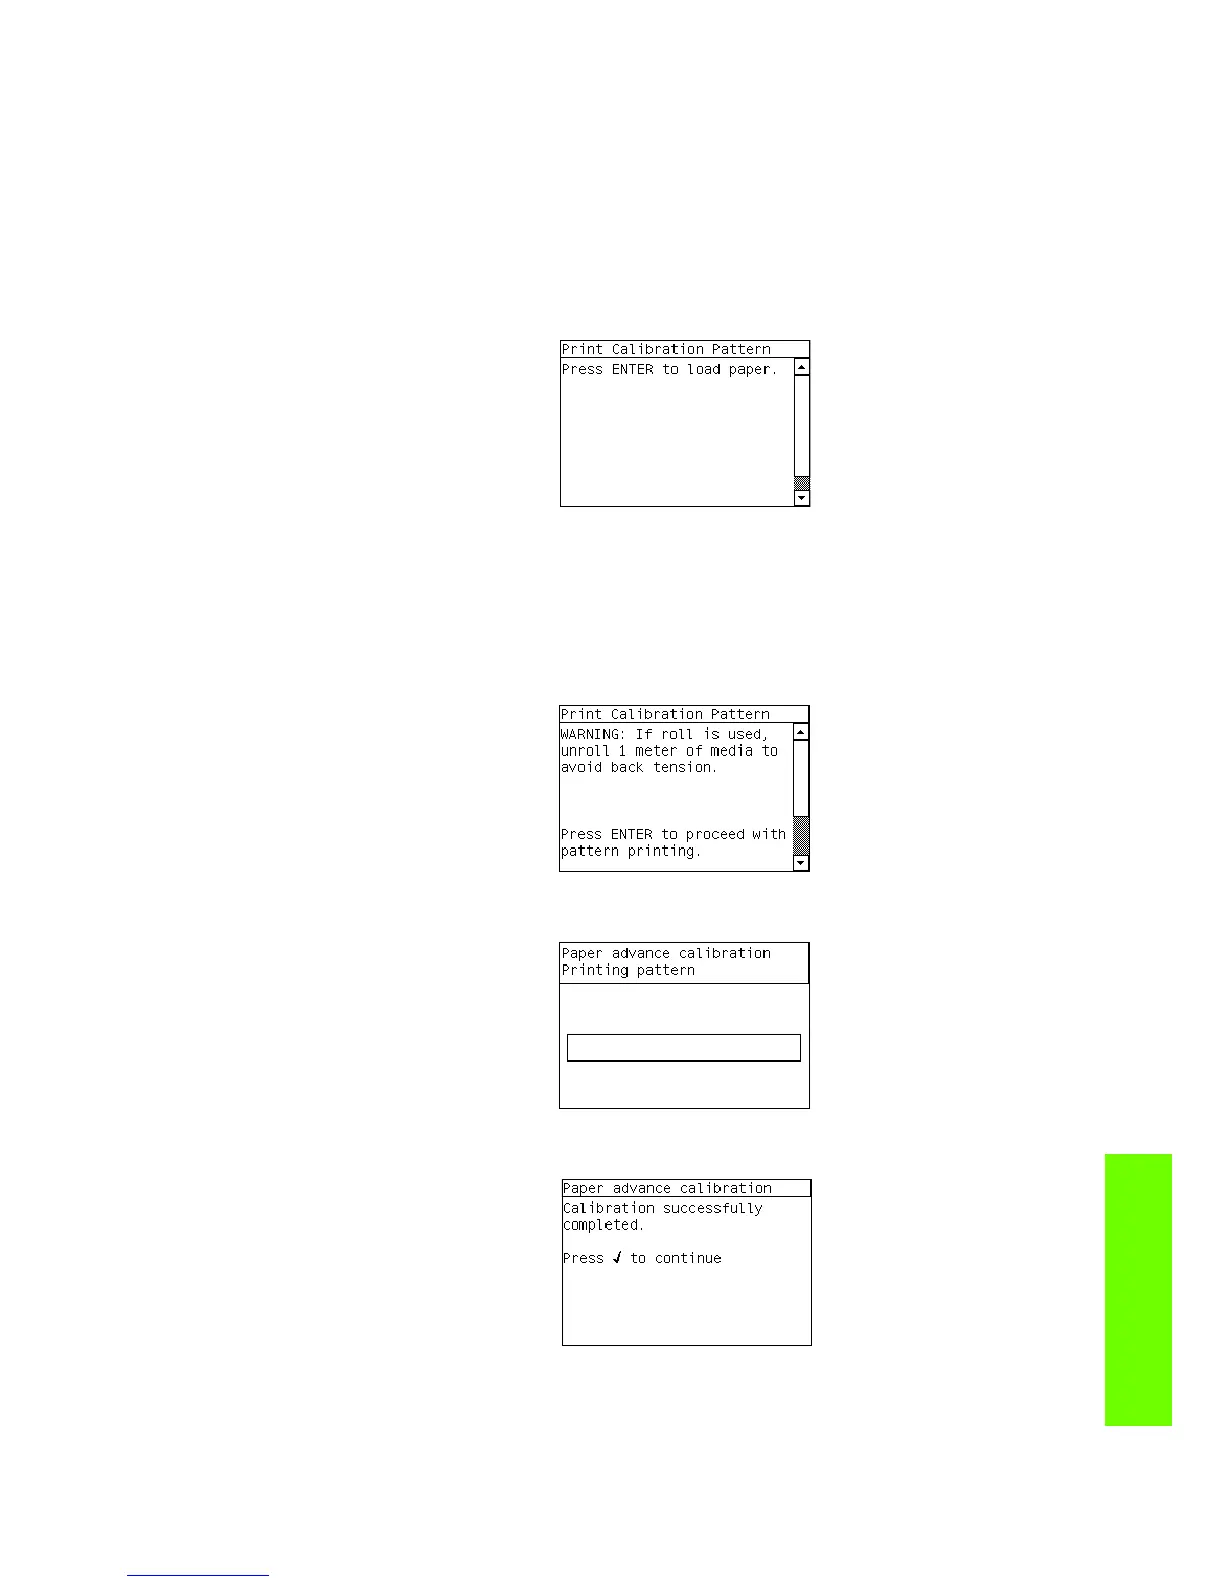
7. Once the media is loaded into the Printer, the following message will appear on the Front Panel. If
roll media has been used instead of cut sheet media, then you will need to unroll a minimum of 1
meter of media in order to prevent any back tension which could cause any media advance
problems. Press the Enter key to continue.
8. The Printer will start to print the Paper Advance Calibration Pattern. This could take several minutes
during which the following message will be displayed on the Front Panel.
9. Once the Accuracy Calibration Pattern has been printed successfully, the following message will be
displayed on the Front panel. Press the Enter key to continue.
If the Paper Advance Calibration fails for any reason, a warning message will appear on the Front
Panel. In this case, try the following:
• Retry the Paper Advance Calibration.
 Loading...