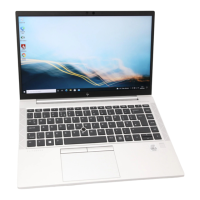
Remove the keyboard:
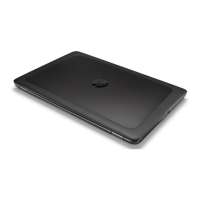
1. Position the computer upside down.
2. Remove the 2 Phillips M2.5×5.0 screws that secure the keyboard to the computer (1).
NOTE: The screws are labeled with a keyboard symbol.
3. Position the computer on its side and partially open.
4. Insert a screwdriver or similar thin tool into the hole beside the heat sink/fan assembly, and then press
on the back of the keyboard until it disengages from the computer (2).
NOTE: Cables connect the bottom of the keyboard to the system board. Make sure not to prematurely
pull the keyboard cables out of the system board connectors.
5. Position the computer upright with the front toward you, and then open the computer as far as possible.
6. Slide the keyboard slightly downward, and then lift and rotate the keyboard over onto the palm rest (1).
7. Lift the ZIF connector (2) for the pointing stick cable connector, then and remove the cable from the
connector (3).
8. Lift the ZIF connector (4) for the keyboard backlight cable connector, and then remove the cable from
the connector (5).
9. Lift the ZIF connector (6) for the keyboard cable connector, and then remove the cable from the
connector (7).
48 Chapter 5 Removal and replacement procedures for Customer Self-Repair parts

 Loading...
